What is a branch?
Branches allow you to work on multiple versions of a repository at one time.
By default your repository has one branch named master which is considered to be the main branch of your project. We use branches to experiment and make changes before committing them to the master branch.
When you create a branch off the master branch, you are basically making a snapshot of the master branch exactly as it is, and you can edit the new branch without affecting the master. The following step by step guide will explain the process for creating a branch of your project to modify.
Create a branch of your repository
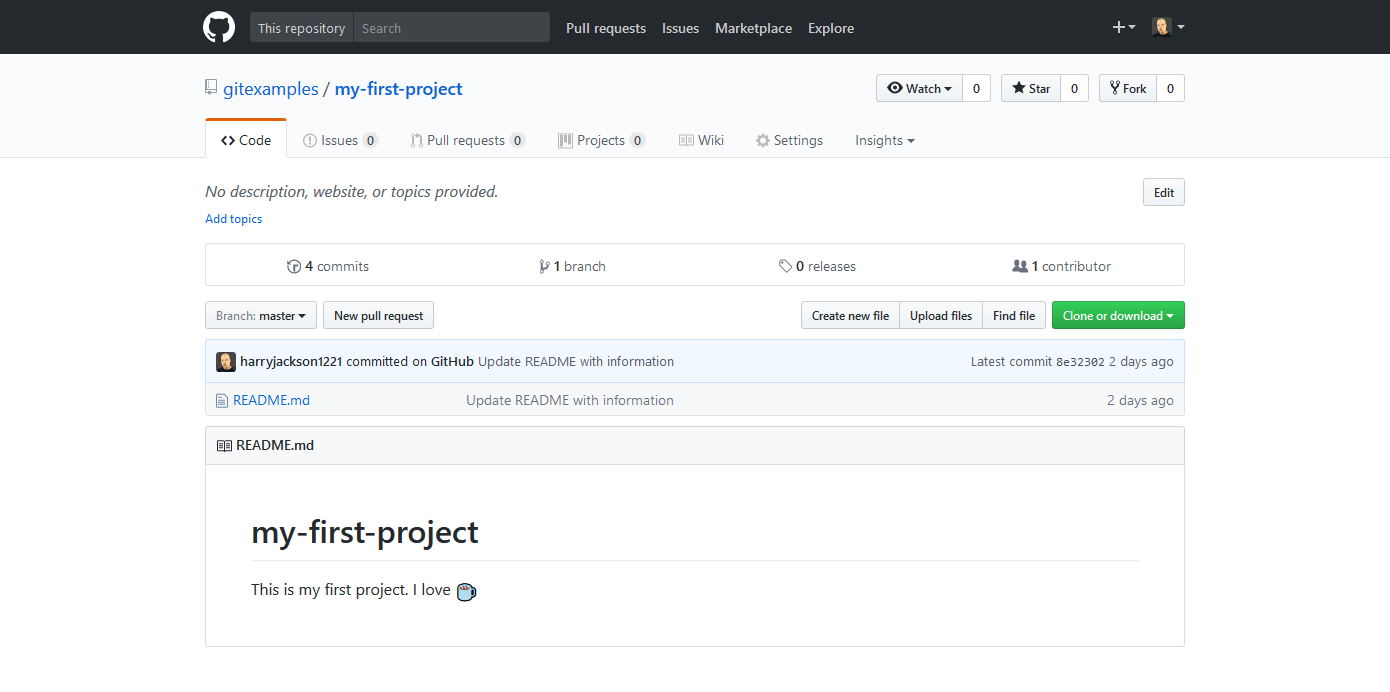
 Point your browser to the main page of your GitHub Repository
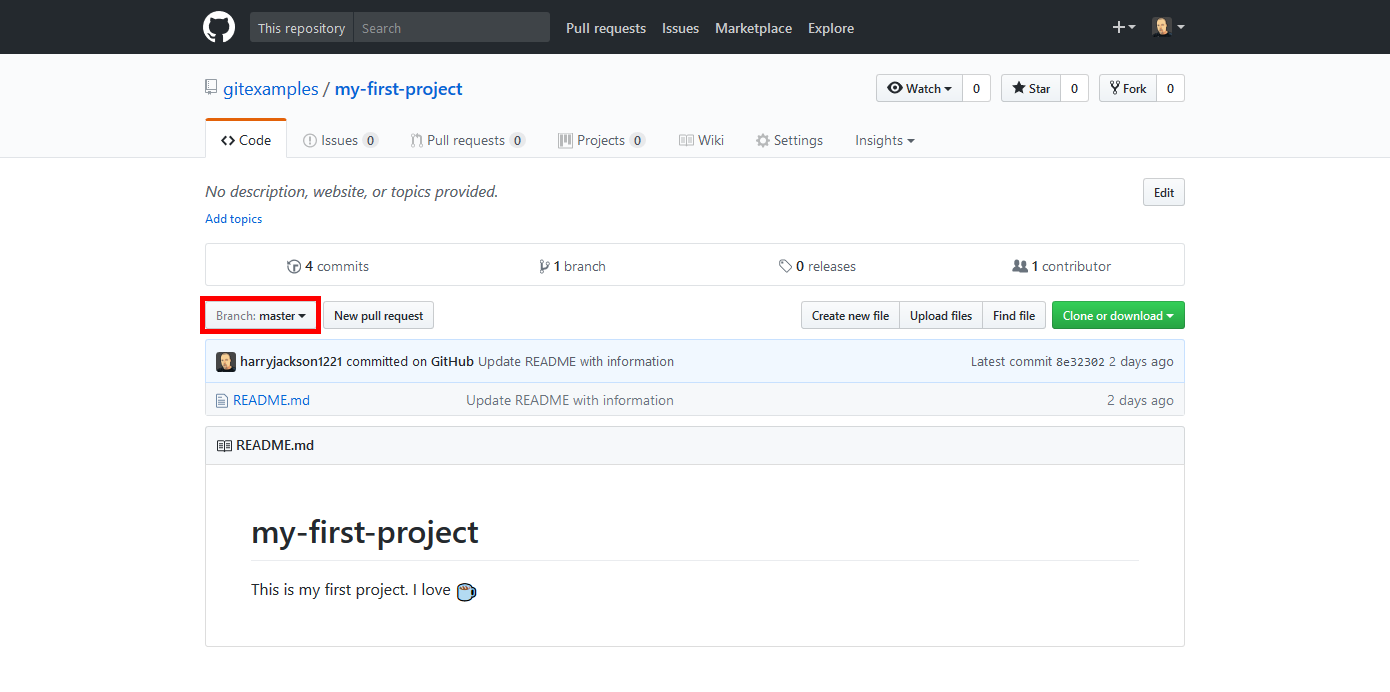
 - Select the drop down at the top of the file list that says branch: master.
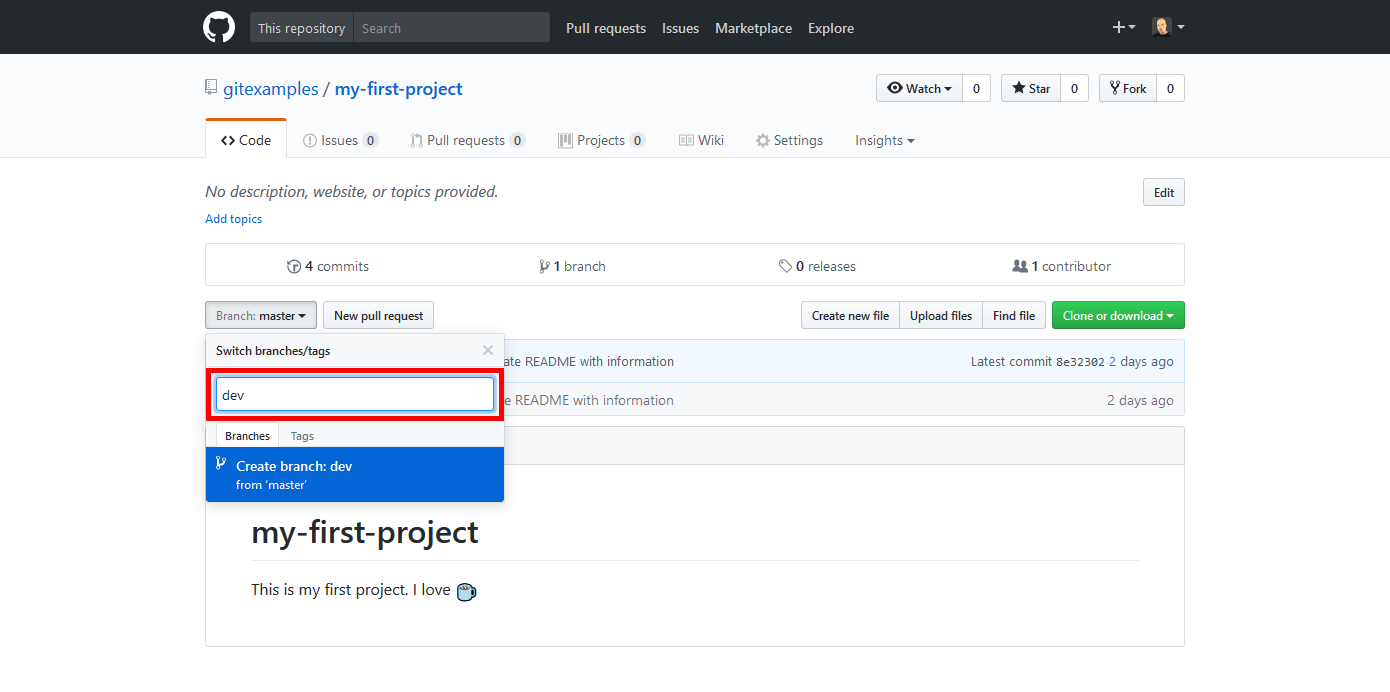
- Type a unique name for your new branch. We using dev for this example
- Press Enter
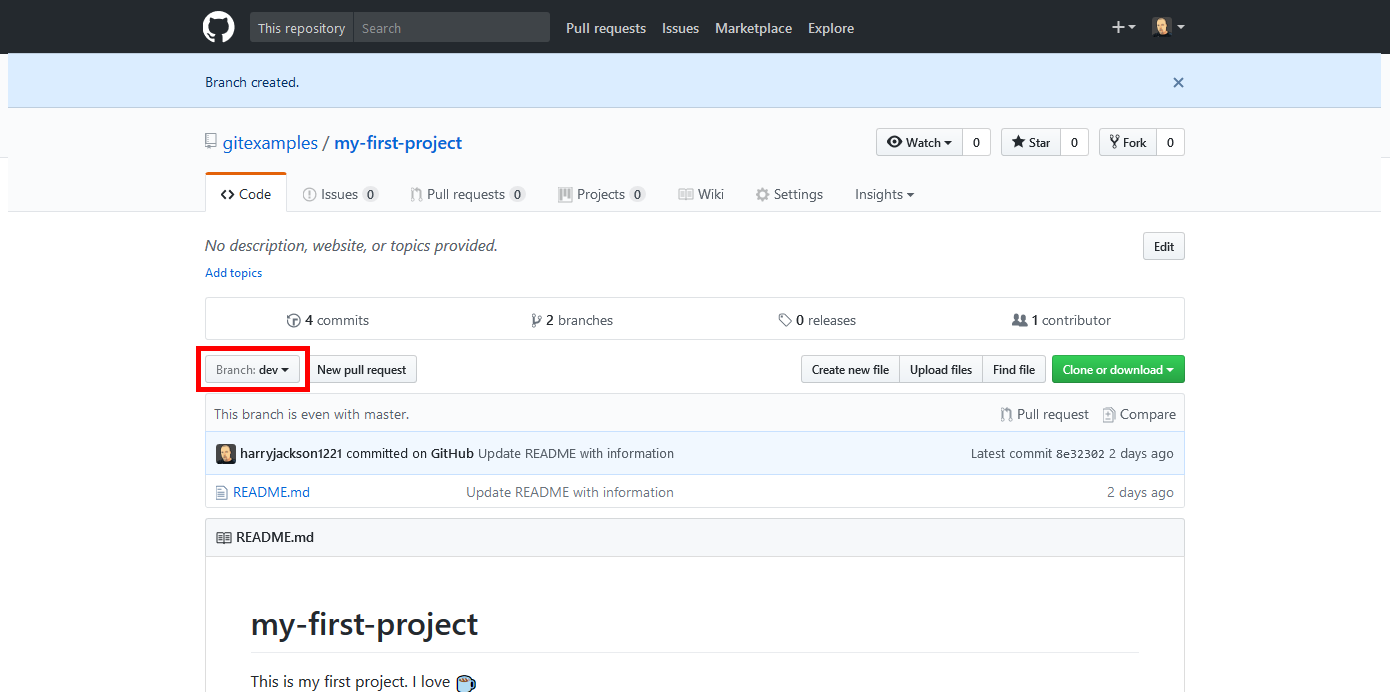
Congratulations! You now know how to create a branch of your repository. In some cases, you may need to delete a branch. The following step by step guide will explain how to delete a branch of your GitHub repository.
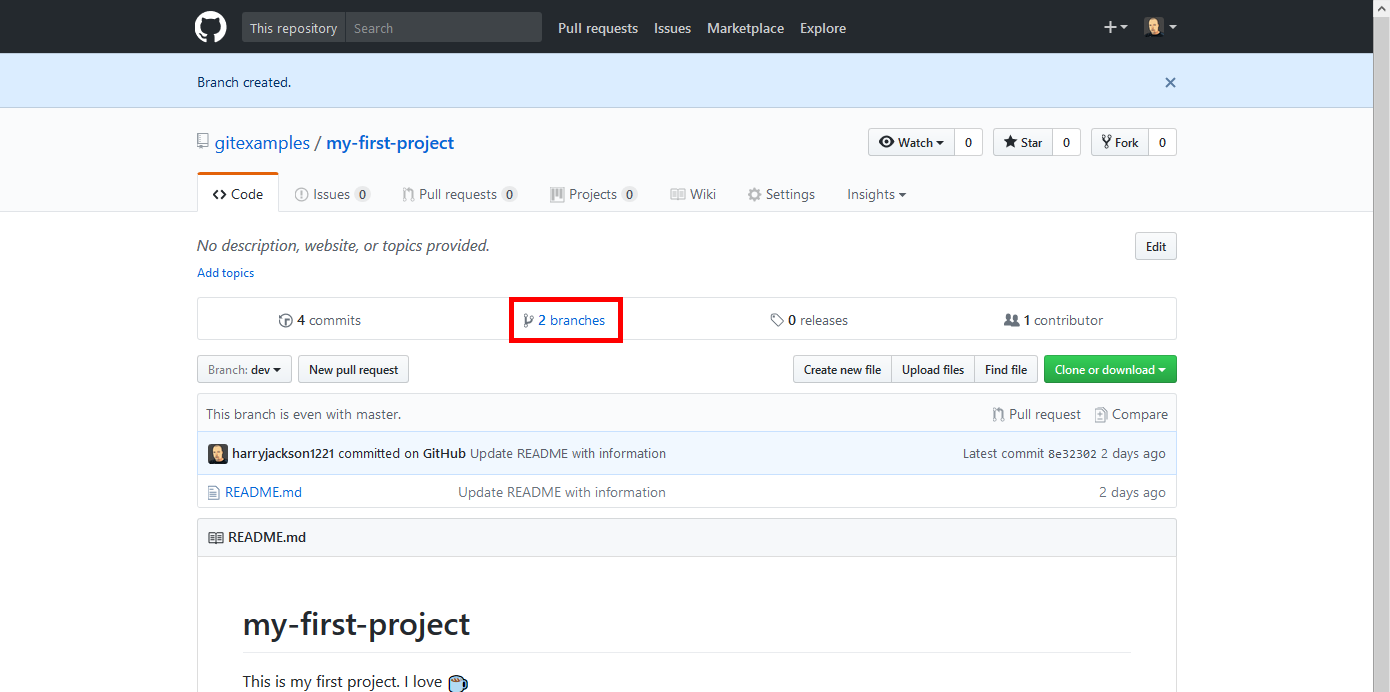
Deleting and restoring a branch of your repository
- Above the list of files, click NUMBER branches.
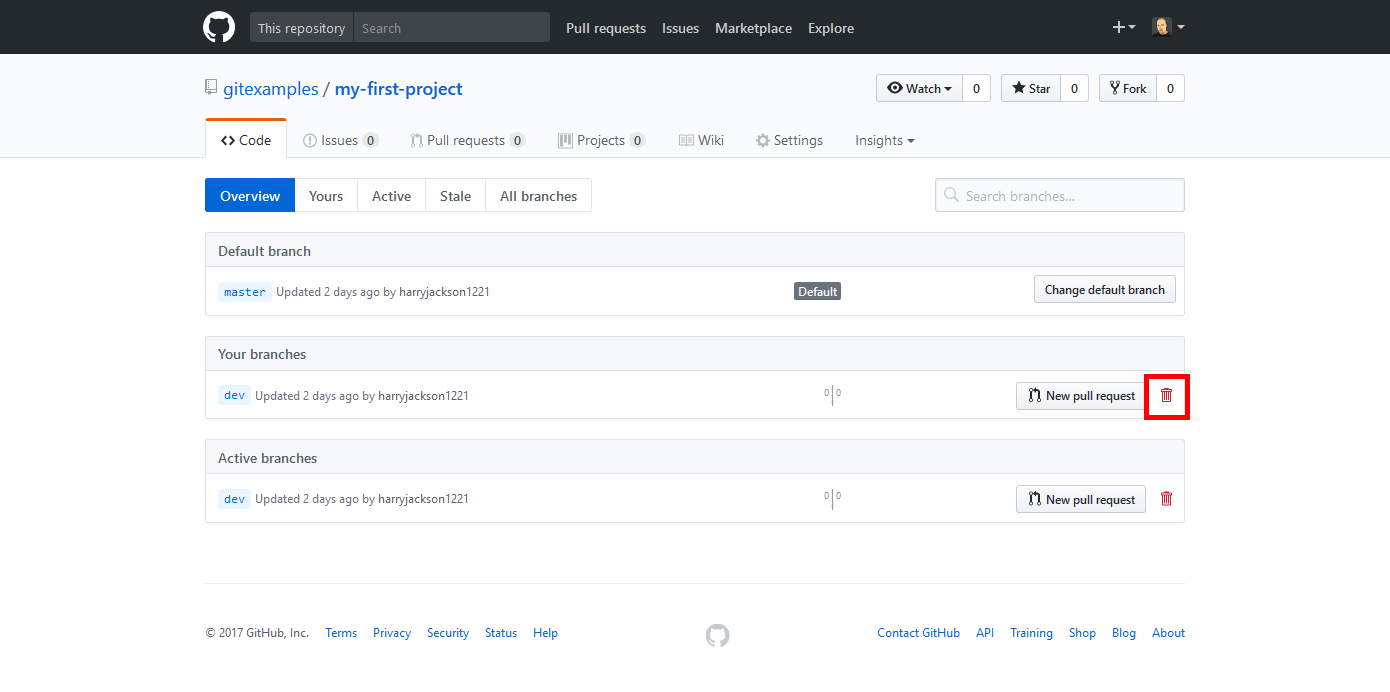
- Scroll to the branch that you want to delete, then click the trash can icon
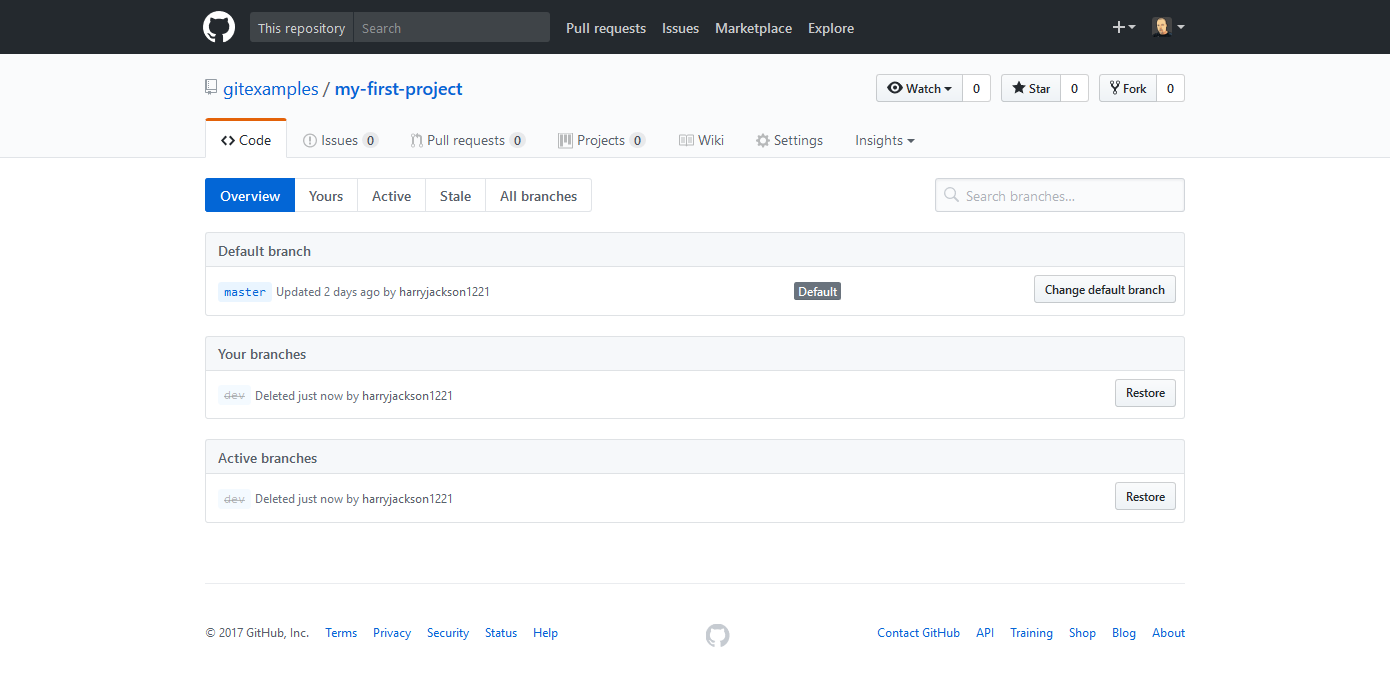
- The branch has now been deleted
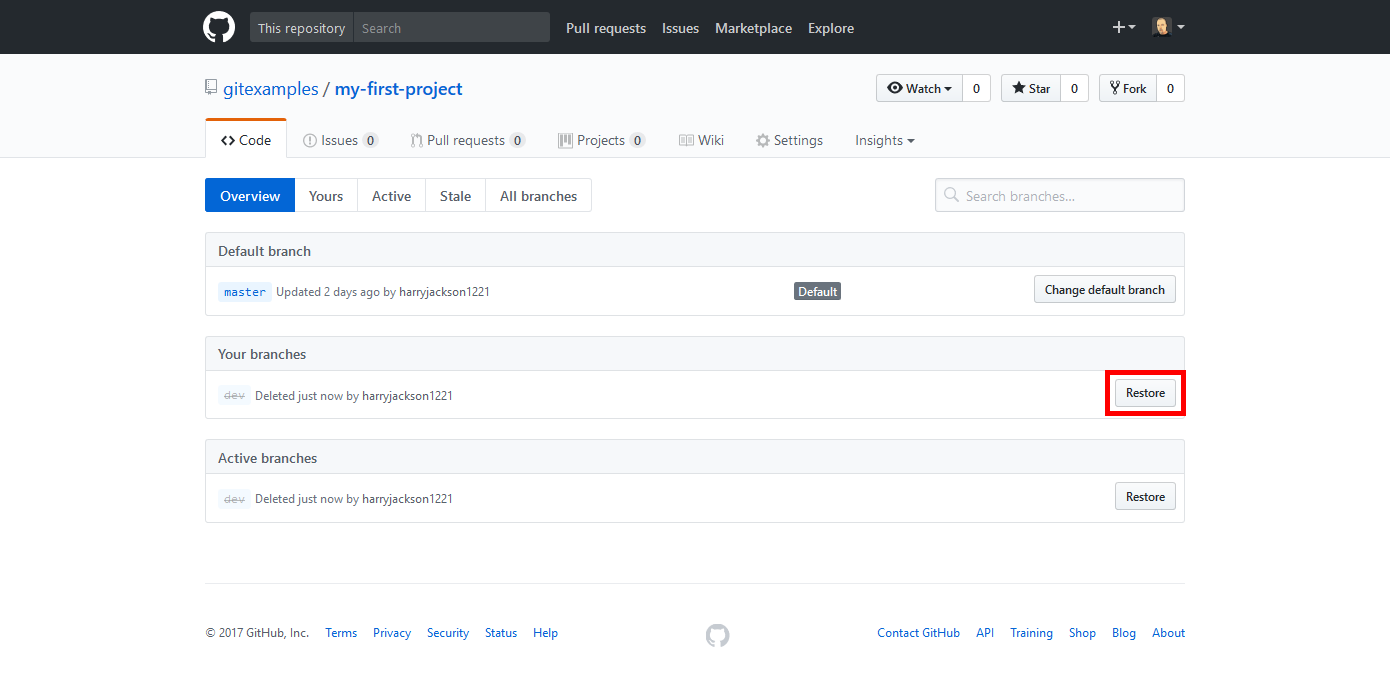
- To restore a deleted branch, simply click the restore button
Congratulations! You now know how to create a branche, as well as delete one in your repository on GitHub.
SIGNUP FOR
BOLDGRID CENTRAL
200+ Design Templates + 1 Kick-ass SuperTheme
6 WordPress Plugins + 2 Essential Services
Everything you need to build and manage WordPress websites in one Central place.