WooCommerce provides a powerful e-commerce toolkit that works within WordPress. The ease of use and quick installation (working as a plugin within WordPress) make it a popular choice for online retailers of all sizes whether you are a professional or not. In this series of articles we will walk you through how to install WooCommerce and get started with a store in your BoldGrid site.
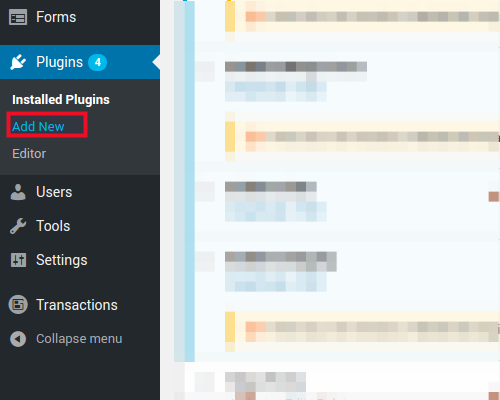
 Under Plugins click Add New
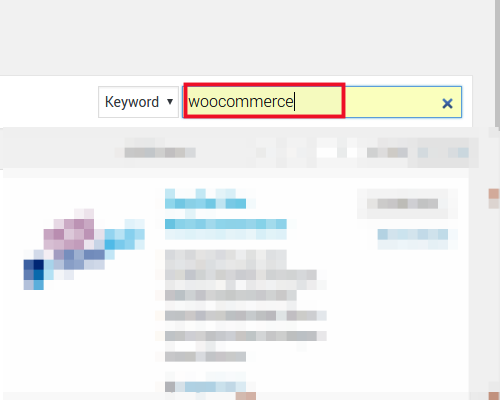
 - Search for “WooCommerce” in the Search plugins… field
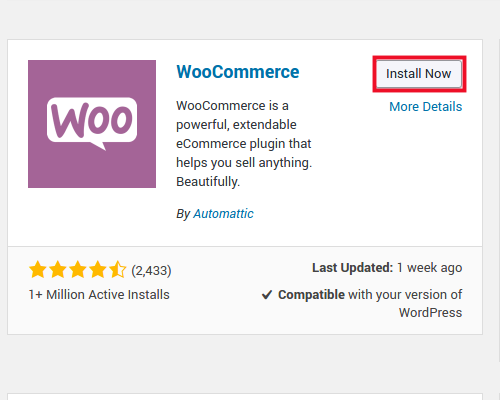
- Find WooCommerce in the search results and click Install Now
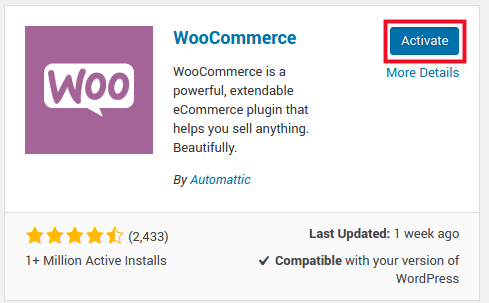
 Click Activate
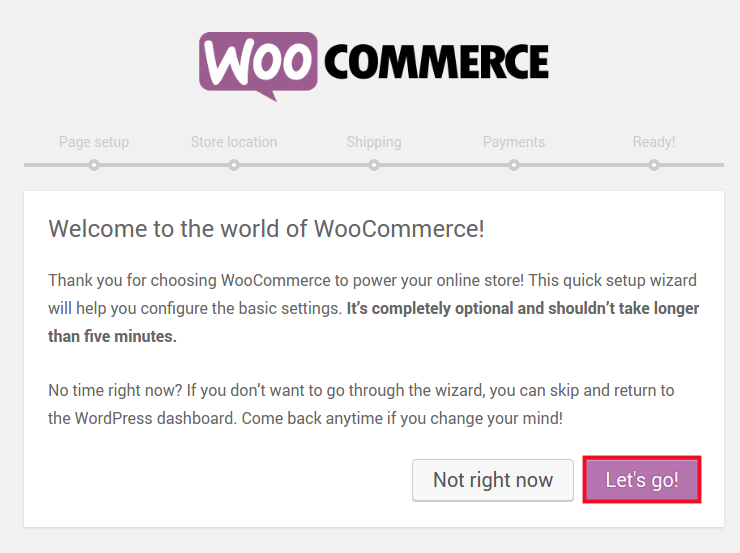
Here you will be prompted to run through the WooCommerce “Setup Wizard”. You can skip this process and set up your store manually, but for beginner users it is recommended to go through this setup wizard now.
 Click Let’s Go! to begin the setup process
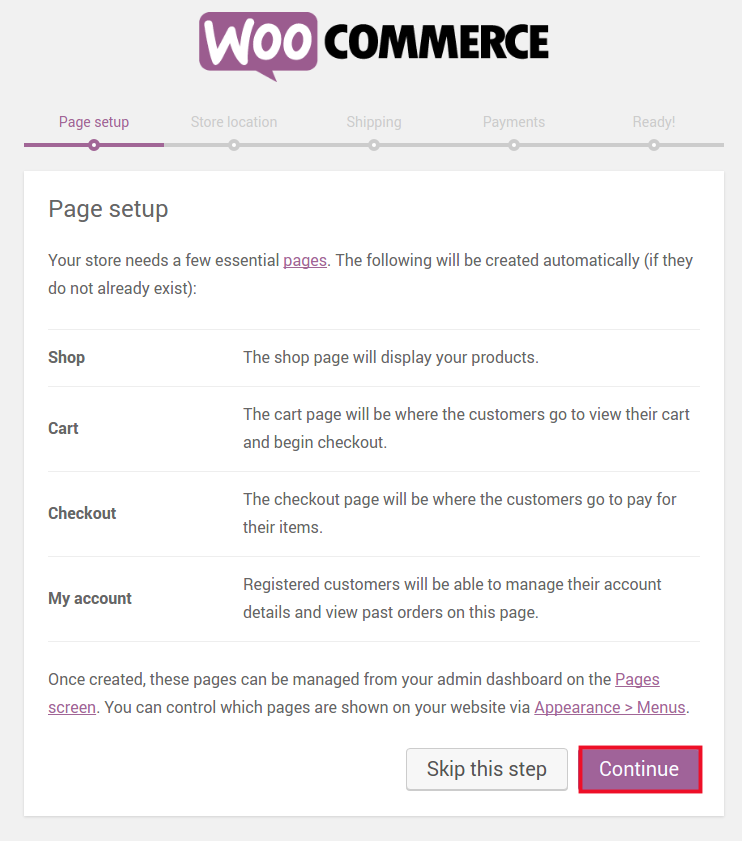
  Click Continue at the Page setup page to create the default Shop, Cart, Checkout, and My Account pages
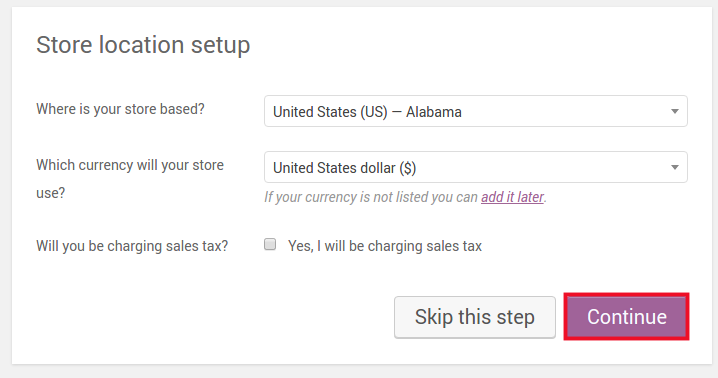
  Fill in location information for your store on the Store location setup page and click Continue
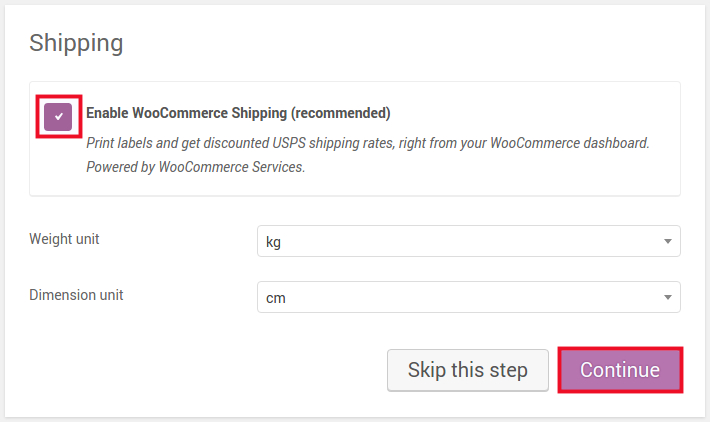
  On the Shipping page, it is recommended to enable WooCommerce shipping, the checkbox will already be checked, click Continue
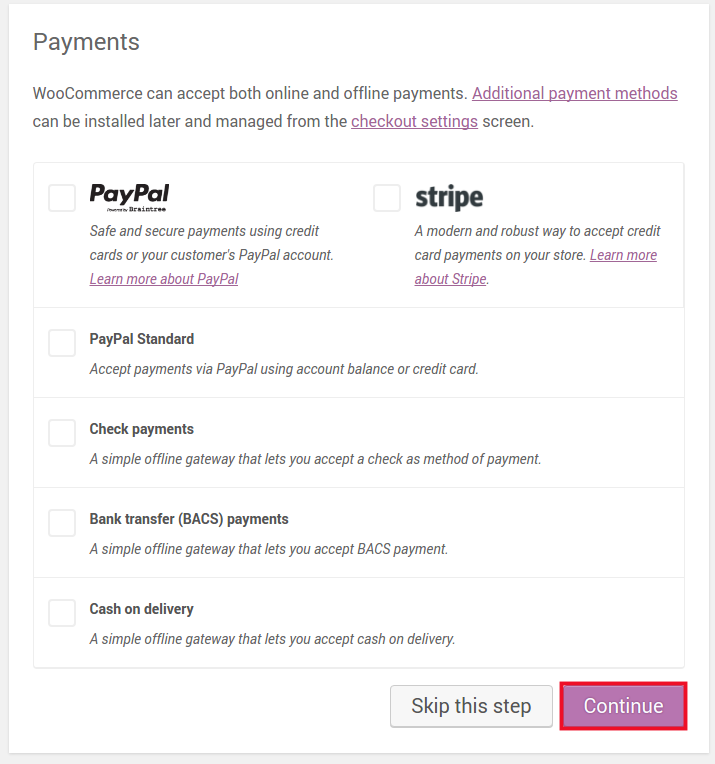
  Under the Payments section you can determine acceptable payment methods
After the Payments section of the setup wizard, your store is ready. Now it’s time to Create your first product.
SIGNUP FOR
BOLDGRID CENTRAL
200+ Design Templates + 1 Kick-ass SuperTheme
6 WordPress Plugins + 2 Essential Services
Everything you need to build and manage WordPress websites in one Central place.