One of the features that WordPress provides for posts and pages you create is an option called Revisions. Using this option in BoldGrid’s WordPress Page Builder or the classic WordPress editor is fairly simple, and it is just as easy in the new Gutenberg editor. The following tutorial will show you how to use the WordPress revisions option in the Gutenberg editor using an example post that was created with the new editor.
Note that the Gutenberg editor has been integrated directly into the WordPress Administrator dashboard as of WordPress version 5.0. It is now the default WordPress editor.
Using Revisions in the Gutenberg Editor
The Revisions option lets you go back and look at an older saved version of your post or page. It is a form of automatic backup that WordPress provides, but only after the post or page has been saved. Note that although this feature is a backup of your post or page, we still recommend that you perform regular site backups to insure that you can recover your WordPress site in the event of an emergency. This option will only work with a post that has been previously saved. Follow the steps below to see the Revision options using the Gutenberg editor.
- Log in to the WordPress Administrator Dashboard if you are not already in it.
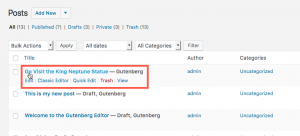 Go to your page or post and click on Edit (using the Gutenberg editor).
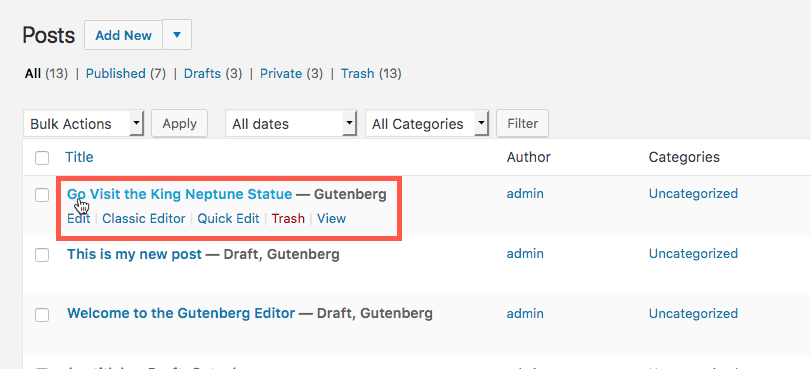
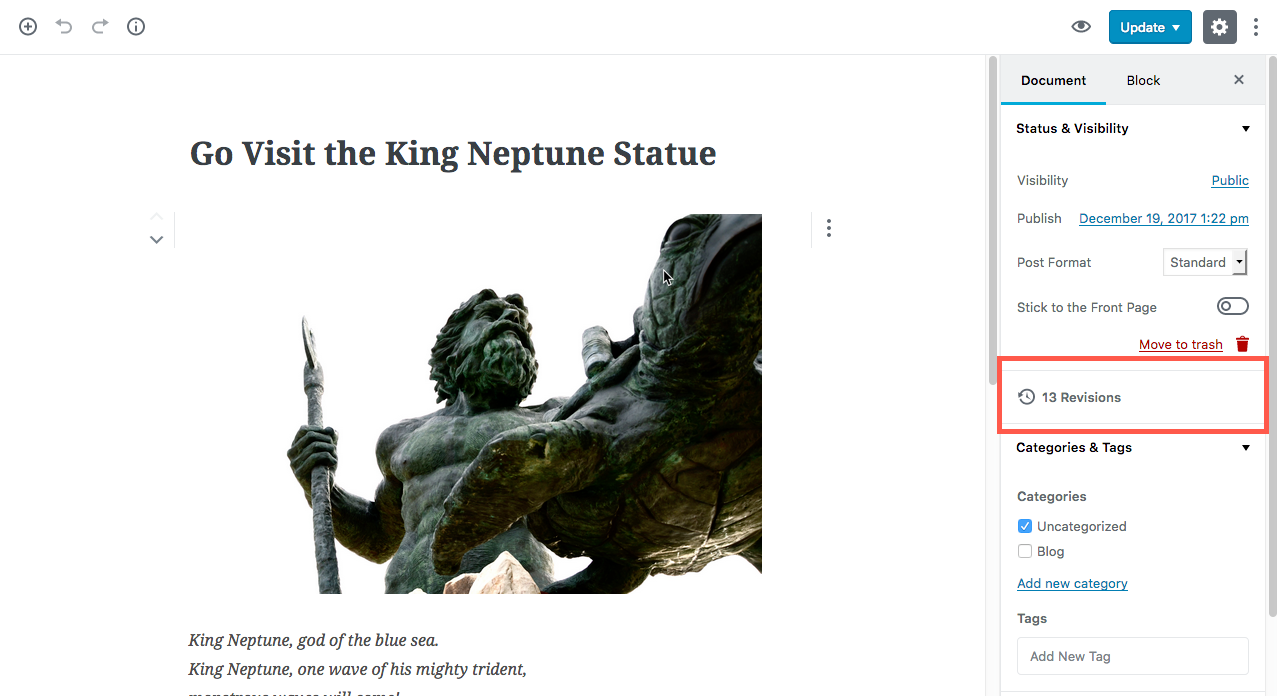
 When you are looking at your page or post, you will see a sidebar on the far right of the window. At the top right corner of the window you will see Revisions. Typically, there is a number there that will tell you how many revisions. Click on the bar that holds the Revisions label.
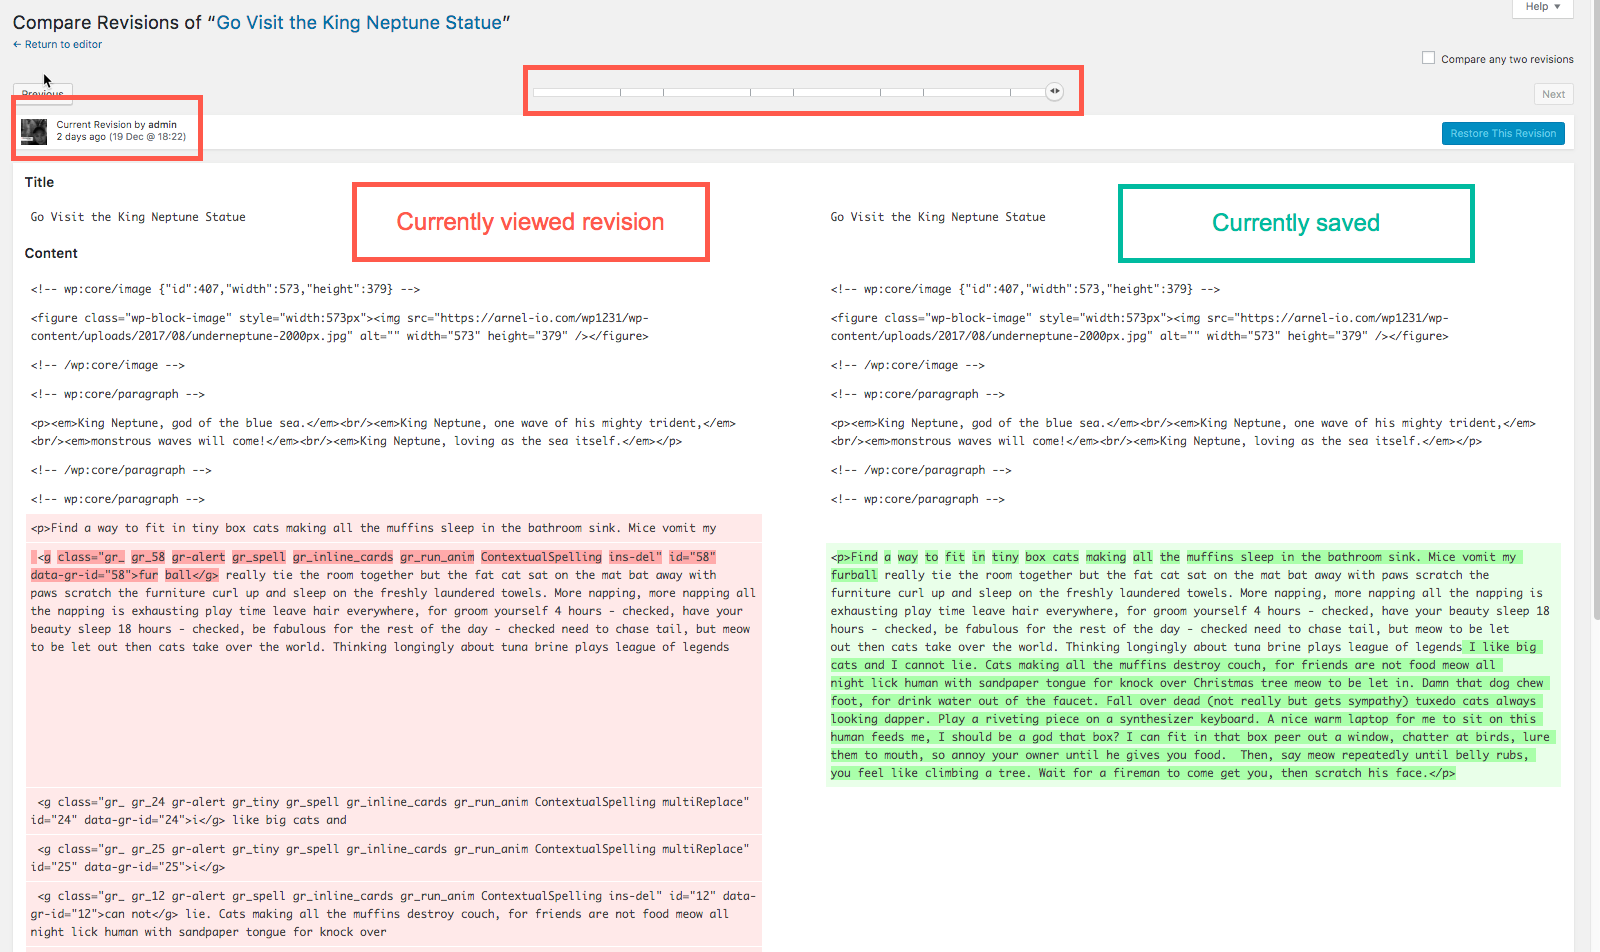
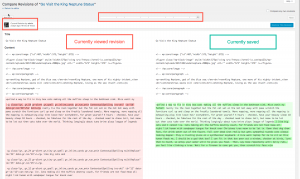 Once you click on Revisions you will brought to the Revisions compare screen. You can compare revisions of the post or page that you’re reviewing. The version of the page or post on the right will be the most current version. The revision time and date will be labeled at the top left above the displayed post/page. In the top middle of the page is a slider that you can move left or right. Slide it left to select a specific revision. Note that you have the option to compare any two revisions. To do this click on the checkbox in the right corner labeled “Compare any two revisions.”
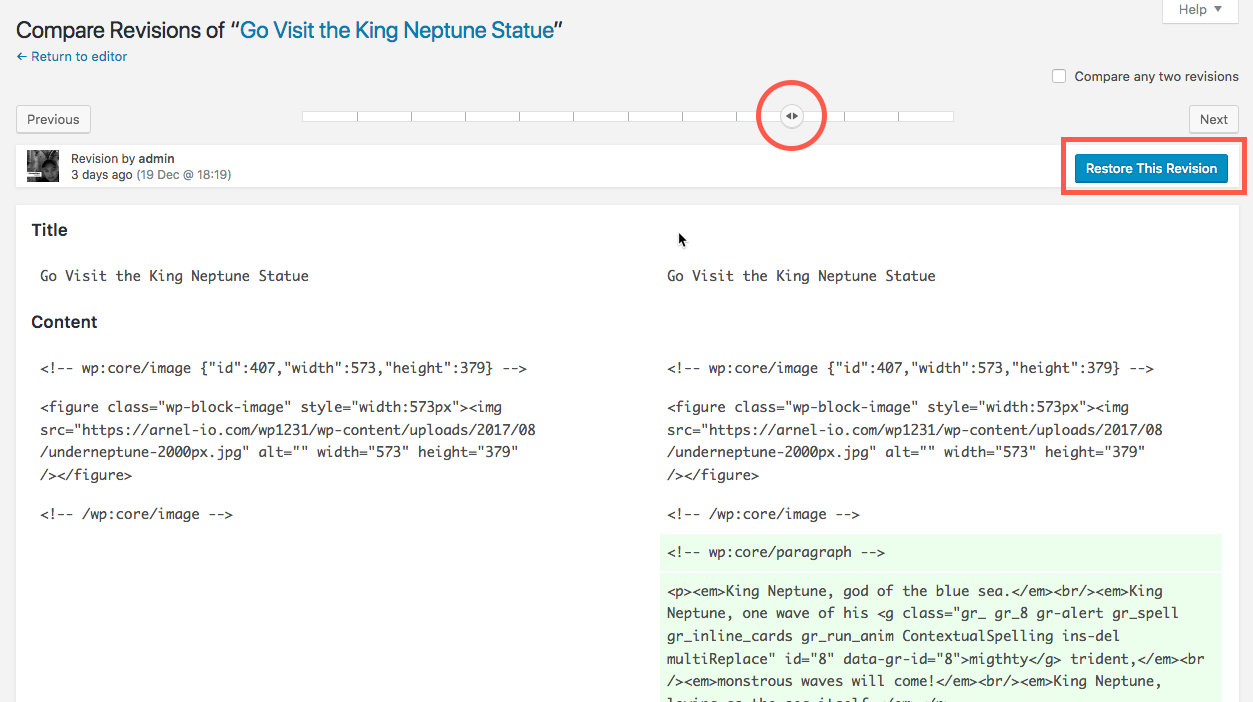
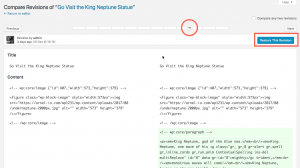 Once you have selected the revision you wish to restore, click on the blue button in the top right corner labeled, “Restore This Revision.”
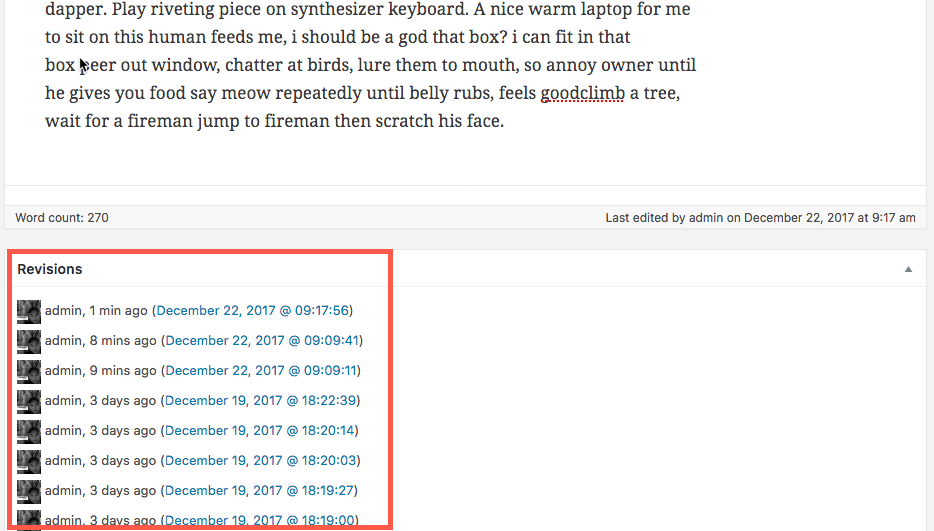
 After you click on the restore, you will immediately be returned to the editor and the post or page you selected will be displayed. If you feel that you have not selected the incorrect revision, you have the option of selecting a correct revision. The versions of the page or post revisions will be listed below the post or page that you restored.
That completes our tutorial on using the Revisions option in the Gutenberg editor. To find out more about using it, we have a great tutorial to help explain how to use blocks in the Gutenberg editor. The BoldGrid WordPress Website Builder Bundle also uses Blocks to create page and post content while also adds drag and drop functionality to make it easier than ever. Check out our 3 part guide to learn how to create Blocks with BoldGrid’s Post and Page Builder to build your landing pages and content faster than ever.
Interested in protecting your site? Our WordPress backup plugin has backups, automatic update controls and crash recovery all in one tiny package. Learn more about Total Upkeep today!
SIGNUP FOR
BOLDGRID CENTRAL
200+ Design Templates + 1 Kick-ass SuperTheme
6 WordPress Plugins + 2 Essential Services
Everything you need to build and manage WordPress websites in one Central place.