One of the common needs of creating a post is adding an image with a title. Sometimes, you may have an image but no title and no way to edit the image. Fortunately, WordPress has anticipated this need with the Cover Image Block. Step through the tutorial below to learn how to use the Cover Image Block in the Gutenberg editor.
Note that the Gutenberg editor has been integrated directly into the WordPress Administrator dashboard as of WordPress version 5.0. It is now the default WordPress editor.
- Login to your WordPress Administrator Dashboard.
- Open an existing draft of a page or post in the editor. You can also create a new page or post.
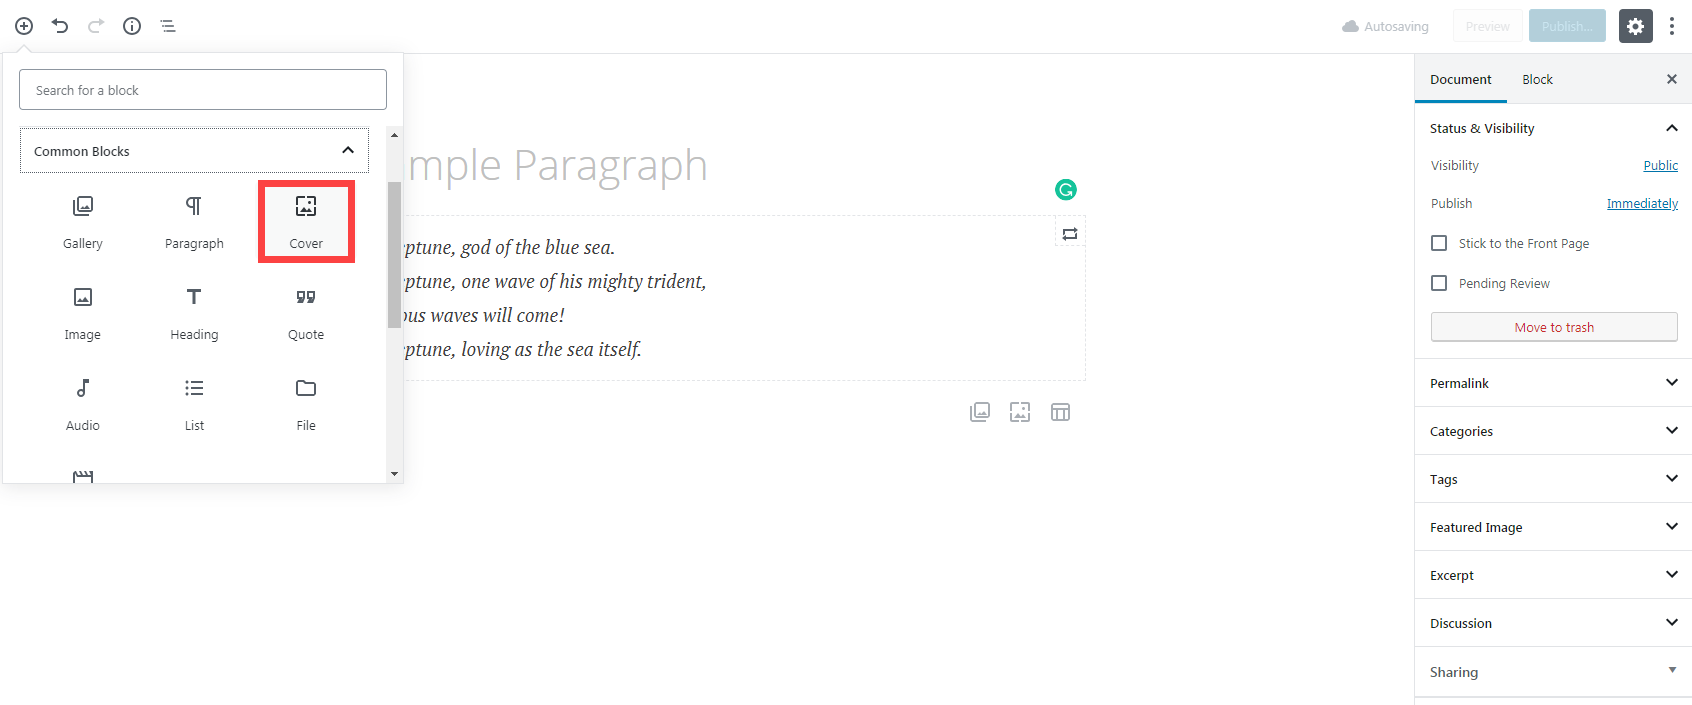
 If you don’t want a title to appear above the image, then leave the title option empty. Click the + to add a block. Find Common Blocks, then select the Cover Image block.
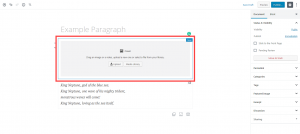 You will then see the option to upload or choose an image from the media gallery. Upload or select an image to use for your cover image.
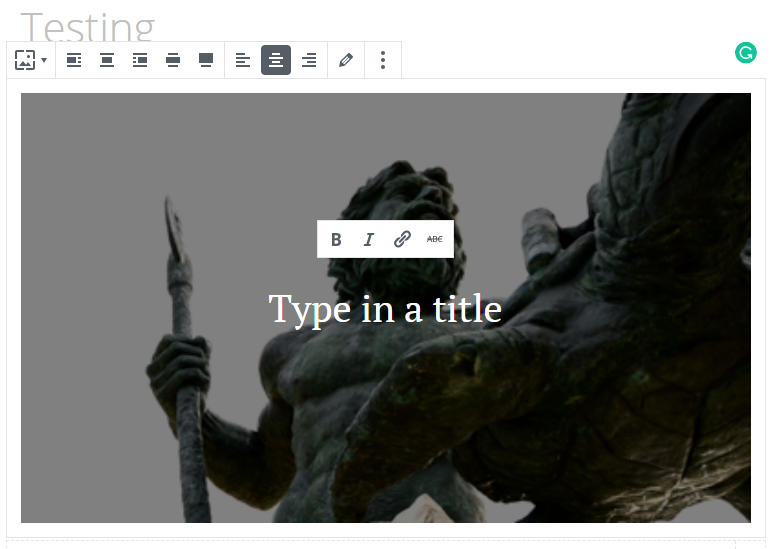
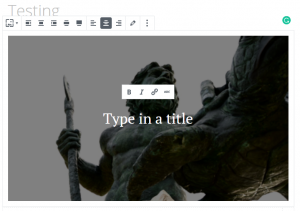 When the image is selected it will be faded out so that the title stands out. You will see a blinking cursor where you can type your title. Remember that the title goes across the image. Type in your cover image title. You also have several options for alignment in the to left corner tool bar.
- If you are finished with the Cover Image block, you can then click on Publish or Update to save your work.

Congratulations! You now know how to add a Cover Image with a title using the Gutenberg editor. For information please see How to use the Text Column Block in the Gutenberg editor.
SIGNUP FOR
BOLDGRID CENTRAL
200+ Design Templates + 1 Kick-ass SuperTheme
6 WordPress Plugins + 2 Essential Services
Everything you need to build and manage WordPress websites in one Central place.