WPForms is a powerful, drag and drop, form generator. Although easy to use, WPForms may be configured to customize your end user’s experience. In this article, you will become familiarized with the settings available in WPForms.
Navigating to Your Settings
- Log into your BoldGrid Administrative Dashboard
 Hover over WPForms in the left-hand WordPress menu and then select Settings
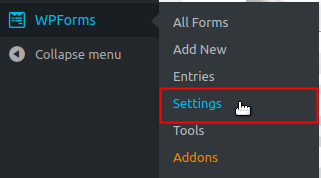
From within this settings page, you can see the following tabs: General, Email, reCAPTCHA, Validation, and Integrations. We’ll start by reviewing the options available under the General tab.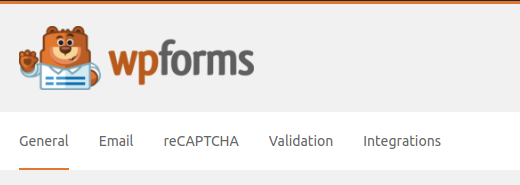
General Settings
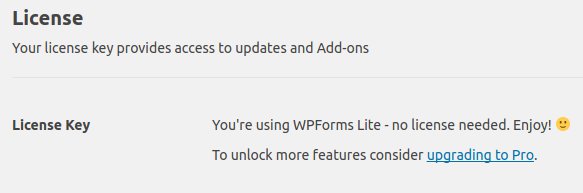 Under the General tab, is the section labeled: License. BoldGrid includes WPForms Lite (the free version), so no license key is needed. However, this is where you can find out more information on upgrading to WPForms Pro version, if you’d like to take advantage of their premium features.
The next section, General controls the loading of the CSS files, styling, and global assets. Typically, this section would be used by more advanced CSS/HTML developers coding intricate customizations.
Include Form Styling determines which CSS to load. You can select from “Base and form theme styling”, “Base styling only”, or “No styling”. Your selection would depend on your use of CSS/HTML, within your code, for your custom forms and website. 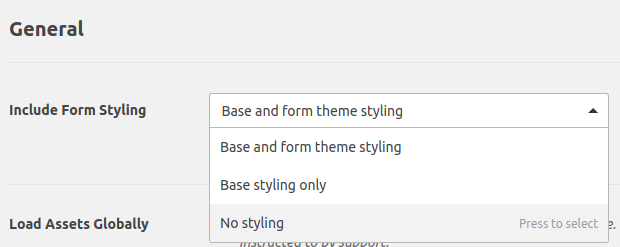 The last option is Load Assets Globally. This will allow for configuring how WPForms’s assets are loaded. Typically this setting is only used when trouble shooting or for other circumstances, including compatibility issues.
Email Settings
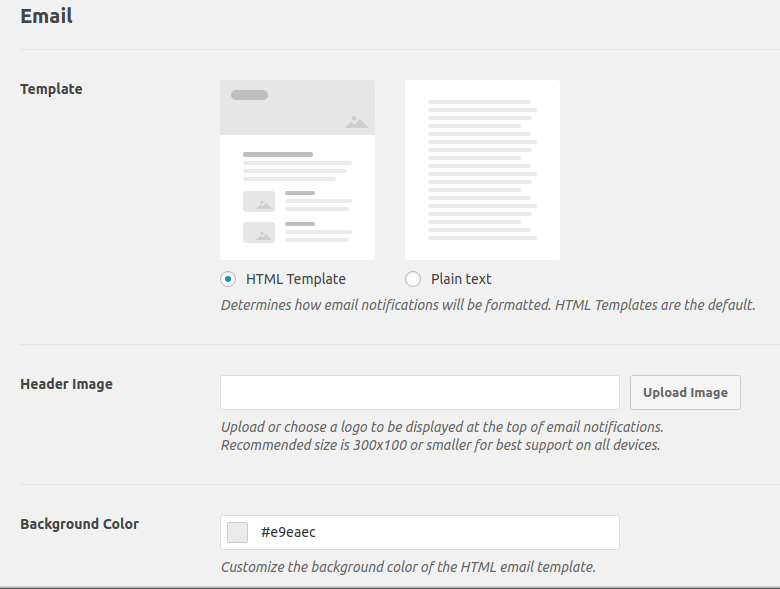 Under the Email tab, are the options for configuring emails from your forms. For instance, you may select the radio button for either HTML or Plain text formatted emails. Additionally, you can upload a header image and change the background color from within this menu.
![]() You can also check the box next to Carbon Copy to enable the ability to CC: email addresses.
You can also check the box next to Carbon Copy to enable the ability to CC: email addresses.
reCAPTCHA Settings
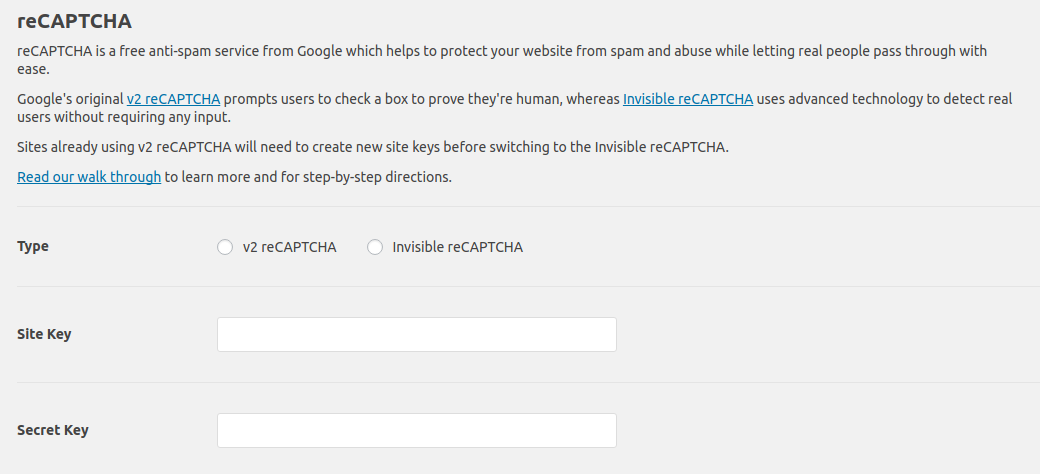 Under the reCAPTCHA tab, you may select the type of reCAPTCHA to implement by selecting the radio button for either v2 reCAPTCHA or Invisible reCAPTCHA. This tab is where you would enter your Site and Secret Keys into their respective fields. For more information on adding reCAPTCHA, you can review WPForms’s documentation included in this section of the settings.
Validation Settings
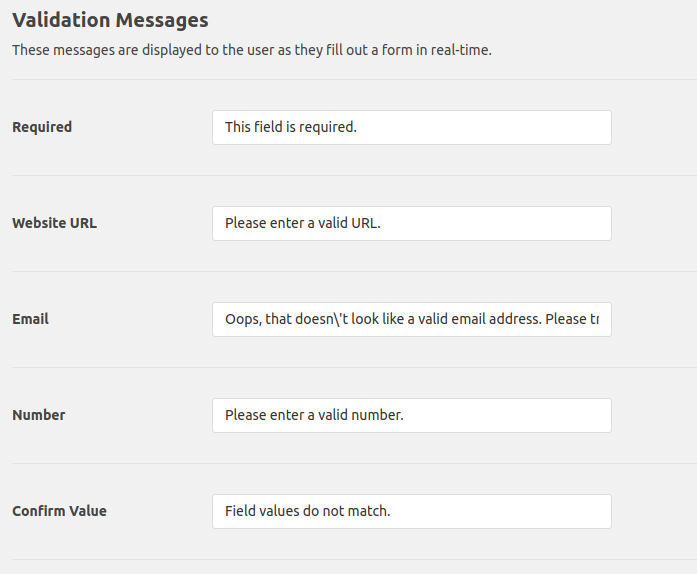 Under the Validation tab, you may edit the messages displayed within your forms, as the user fills out the form live. For instance, to indicate something “Required” for your form to be submitted, you can enter the custom message you’d like in that field. Validation checks are done to confirm the input is what is expected, for instance, for the Email Address field. If a valid email address is not entered, the message configured here will be displayed. In this case, users would see: “Oops, that doesn’t look like a valid email address. Please try again!”
Integrations Settings
The Integrations tab is designed for expanding WPForms’s capabilities by integrating third party accounts/services here.
Saving Changes
 In order to preserve the changes you make, you’ll need to click the Save Settings button on each settings page you modify.
SIGNUP FOR
BOLDGRID CENTRAL
200+ Design Templates + 1 Kick-ass SuperTheme
6 WordPress Plugins + 2 Essential Services
Everything you need to build and manage WordPress websites in one Central place.
Mark says:
how do I code to have a button go to a wp form that I created?
Jesse says:
Hi Mark-
First, you’ll want to create a new page for your form, and then use the shortcode to embed the form on the page. Once you’ve got that published, you can link to that page from a button normally.