ATTENTION: Unfortunately, the BoldGrid Version of Ninja Forms is no longer actively maintained as of January 2019. We recommend you replace it with the current, most stable version of Ninja Forms found on the WordPress repository, or use our recommended WordPress contact form plugin, weForms.
The Ninja Forms Settings page includes three tabs. We will go over the available settings for Ninja Forms to help familiarize you with the plugin.
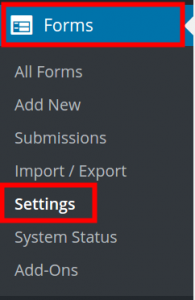
How to Access Ninja Forms Settings
- Log into BoldGrid.
- Click Forms, then Settings.
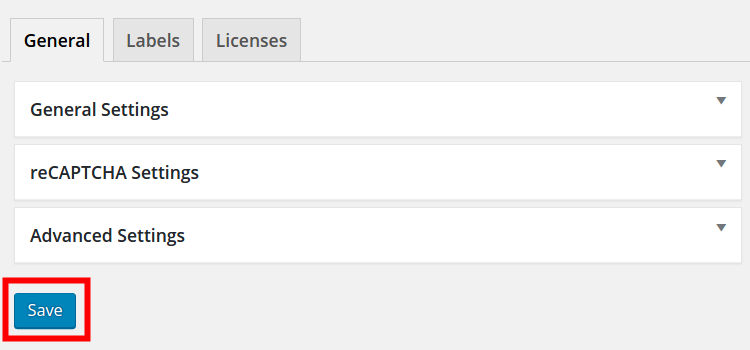
General Tab
- Click the General tab. Here you can view the Version of Ninja Forms you are using, modify the Date Format, or change the Currency Symbol.
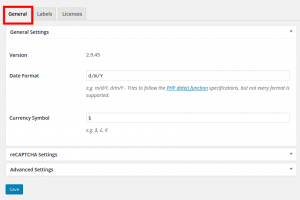
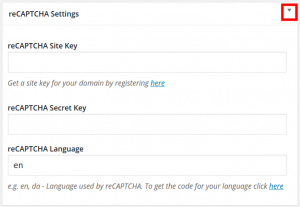
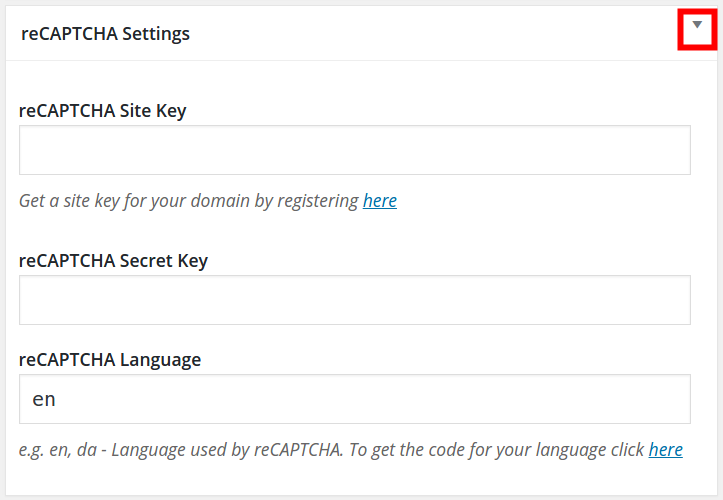
- Click the drop-down arrow next to reCAPTCHA Settings” to enter your reCAPTCHA settings.
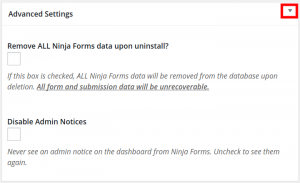
- Click the arrow next to Advanced Settings to remove all the Ninja Forms data when you uninstall the plugin, or disable admin notices from displaying in your BoldGrid dashboard.
- Click the Save button once you have chosen your settings.


Labels Tab
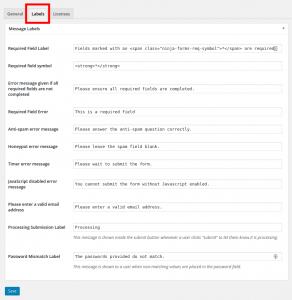
- Click the Labels tab to view/modify the message labels for Ninja Forms. Labels provide information or error messages to help visitors to your site fill out the forms successfully.
- Click the Save button when you are finished making changes. You will then see a Settings Saved message.

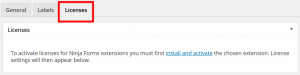
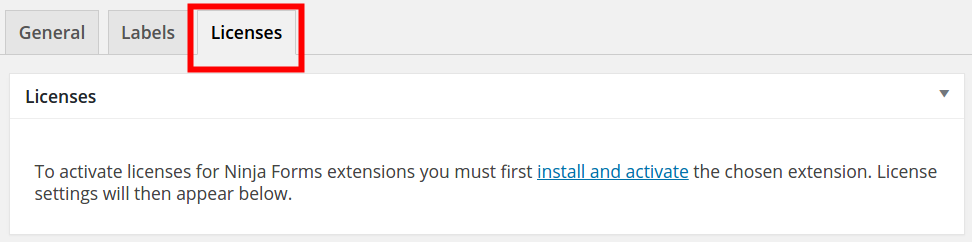
Licenses Tab
- Click the Licenses tab to view any Ninja Forms licenses you may have activated. This will differ based on your specific setup.
SIGNUP FOR
BOLDGRID CENTRAL
200+ Design Templates + 1 Kick-ass SuperTheme
6 WordPress Plugins + 2 Essential Services
Everything you need to build and manage WordPress websites in one Central place.