This article is part of a series about creating a custom Block with the BoldGrid Post and Page Builder plugin for WordPress. See part 1 and part 2 of this series.
Now that you have added images to a Block, it is time to style your content. The following guide will walk you through adding inline styling to the elements directly, then later move those styles to custom CSS classes once have customized it to fit your needs.
Currently, the breakpoint for tablet has the possibility to be wider than the images we are using here, so you will notice in that mode, the preview shows them not properly filling the width of the screen completely. To adjust this, we are going to create a custom CSS class to center it, which will help remedy the issue.
Using Inline CSS to Style Your Content
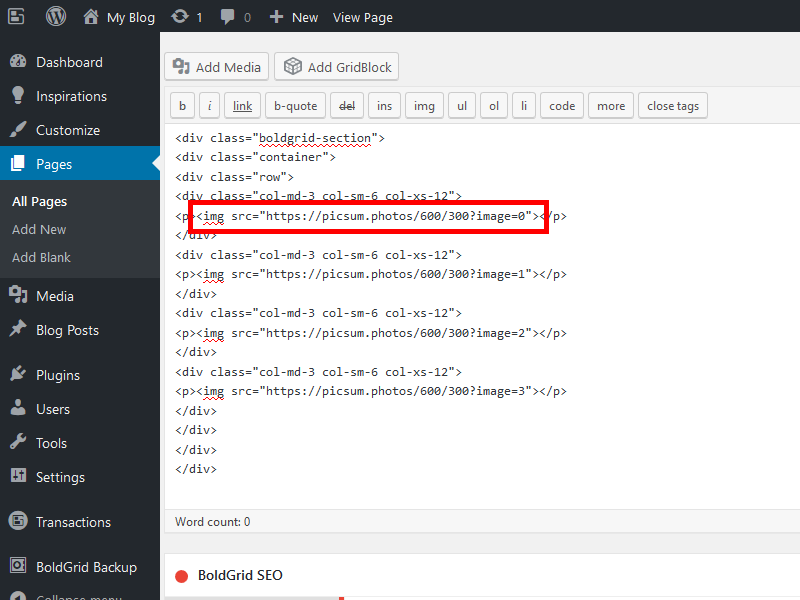
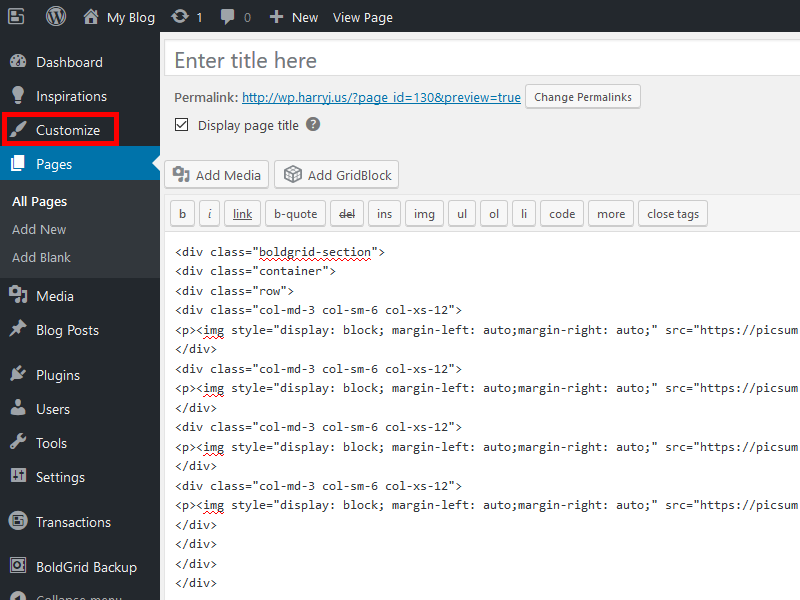
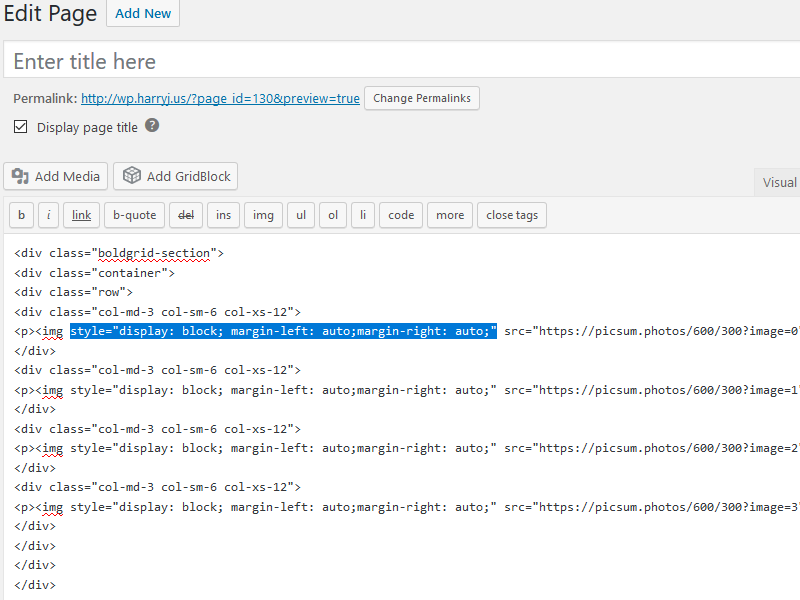
 With the editor opened in text mode, locate the img tags created earlier
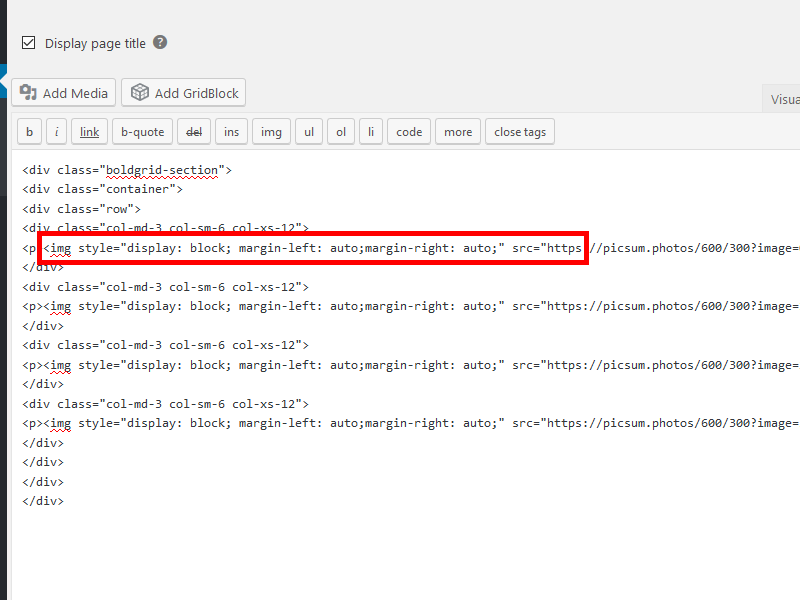
 - Apply an inline style to center all 4 of your images: style=”display: block; margin-left: auto;margin-right: auto;”
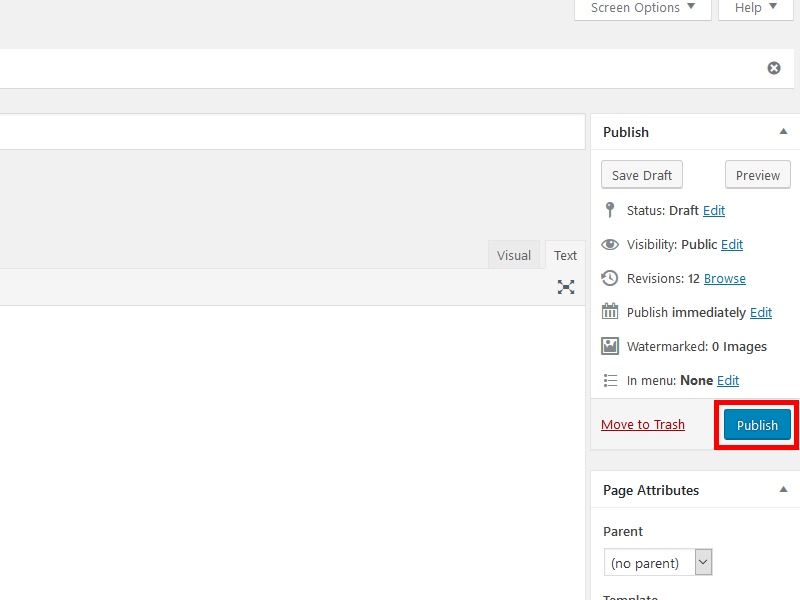
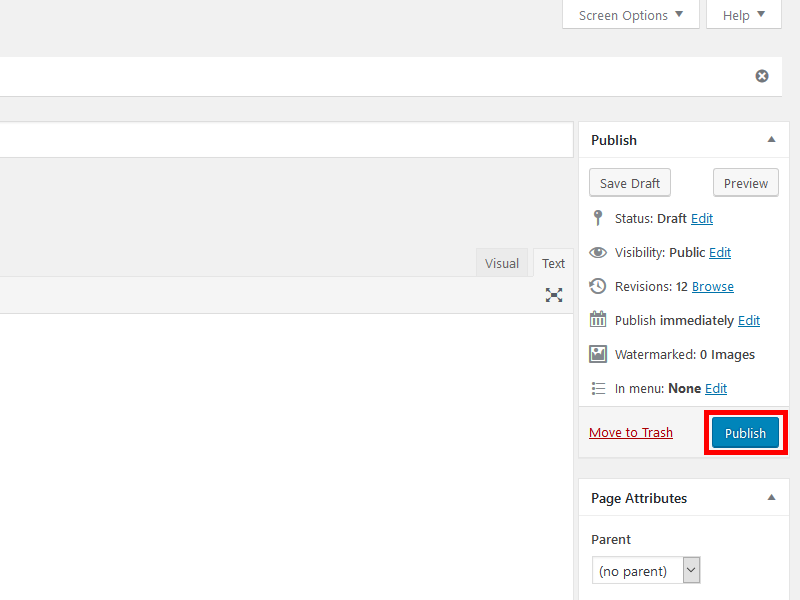
- Select Publish
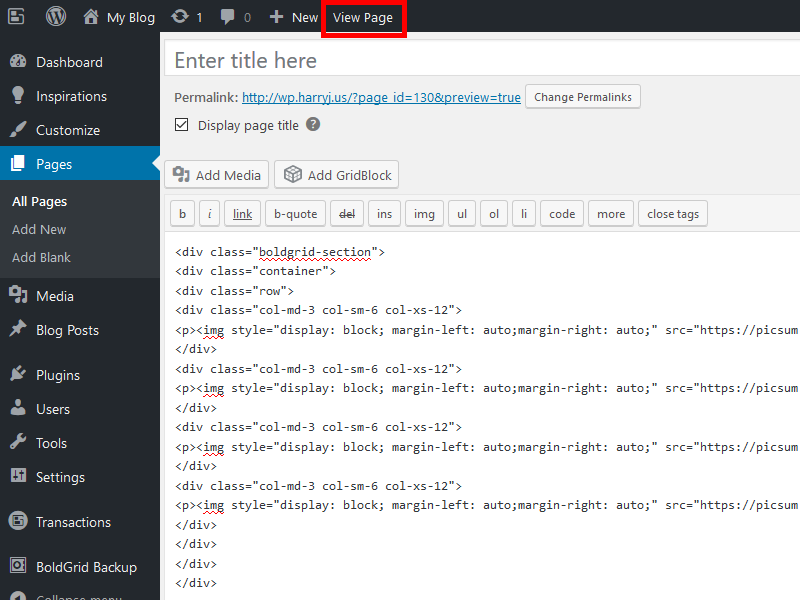
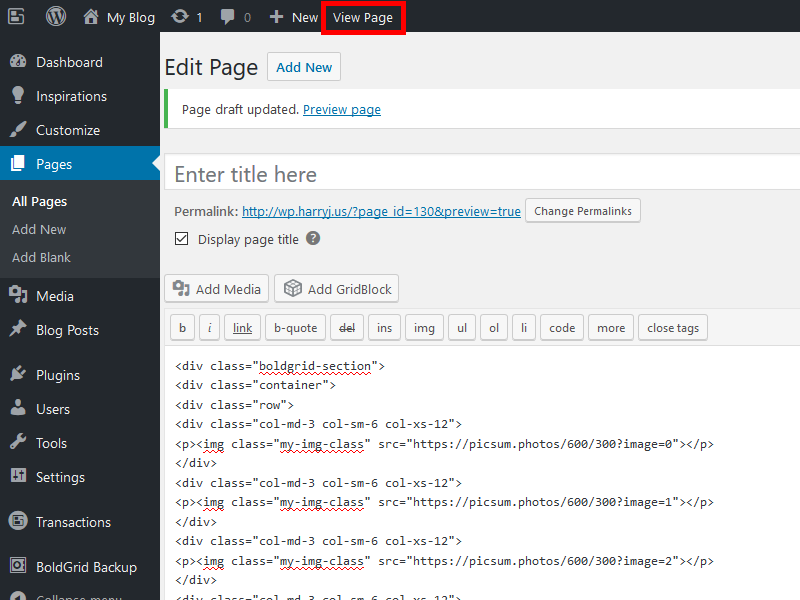
- Select View Page to preview your changes
Congratulations! You now know how to style the content within a column using inline CSS. Now we are going to take that inline style, and move it to a custom CSS class that can be called with a simple selector.
Adding your Inline Style as a Custom Class
To accomplish moving your CSS to a custom class, first you want to write the CSS in a legible format. Here is an example of the code we used inline to center the element previously, with an added custom class selector called my-img-class.
When creating custom classes, it’s best to choose a naming convention that is as unique as possible, to ensure you are not overriding a selector that is already styled within the theme. Once you have the CSS laid out, it’s time to place it in the Customizer and apply it.
- Navigate to the Dashboard, and select Customize
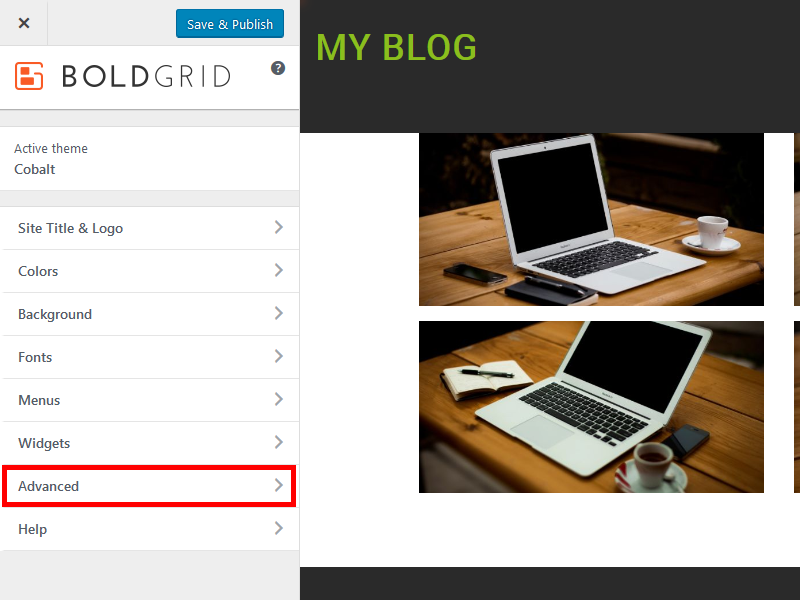
- Select Advanced
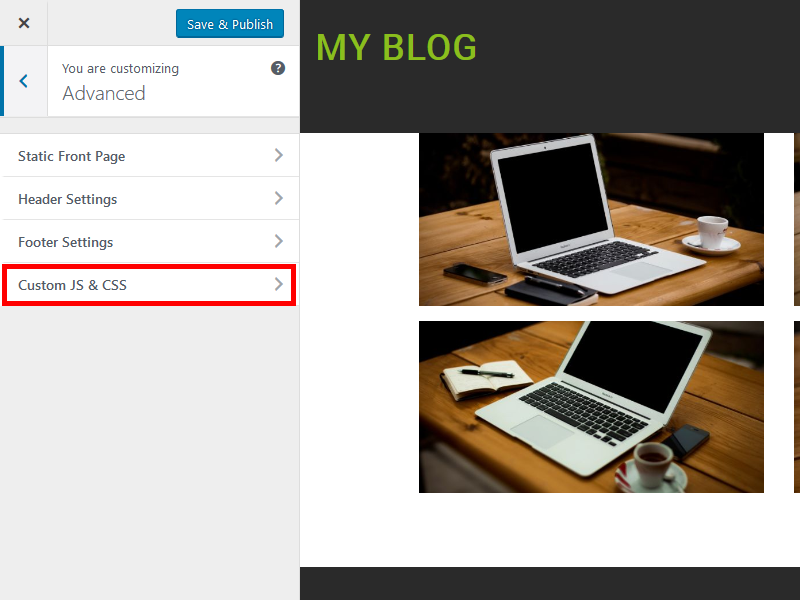
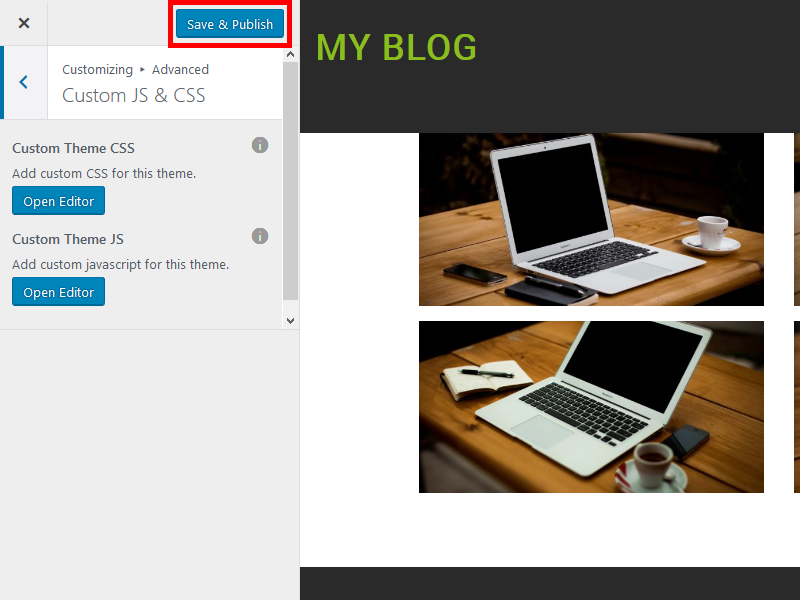
- Select Custom JS and CSS
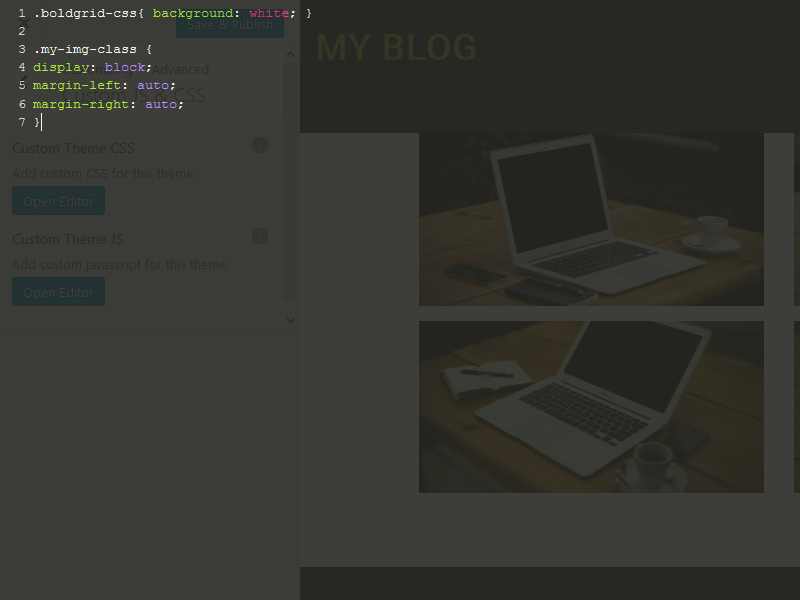
- Under Custom CSS, Select Open Editor
- Paste the CSS code we created in the previous step
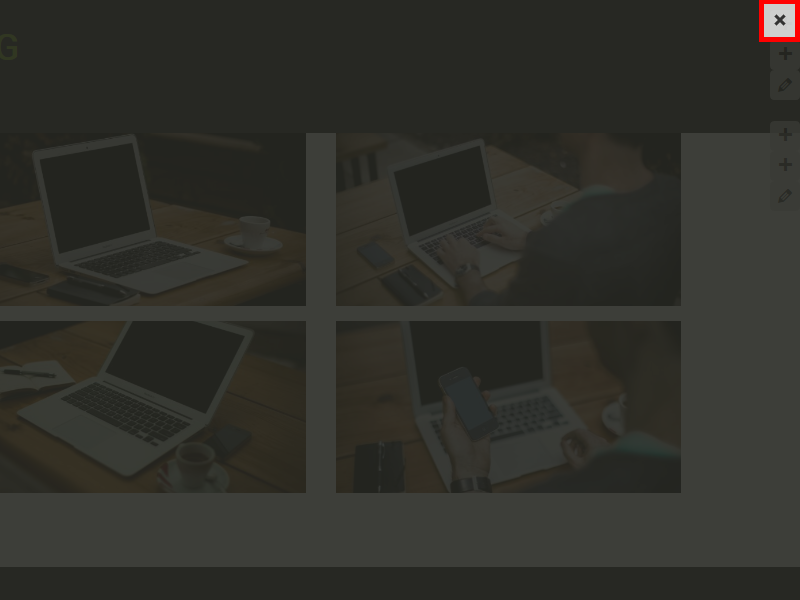
- Select the X in the top right corner
- Select Save and Publish

Congratulations! You now know how to create a custom CSS class.
Applying your Custom CSS Class
To apply the custom CSS class to your images, we need to revisit the code we were editing previously within the page editor.
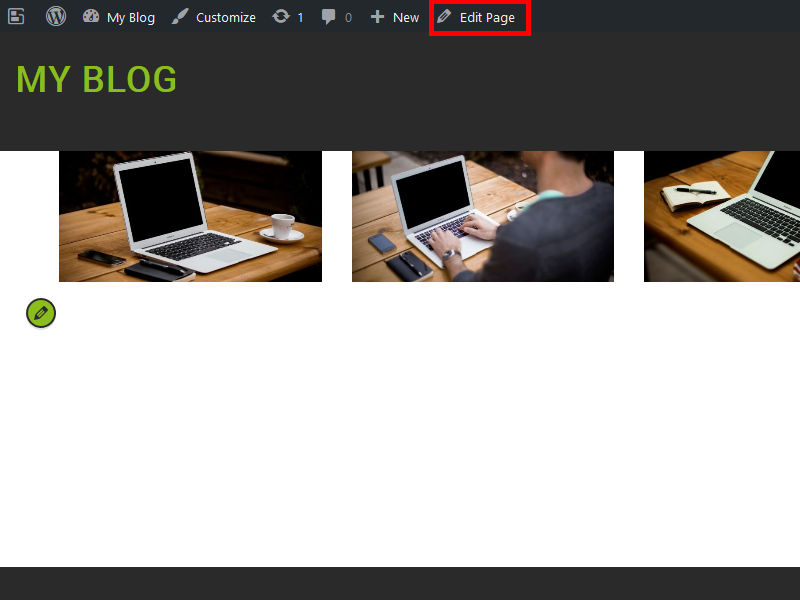
- Navigate to the Page Editor by selecting Edit Page
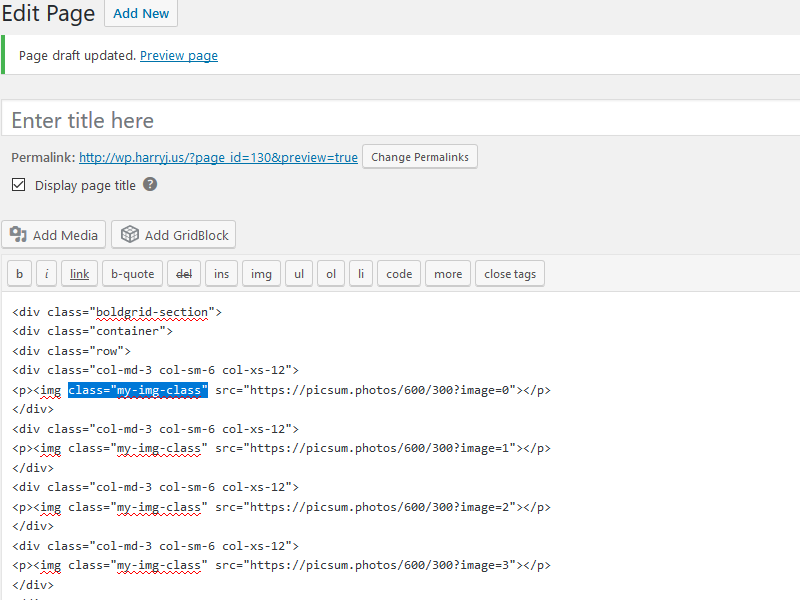
- Remove the inline styles we created earlier in the img tag
- Add the class we just created for .my-img-class as class=”my-img-class” within the img tags
- Select Publish to save your changes
- View the page to preview the image and ensure it works as expected
Congratulations! You now know how a Block is structured, how to add content to it, and are now familiar with styling the content within a Block.
SIGNUP FOR
BOLDGRID CENTRAL
200+ Design Templates + 1 Kick-ass SuperTheme
6 WordPress Plugins + 2 Essential Services
Everything you need to build and manage WordPress websites in one Central place.