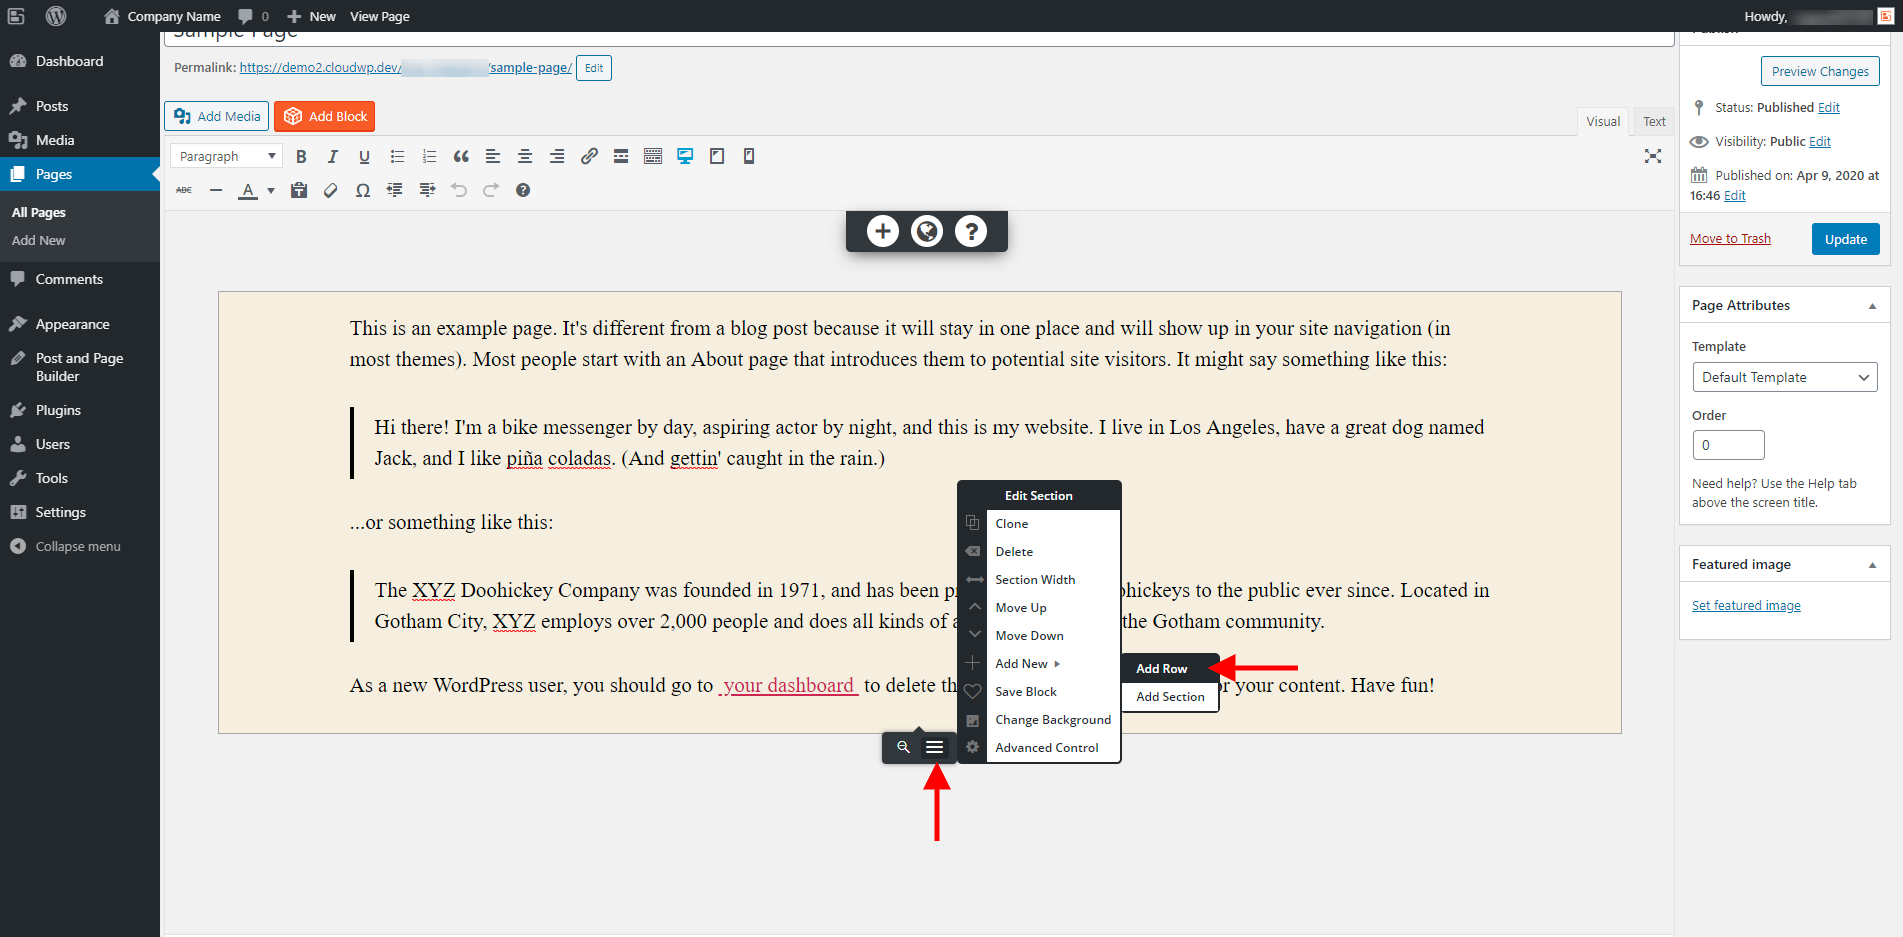
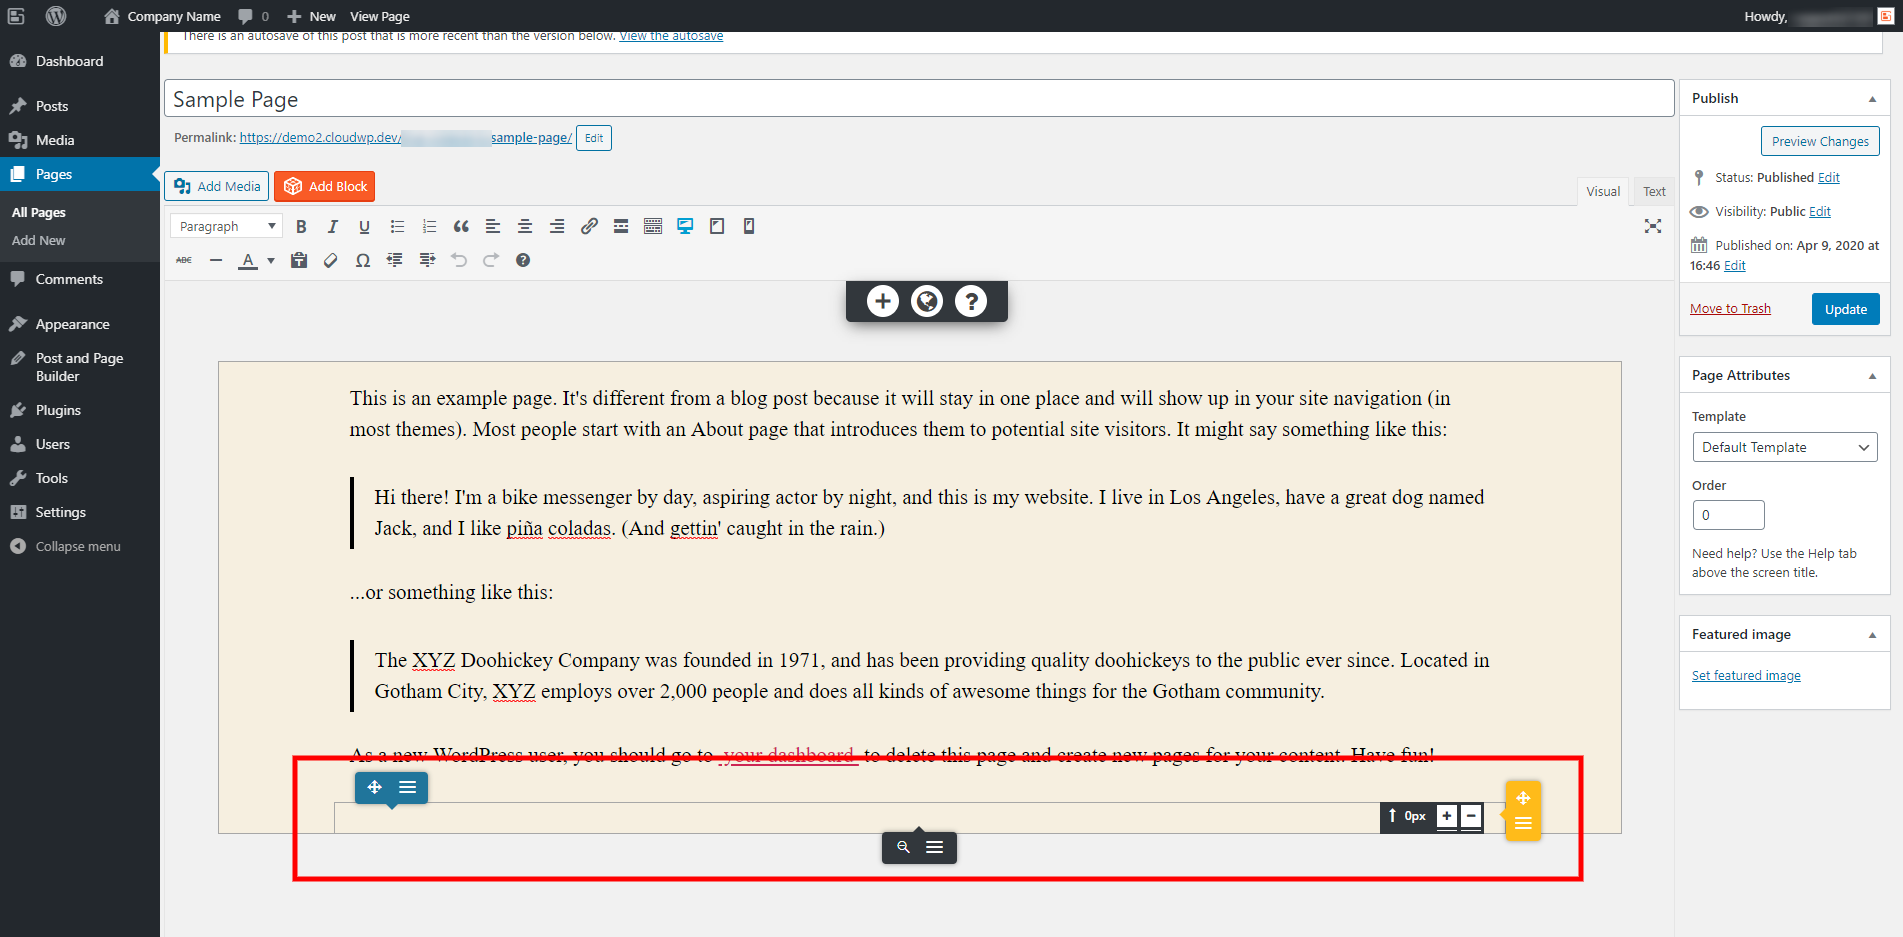
By default each block component added through the Post and Page Builder is treated as a separate item and will occupy its own line within the column. The best way to create a layout where an icon is lined up with a particular block of text and treated as its own single entity is to create an inner row. The first step to making an inner row is to add a new row inside the Section that you want to add your content too using the Section tools which will be added to the bottom of that Section.
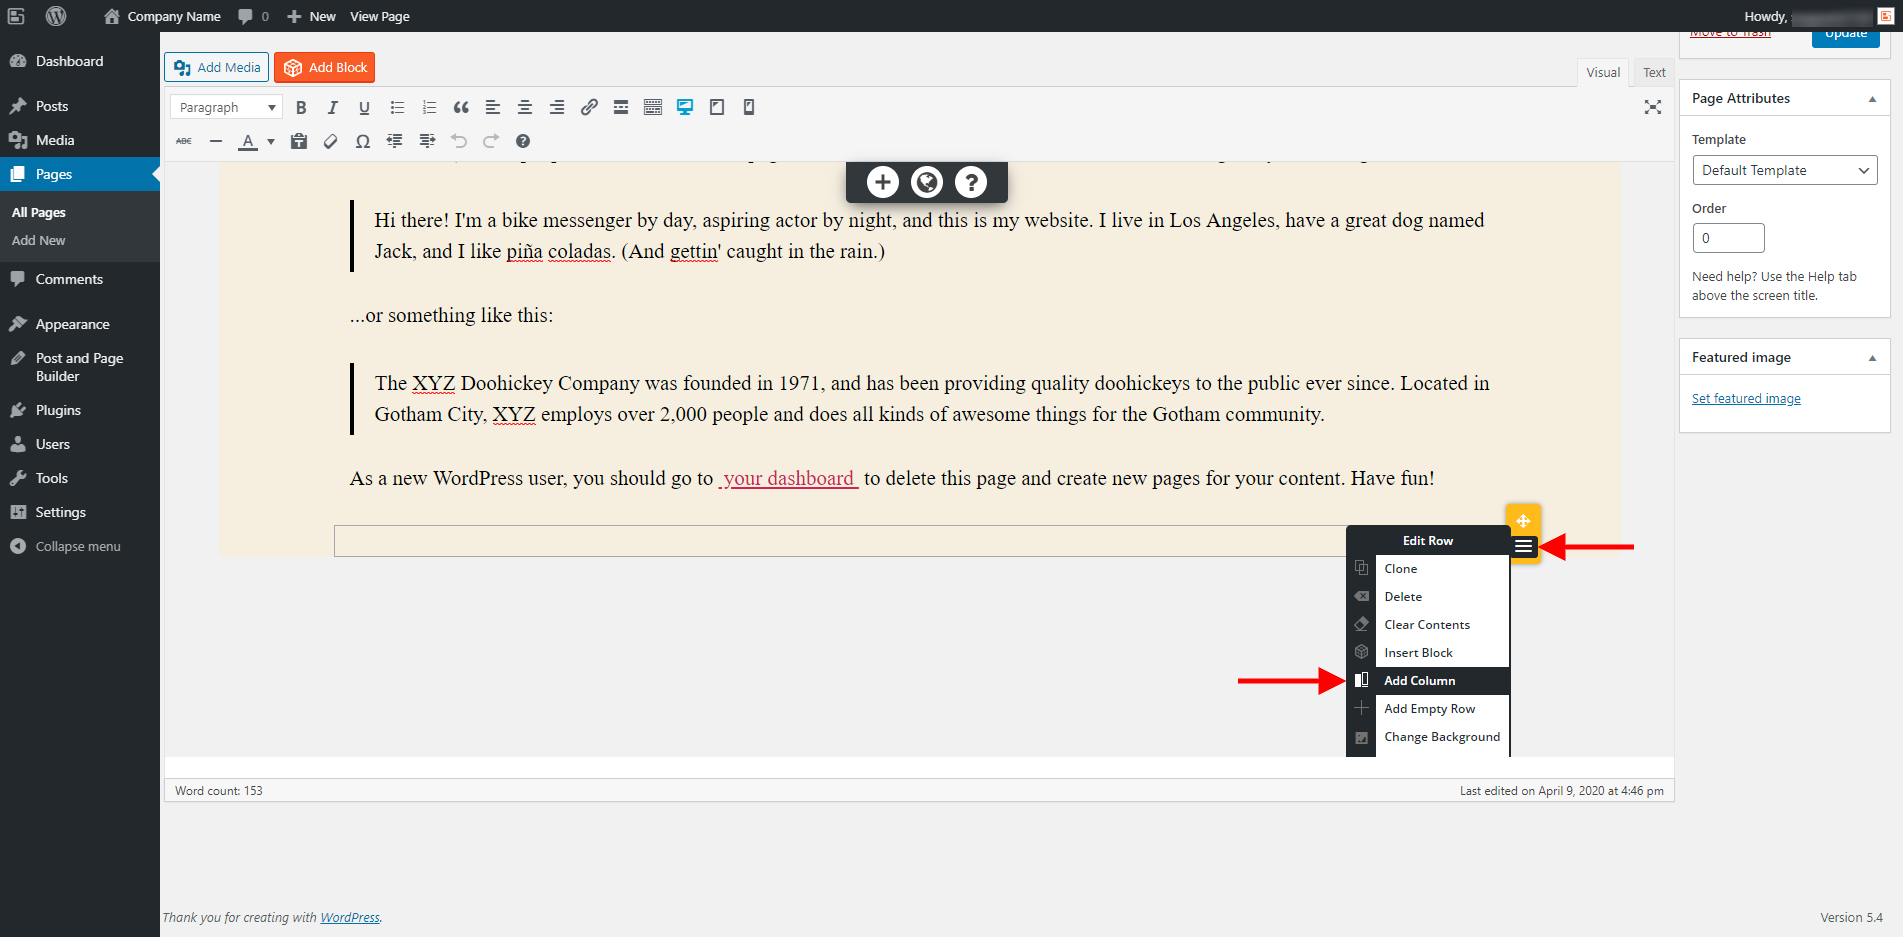
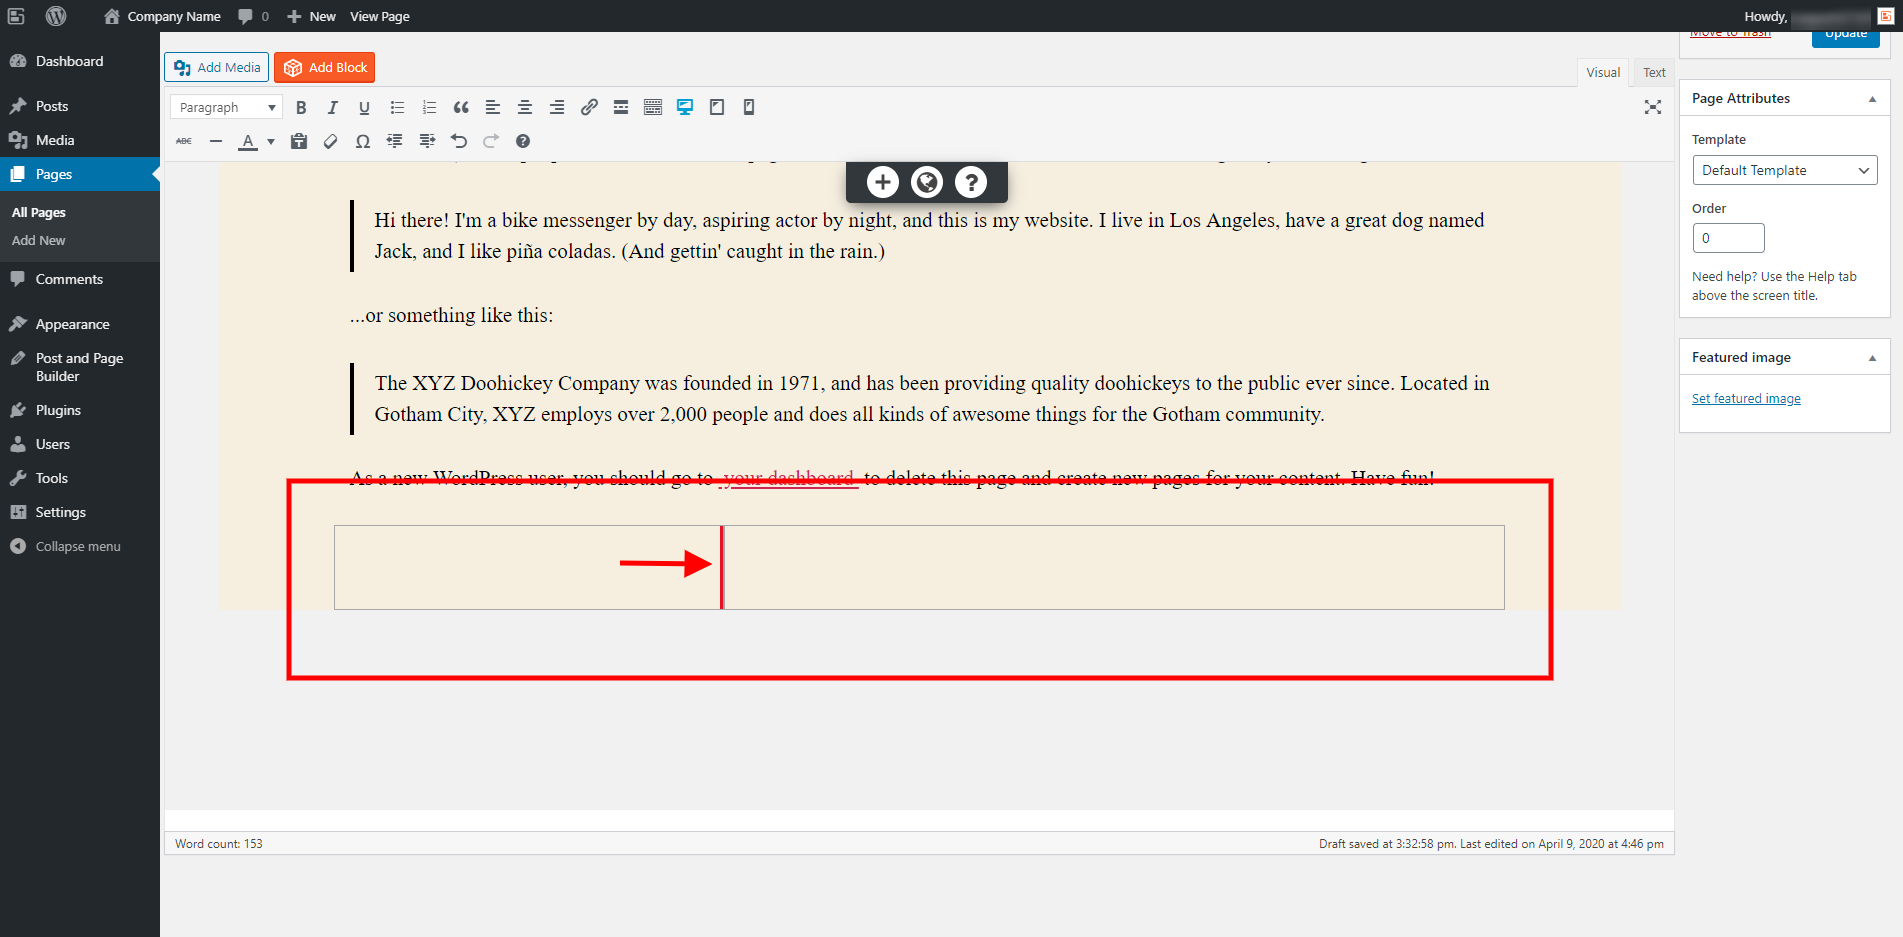
Once your row is created you can add more columns to it to display the appropriate number of items you need lined up, and in this case we need two columns total so you only need to add one. Once the new column is added you can use the drag handles to adjust the column widths to create the appropriate spacing
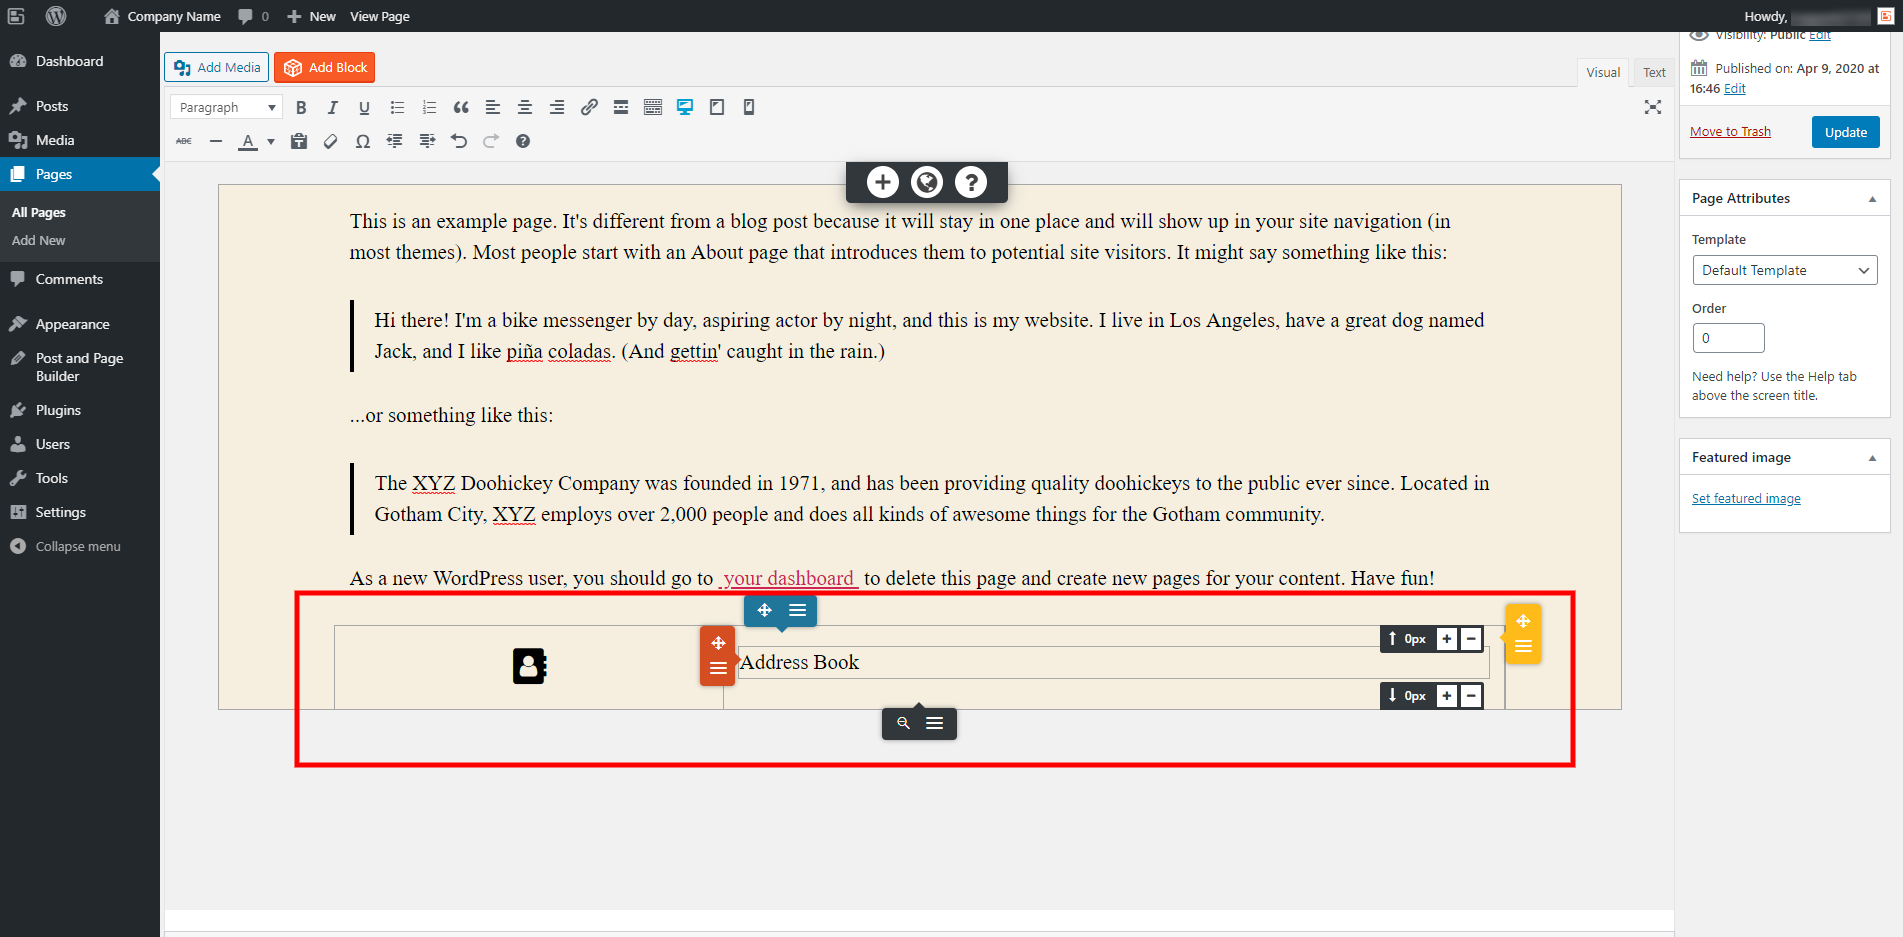
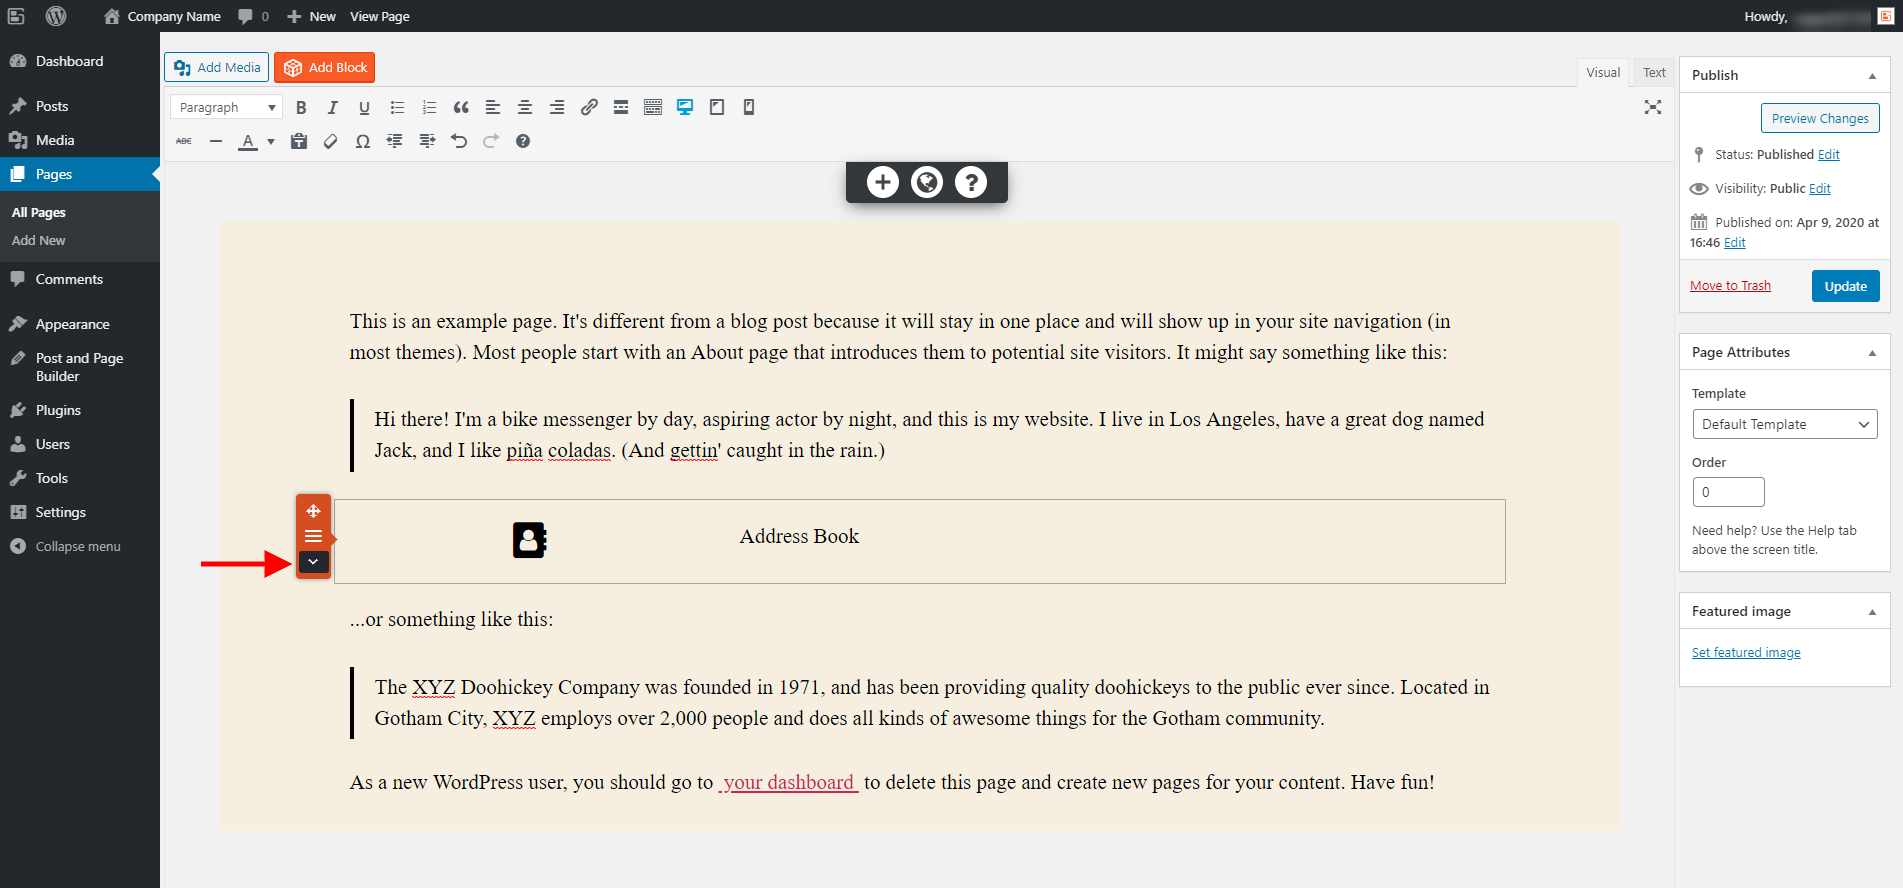
Add your icons and text to the columns in the row as needed and make any necessary alignment changes.
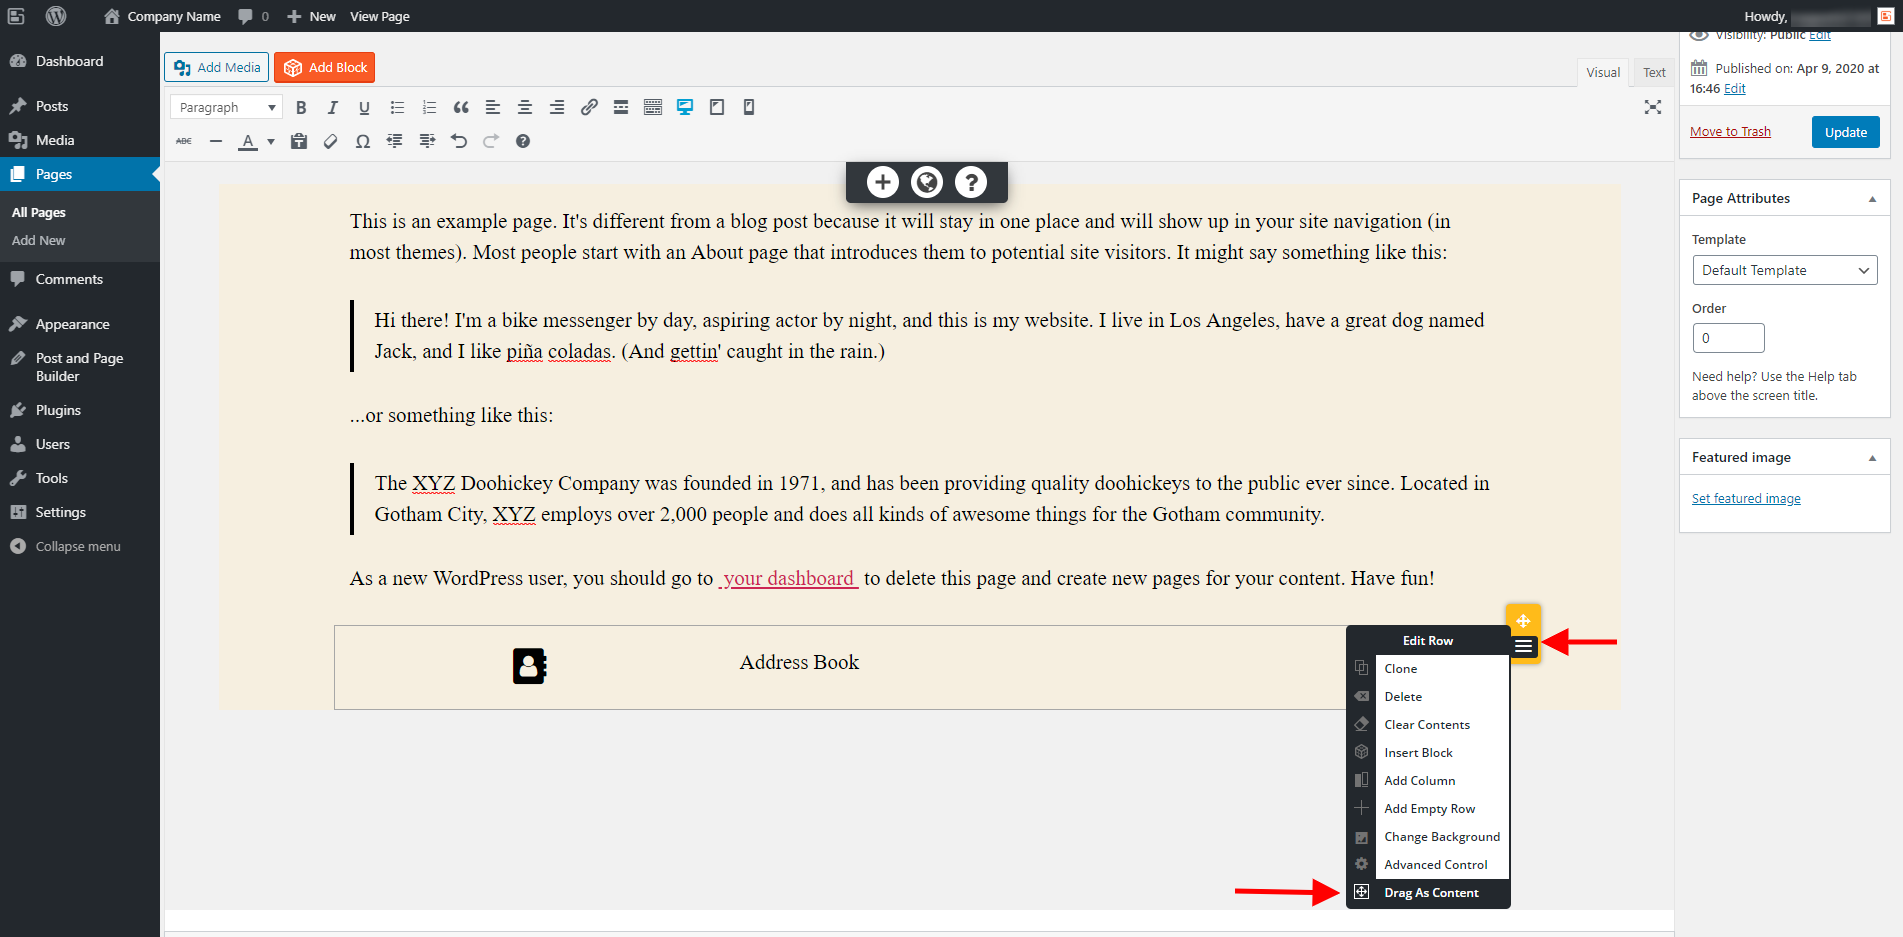
After all of your content is in place, open the Row controls and select the Drag as Content option and keep holding the mouse button down to move the row like a single piece of content.
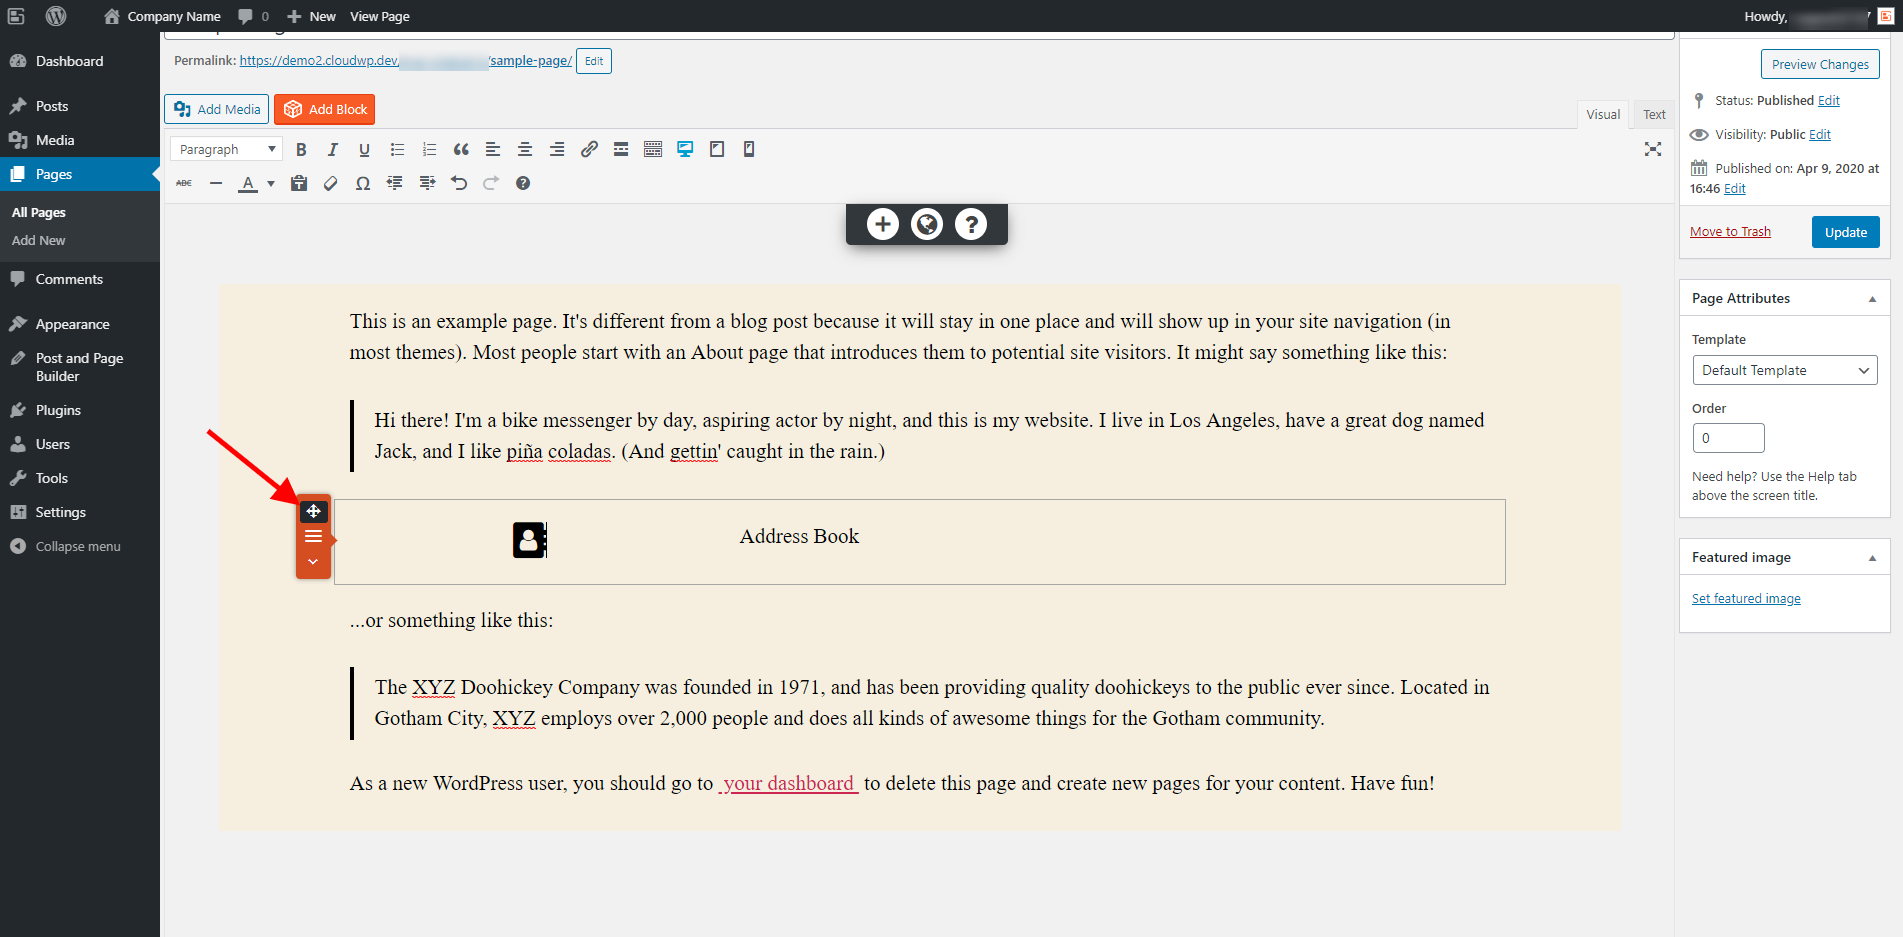
After moving it to any new position on the page you will be able to hover back over the inner row and move again like a single piece of content.
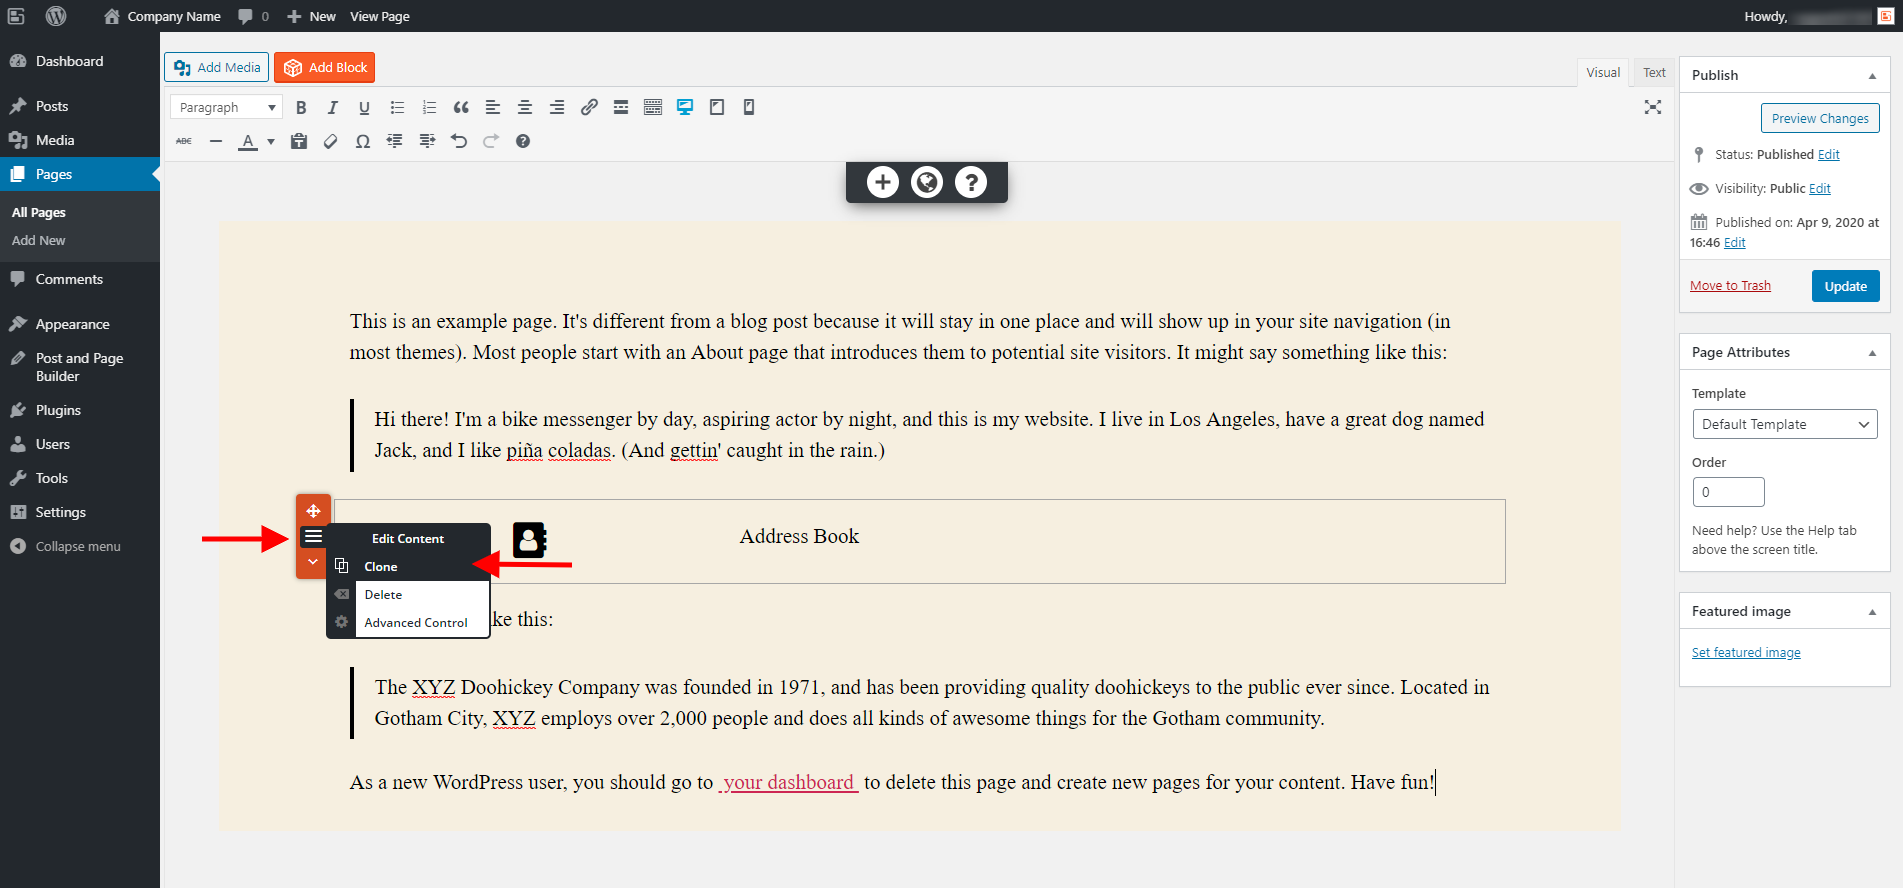
Your new inner row can be easily cloned to make additional rows as needed and you can change the content within using the Edit as Row option to update the icons and text.
Congratulations, you now know how to create an Inner Row using the Post and Page Builder to align multiple block components in a single row!
SIGNUP FOR
BOLDGRID CENTRAL
200+ Design Templates + 1 Kick-ass SuperTheme
6 WordPress Plugins + 2 Essential Services
Everything you need to build and manage WordPress websites in one Central place.