The post and Page Builder is a powerful tool giving you the ability to control and customize your content. The drag and drop interface used in the visual editor offers tons of possibilities. When you use the visual editor to add elements, the Post and Page Builder adds the necessary HTML to accomplish the design. This means that in addition to the visual editor, you have the power of HTML at your fingertips. This allows you to go beyond the possibilities of the visual editor for more powerful control and design possibilities. You can create entire posts or pages with HTML or you can use HTML to make adjustments to your content on an existing page or post. This article will show you how to use Custom HTML in your posts and pages.
Accessing the text editor
Using custom HTML with the Post and Page Builder is a snap.
- Open the post or page you would like to edit with HTML.
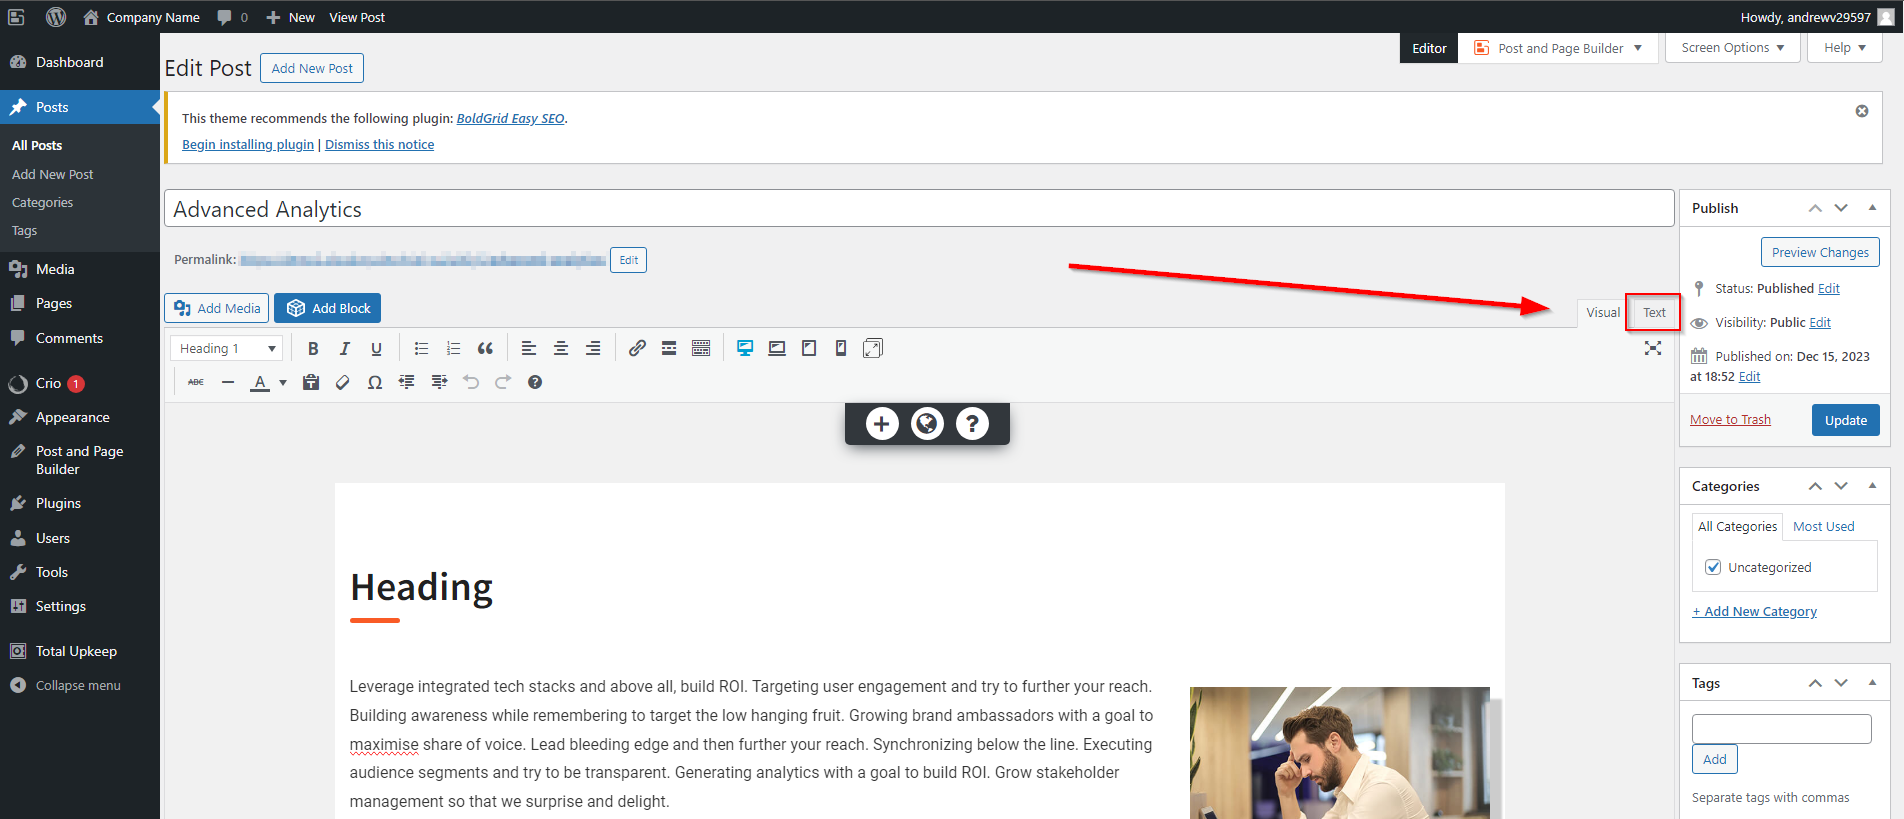
- On the top right of the Editor Window click the Text tab.

- You will then see your page/post displayed in HTML. From here you can make your desired changes.
- If you want to see your changes or make additional changes with the visual editor, click the Visual tab at the top right of the editor window.
- Once you are finished, you will need to click on the Update or Publish to the right of the editor.
- This will show below the editor on smaller screens.
Toubleshooting
Finding specific elements in the Text editor
If you have a lot of content in your post, or are trying to make changes to a specific element, you can highlight the text or element you would like to change. When you switch between the visual and text editors, whatever you have highlighted will also be highlighted in the editor you are switching to. This can be very useful for zeroing in on a particular element
HTML Was changed after publish
The Post and page builder will do it’s best to automatically adjust to make your content compatible with the visual editor. If you add custom HTML to a completely blank text editor you will see that it gets wrapped in a boldgrid-section as well as a row and column elements. These elements are added to allow you to use the visual editor with your custom HTML.
Why does my HTML get removed from the editor?
Sometimes code will get removed when switching between visual and code views. This happens when the editor doesn’t know what to do with the code – it can’t interpret it. This typically happens with <script\> tags used to add CSS styles or Javascript. If you require additional CSS or Javascript, check out our article on Using Custom CSS and JS with Crio.
Another example that may be removed from the editor would be tracking codes. These generally need to be in the header or footer. There are tracking code plugins available to get the code in the correct location.
Getting Started
If you are looking to make use of HTML but aren’t sure where to begin we included some other articles below.
How to Create Collapsing Divisions in BoldGrid
How to Embed a Google Calendar in your Page Content
SIGNUP FOR
BOLDGRID CENTRAL
200+ Design Templates + 1 Kick-ass SuperTheme
6 WordPress Plugins + 2 Essential Services
Everything you need to build and manage WordPress websites in one Central place.
Shari says:
Thanks for your reply. I finally figured out where to find that, but you didn’t really make it clear. When I clicked for a New Block, in the Widgets section I saw the Block widget with a gear icon. And when I clicked on the tiny plus sign in the corner of that, that’s where I found the HTML code. But it’s certainly hidden in plain sight! I had looked and looked for that and saw it, but didn’t know to click in the plus sign in the corner, and it’s also not clear by the name of the block that it has anything to do with HTML. Thanks for your help! At least now I know where to find it!
Brandon says:
I do apologize Shari! I should have been more clear, but I am happy to hear you were able to get this resolved. Please let us know if there’s anything else that we can answer for you!
Shari says:
This looks easy. My problem is that I have an embed code from another company (my newsletter sign-up form). The instructions from them say to add it just before the final tag in the page. However, I don’t see any final tag. Can I just add one after all the other HTML, and add my embed code just before that? I don’t know anything about HTML so feel a little worried about doing this! Thank you.
Brandon says:
Hi Shari, You don’t need to manually add a closing
tag or worry about editing HTML directly in BoldGrid Post and Page Builder. You can use the Custom HTML block component. Click the Add Block button in your PPB editor. Click the “plus” icon and select Custom HTML. Paste your newsletter sign-up form embed code into the Custom HTML block. This should add the custom code just fine. Please let us know if you need further assistance with this!