Enabling Purge in the NGINX Helper plugin allows you to utilize its automatic cache purging features. This ensures visitors to your site are being served the latest content from your site. In this guide, we will show you how to enable purge in the NGINX Helper plugin. This is the most common step after installing the NGINX Helper plugin.
How to Enable Purge
- Log into BoldGrid.
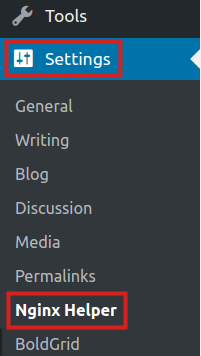
 Click Settings, then Nginx Helper.
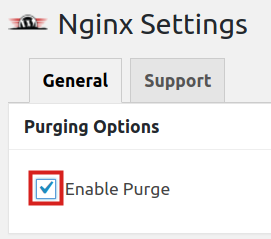
  Check the Enable Purge box to view the purging options.
 It will then drop down and list the caching options.
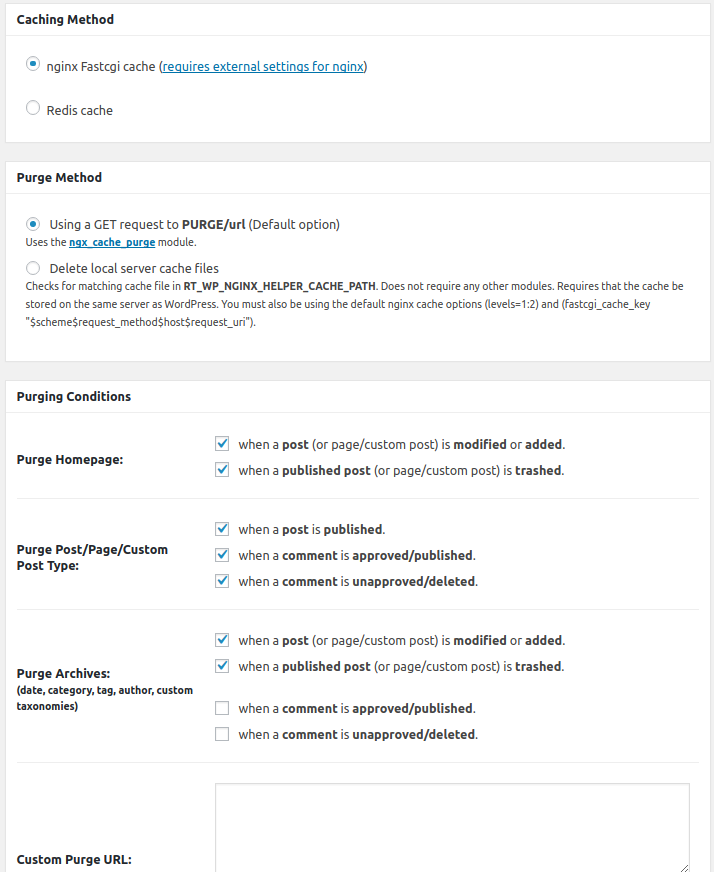
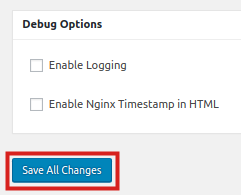
 Since the plugin uses our recommended settings by default, you can simply scroll to the bottom and click the Save All Changes button.
Congratulations, now you know how to enable Purge in the NGINX Helper plugin!
SIGNUP FOR
BOLDGRID CENTRAL
200+ Design Templates + 1 Kick-ass SuperTheme
6 WordPress Plugins + 2 Essential Services
Everything you need to build and manage WordPress websites in one Central place.