WordPress is the most popular CMS website builder on the internet. Over 38% of all websites on the internet are built with WordPress. WordPress is easy to install and easy to use, unlike a lot of other website building software. This has allowed it to become the choice for new users, professionals and webmasters everywhere.
This WordPress tutorial will explain the process for installing WordPress, beginning with the famous 5 minute install, and giving some information about installing it with the many different tools offered by our Partner WordPress hosting providers.
The famous “5 Minute WordPress Installation”
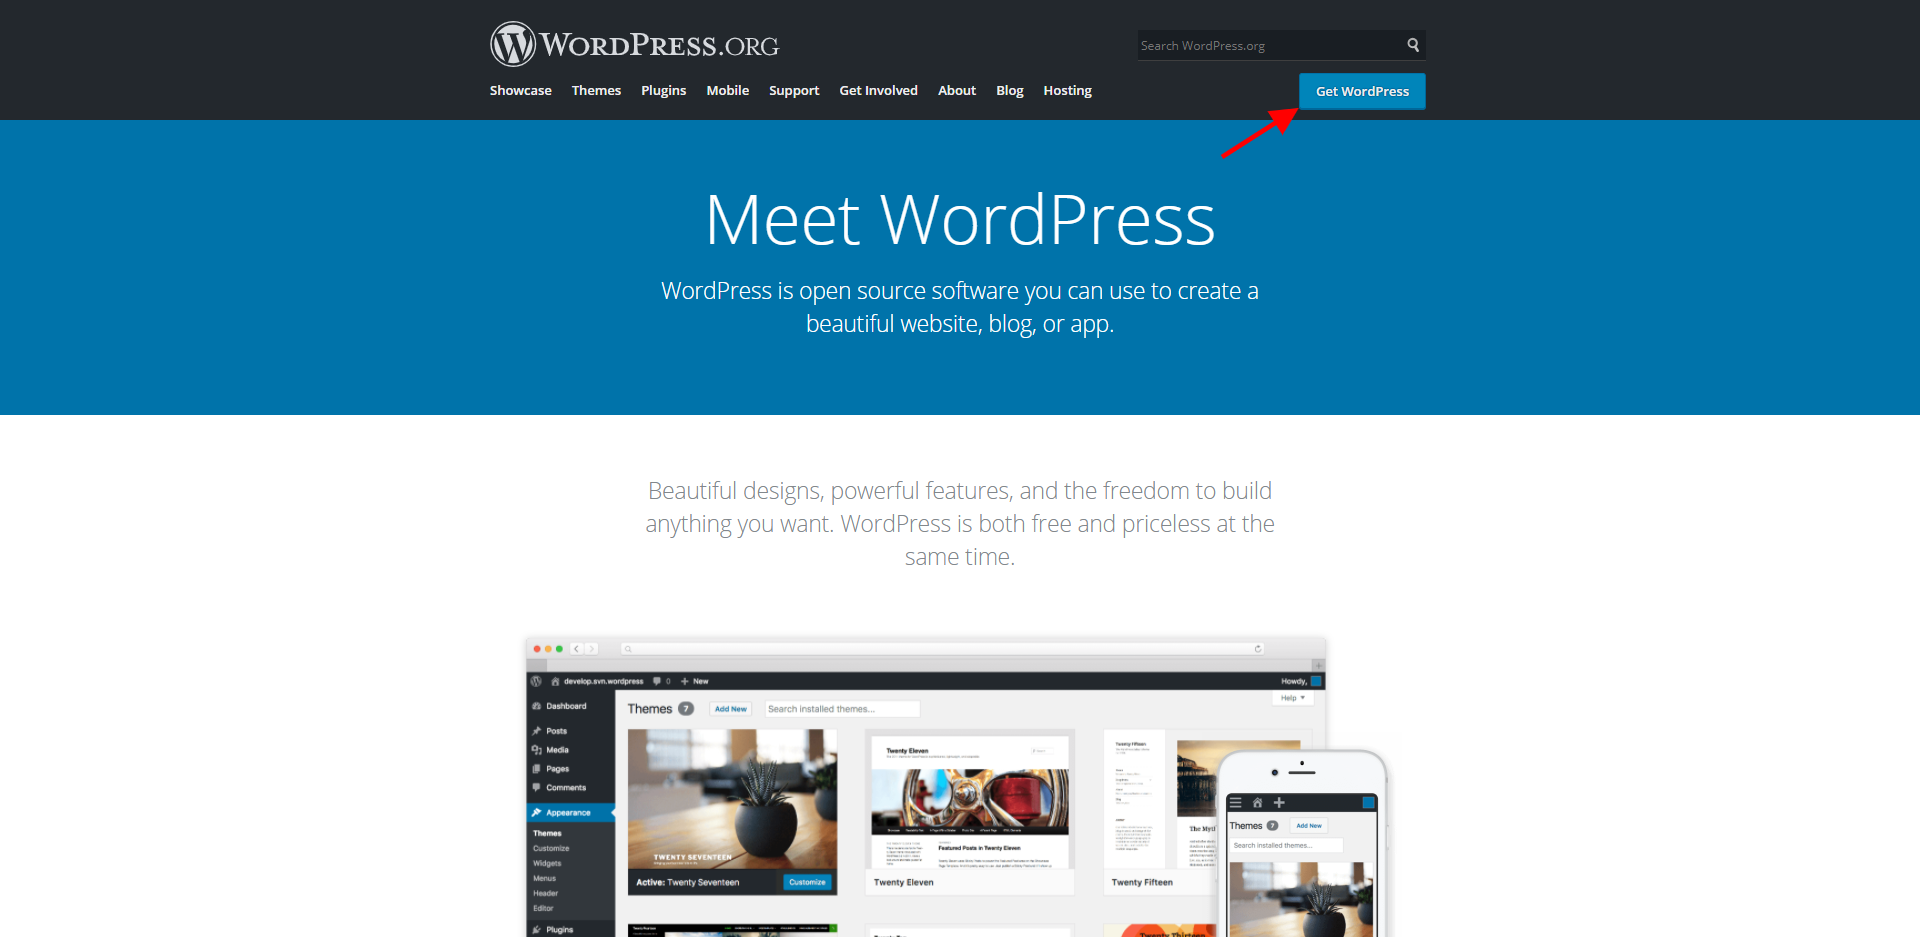
The first step to installing WordPress on your server is to get the required files from WordPress.org. Navigate to the WordPress community website and click Get WordPress.
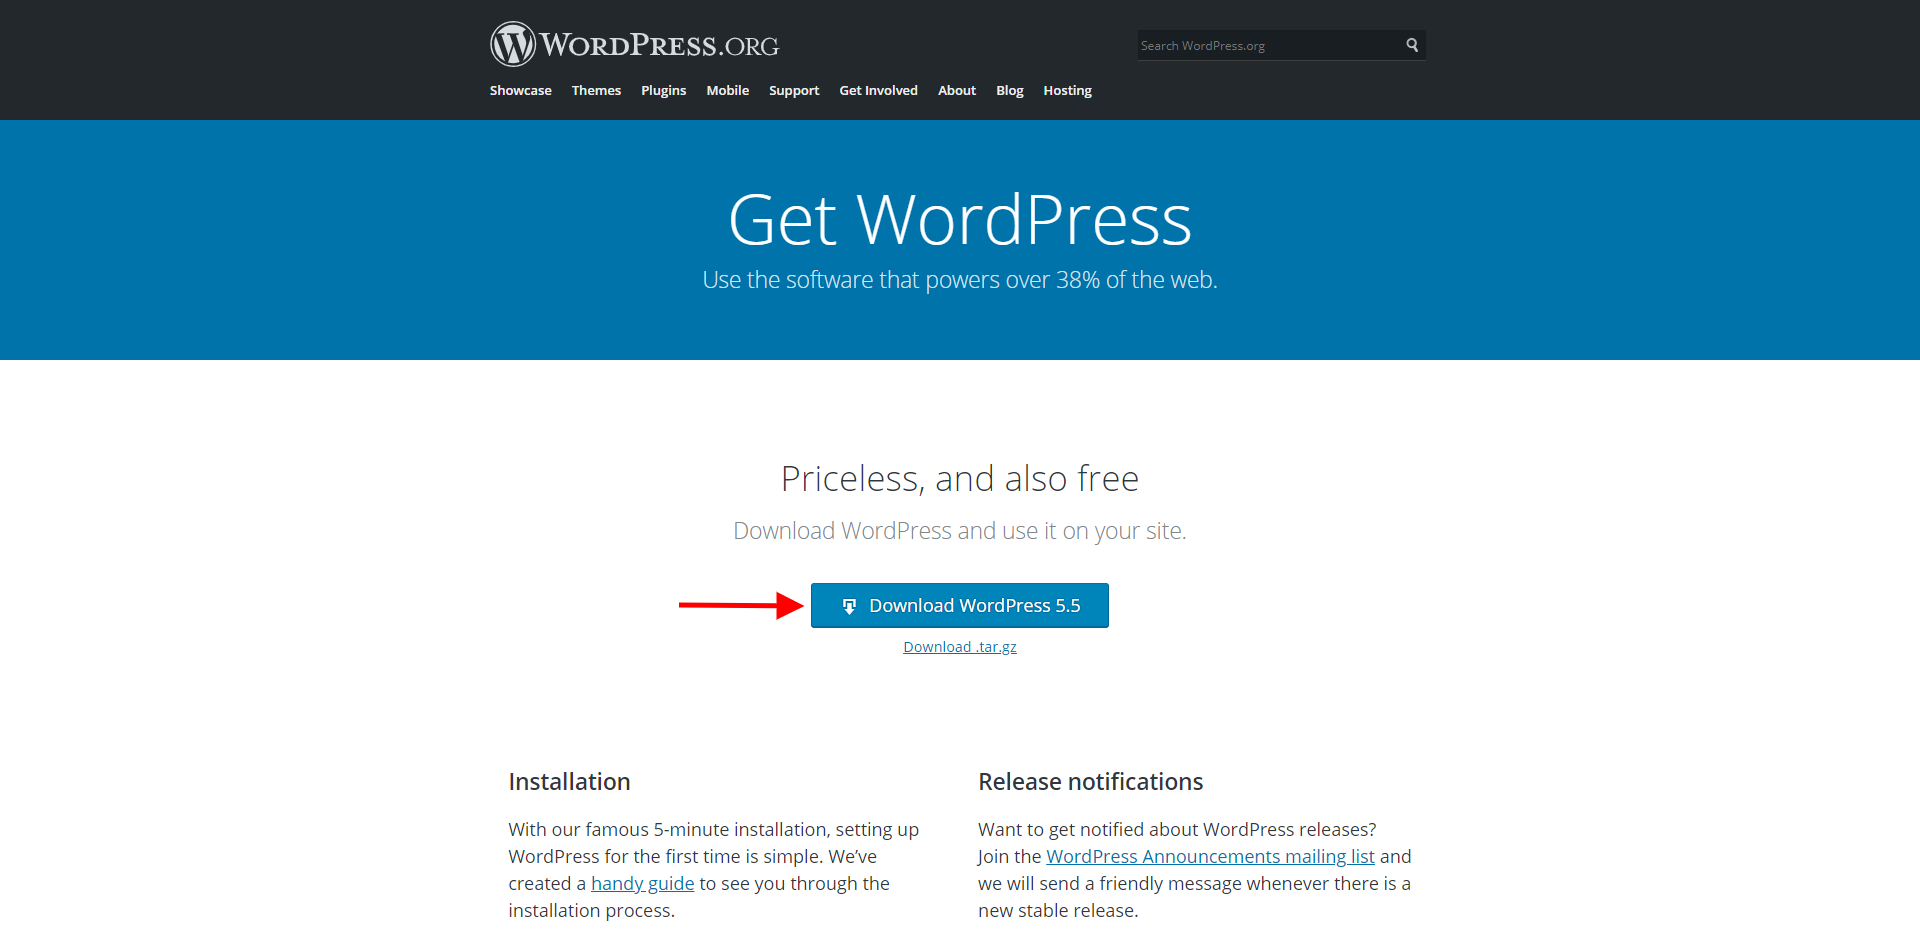
Next, download the WordPress archive files.
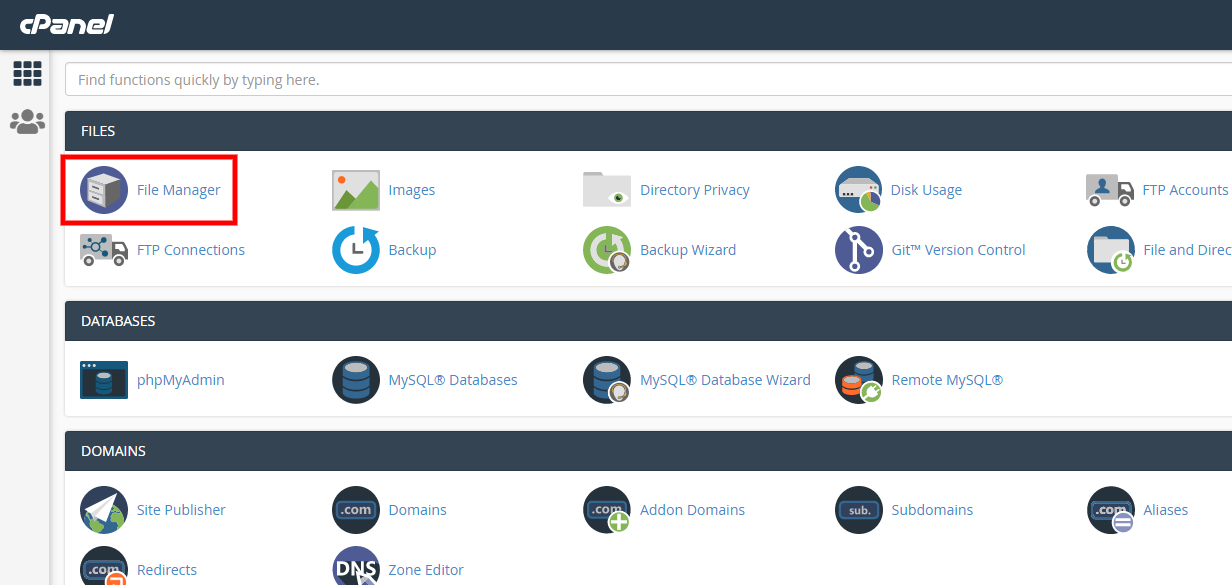
While the download finishes in the background, login to the web server that you want to install WordPress on and open the File Manager.
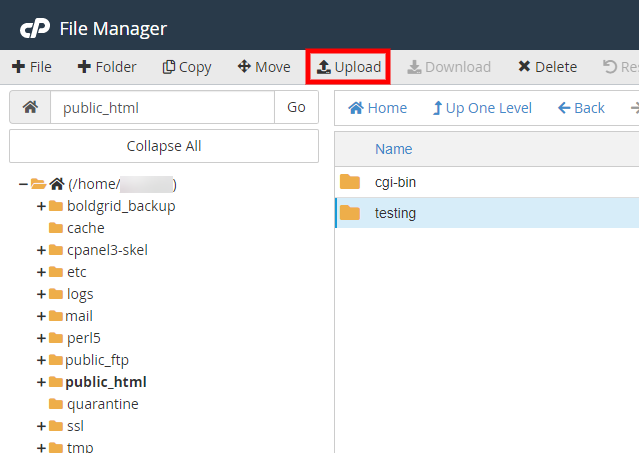
Navigate to your installation directory and upload the archive you downloaded from WordPress.org.
Once the file upload finishes you should see the WordPress zip file present in your installation directory. Extract the archive to unpack the contents.

You should now see a wordpress folder present in your directory.
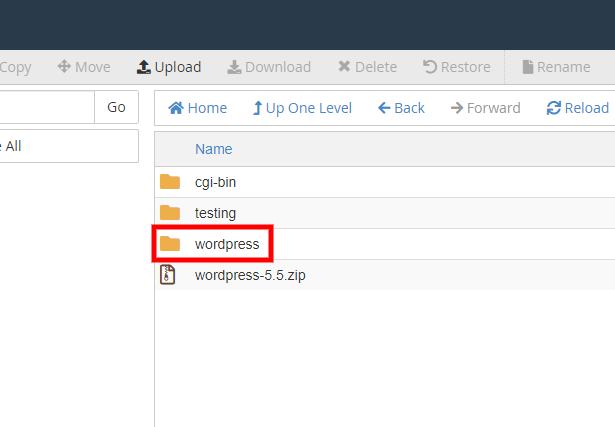
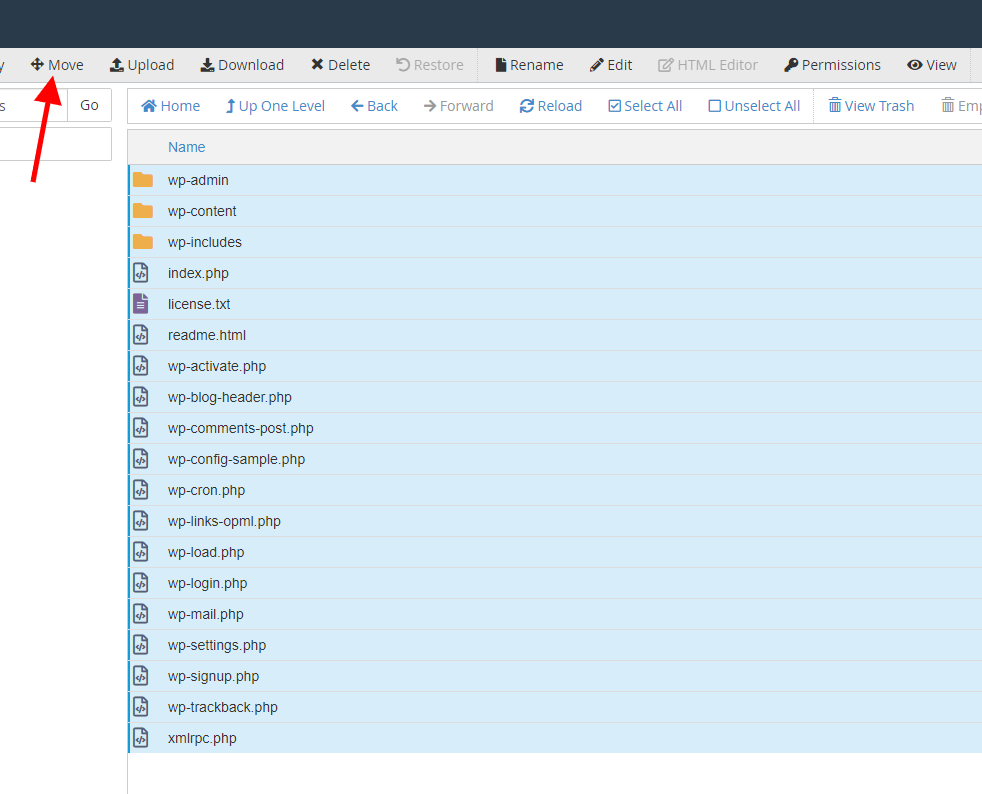
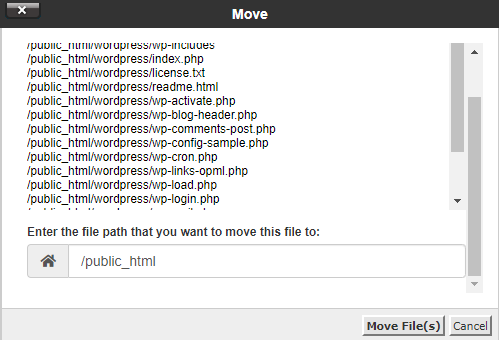
Open that folder to show all of the core files required for a WordPress website. Select all of those files and use the Move option to take them out of the wordpress directory and place them in the appropriate folder for your installation.
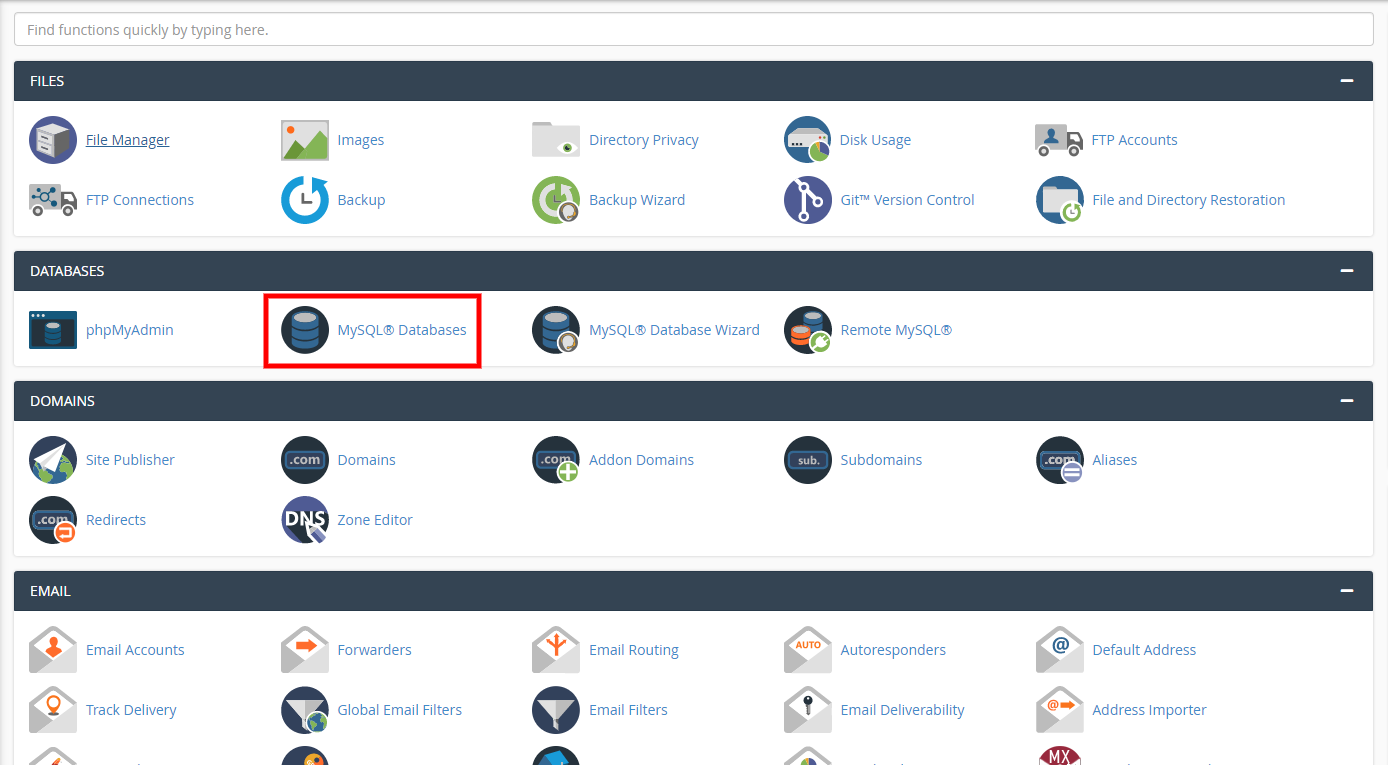
Now that the required files are in the correct location its time to create a database for your website. Open the database control in your server’s configuration panel.
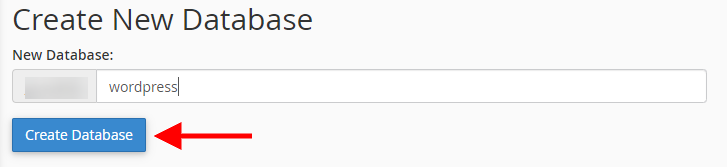
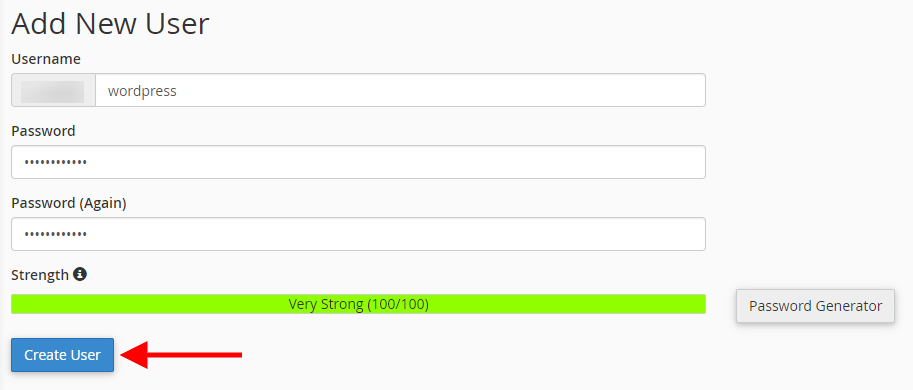
Create a new database and user for your WordPress installation. Be sure to remember the database name, user and password you created for the user, you will need that information later!
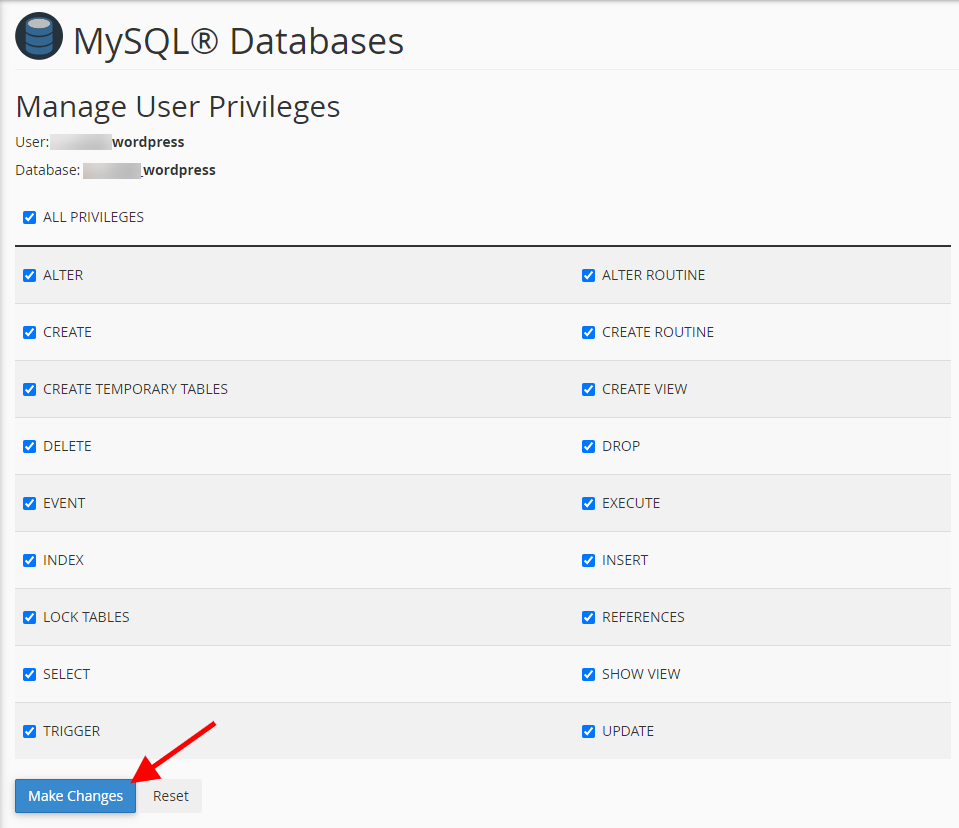
Use the database controls to add the new database user account to the database will All Privileges.
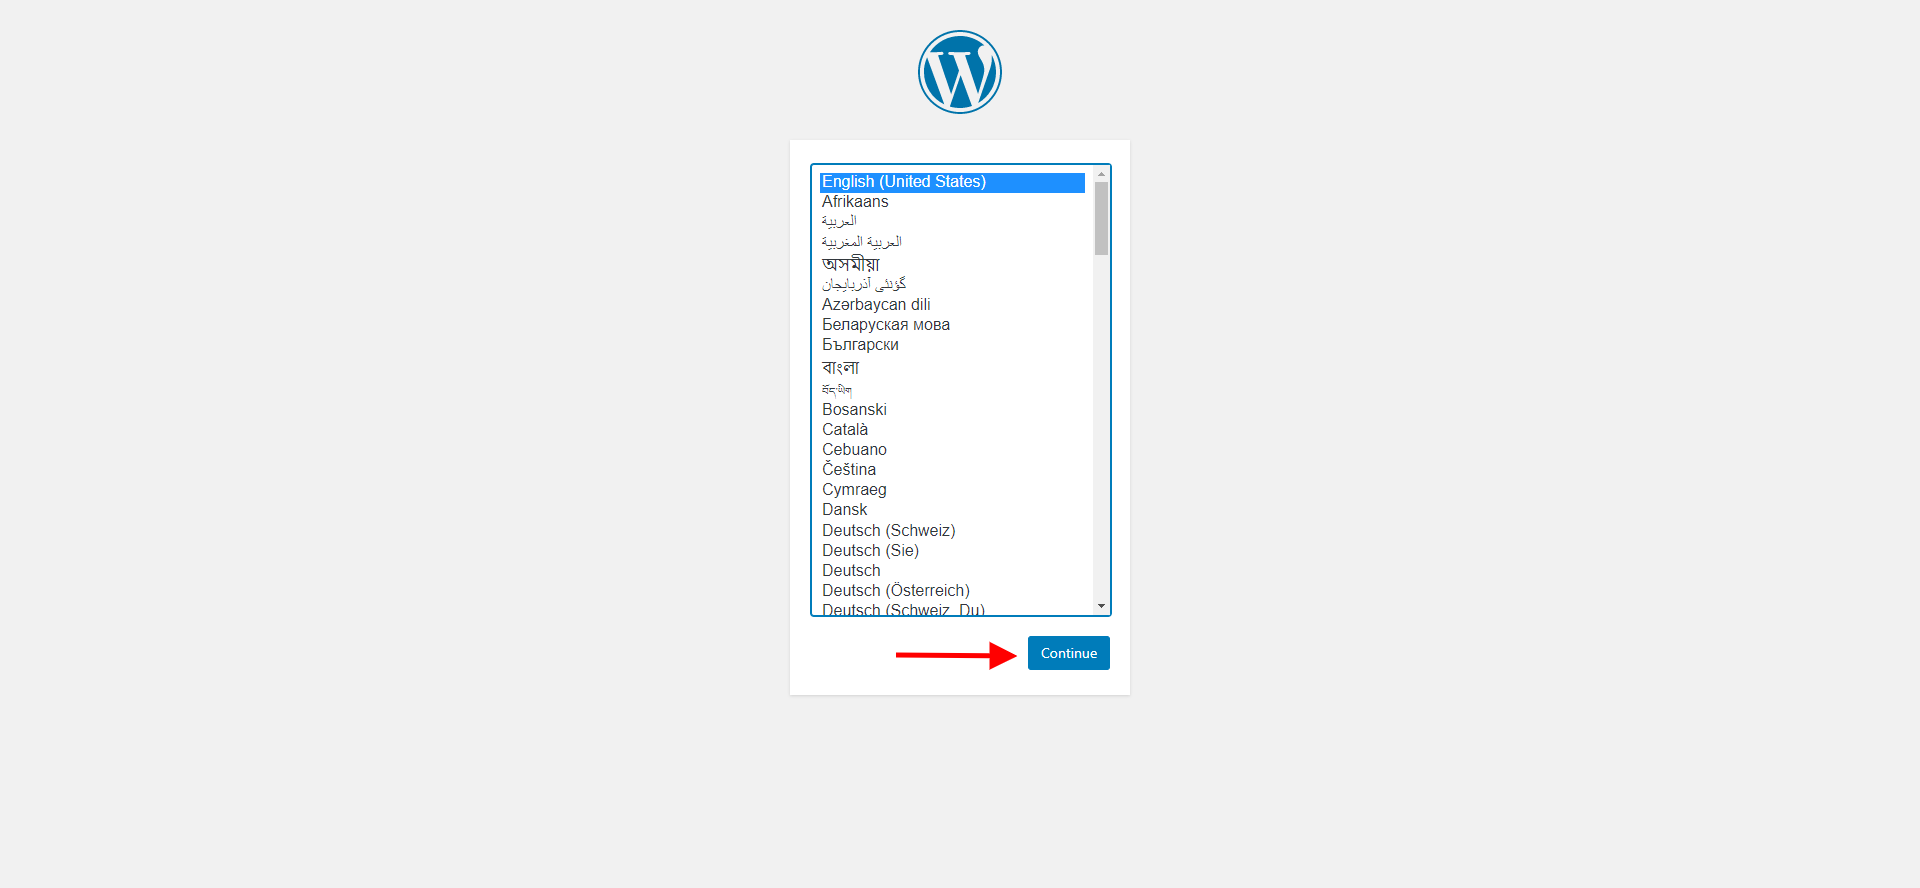
The final step to completing your WordPress installation is to set up the configuration file that will link your website to the correct database. Navigate in your web browser to the public location of your website to start the configuration process. You should see a page with a list of languages and the WordPress logo, select your preferred language and click Continue.
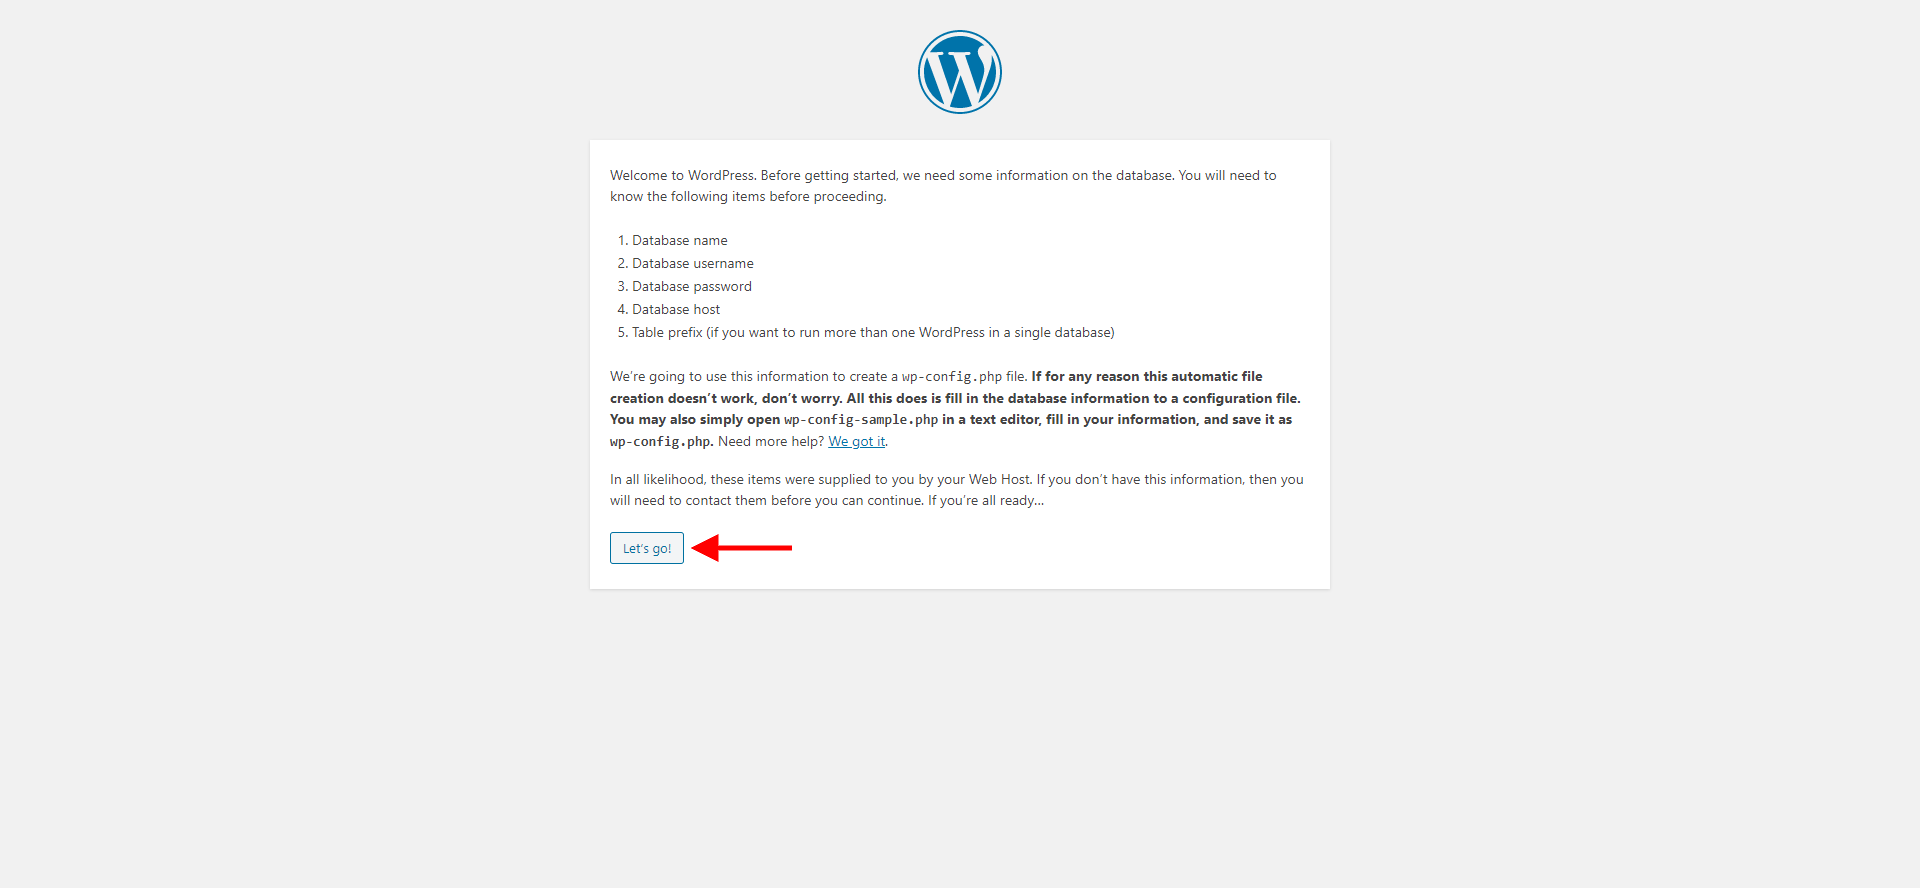
Click Let’s Go on the following screen to continue with the installation.
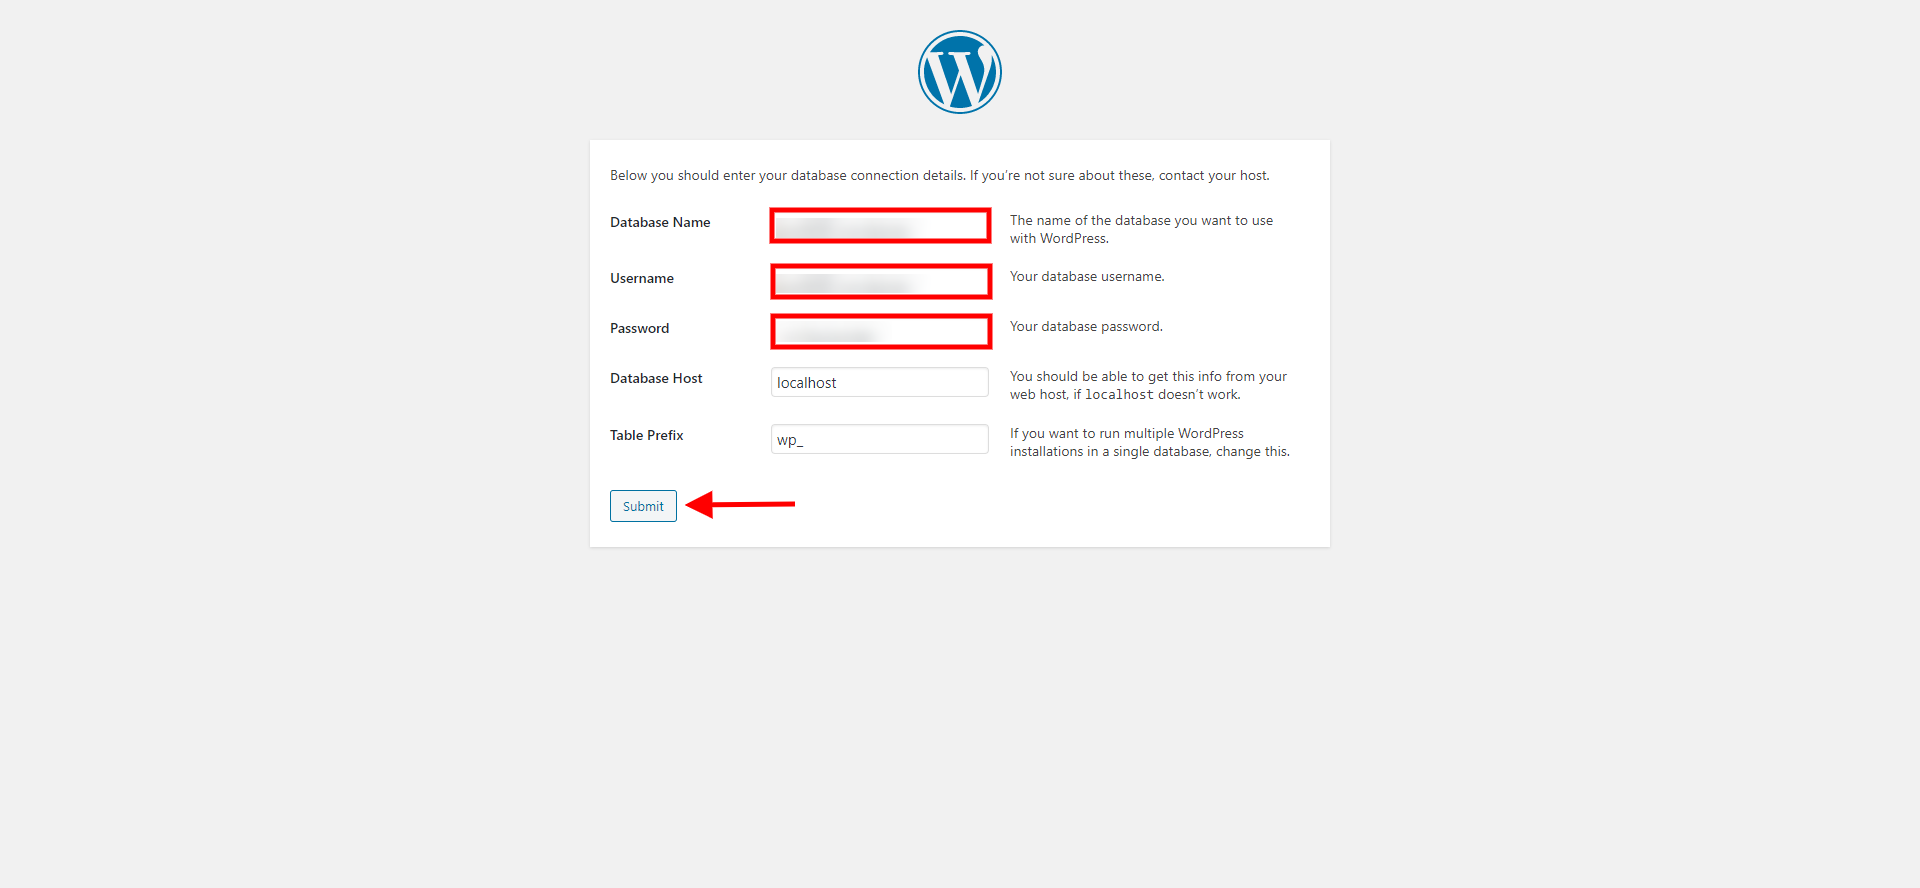
You will now see fields where you can input your database, user and password. Input the appropriate information for each of those entries and click Submit.
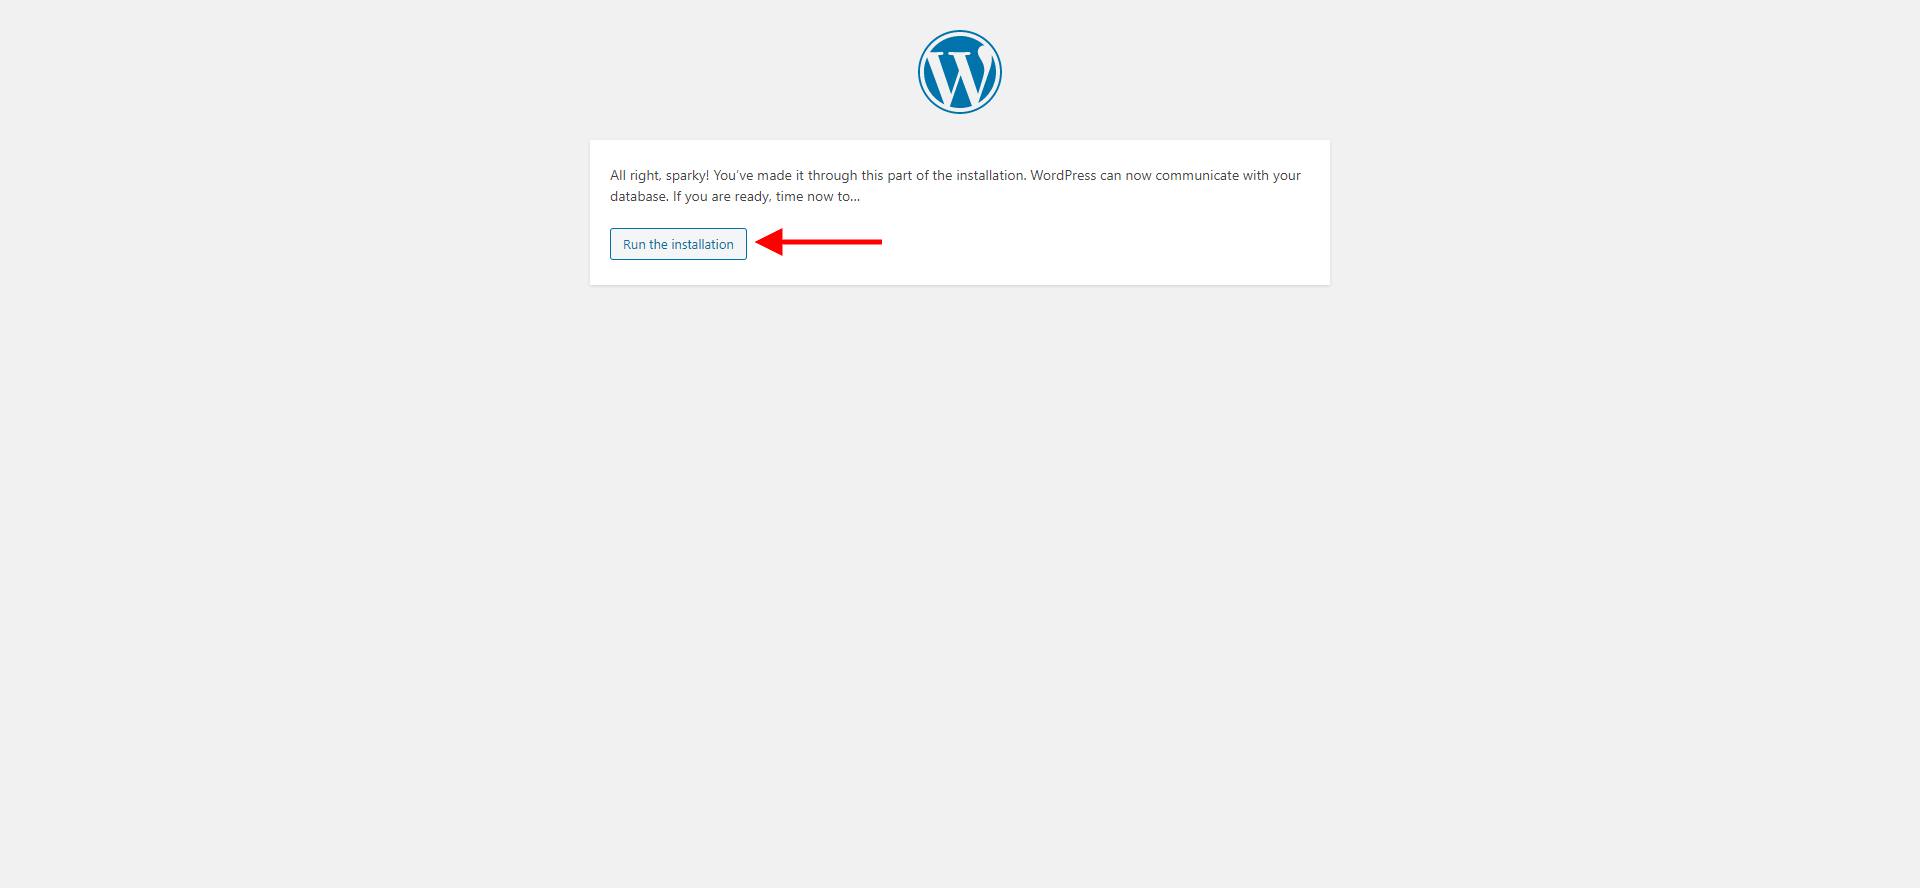
WordPress will now double check to make sure that everything is ready to finish the installation. You should then see a prompt to the Run the Installation if all the required information is in place.
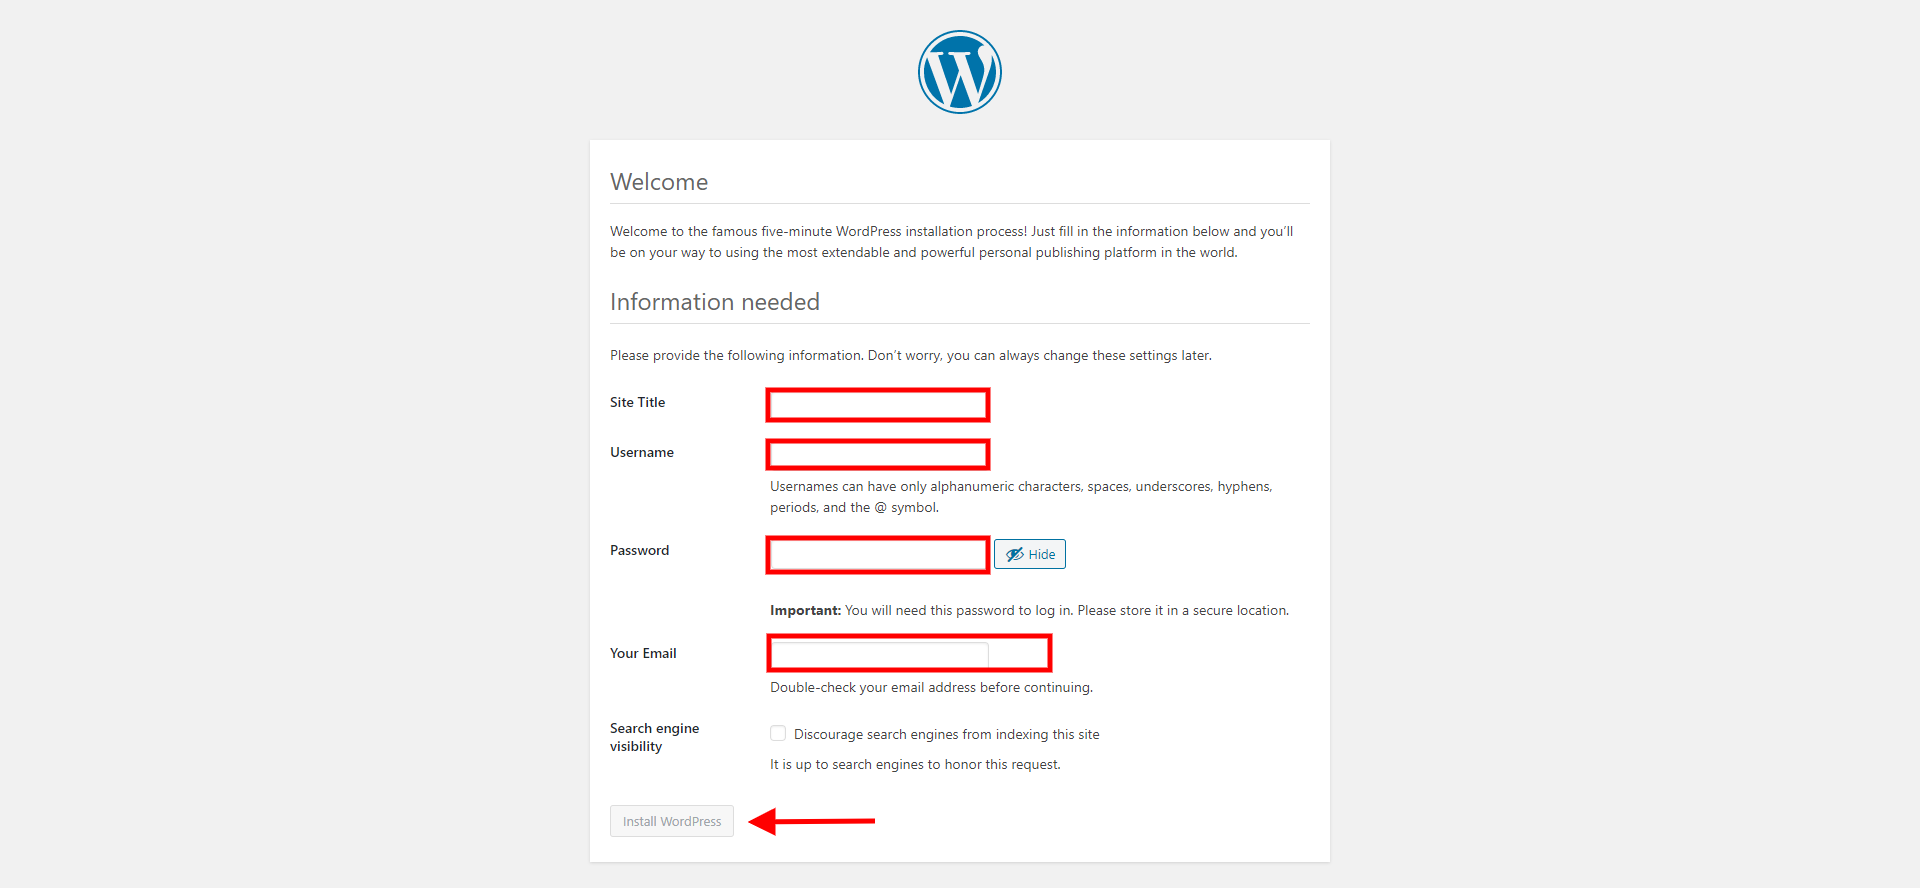
 Once the installation finishes you will need to set a name and description for your website as well as create your administrator user account. Complete the form with the appropriate information and click Install WordPress to finalize the installation process.
Congratulations! Now you have installed WordPress and can start creating the your website. Next, you may want to learn how to install a WordPress Theme or install a WordPress Plugin. It’s also very important to update WordPress when updates are available.
SIGNUP FOR
BOLDGRID CENTRAL
200+ Design Templates + 1 Kick-ass SuperTheme
6 WordPress Plugins + 2 Essential Services
Everything you need to build and manage WordPress websites in one Central place.
Chidi says:
I will be glad I did to start building websites with out any problem.