This W3 Total Cache tutorial for WordPress is for those users that are already experienced with performance optimization. In this W3 Total Cache guide, we will explain how to test your site to see how these options improve performance for your WordPress website. Speeding up your WordPress website will greatly improve both your visitors experience, and search rankings simultaneously. The following W3 Total Cache tutorial will walk you through configuring your server to work with W3 Total Cache, as well as setting up the plugin to use your servers in memory store, as opposed to Disk based caching to greatly improve the performance of your WordPress website.
Get the most out of your VPS and Dedicated server with W3 Total Cache Pro.
Prerequisite: Choosing an In Memory Storage Method
When using shared hosting, you generally do not have a choice other than Disk, but if you are using WordPress VPS Hosting or a Dedicated Server, in most cases you have the ability to get root access and install services and PHP extensions. The following two methods are recommended to use, because they are in memory stores that will serve your cache files.
Memcached
Memcached is a high-performance, distributed memory object caching system meant to speed up dynamic web applications by alleviating database load. It provides an in-memory key-value store for small chunks of arbitrary data (strings, objects) from the results of database calls, API calls, or page rendering.
Memcached is ideal for relatively small and static data, and as a result may be more efficient than Redis in smaller data sets. It is also multi-threaded, which may be a benefit when using a VPS or Dedicated Server with a large resource pool.
Redis
Redis is an open source (BSD licensed), in-memory data structure store, used as a database, cache and message broker. It supports data structures such as strings, hashes, lists, sets, sorted sets with range queries, bitmaps, hyperloglogs, geospatial indexes with radius queries and streams. Redis data structures resolve very complex programming problems with simple commands executed within the data store, reducing coding effort, increasing throughput, and reducing latency.
Here at W3 Total Cache, we recommend that you choose based on your needs when you begin setting up your server. There are benefits of both Memcached and Redis and we offer a number of diagnostic tools such as Statistics, Debug and Stack Trace Purge Logs to allow you to further fine tune your configuration based on real data. If you are unsure of how to install these services, you may want to contact your hosting provider, as most managed hosts will handle this part of the work for you. Just be sure to ask for both the service, and php extension be installed to allow W3 Total Cache to recognize it, then you are off and running.
Getting Started
For the purpose of this guide, we are going to be using Redis, as it is installed on the server we are using. Configuring a cache with Memcached is the same process, as you would be just selecting the different service from a pulldown list for each caching type.
General Settings
We will start our configuration on the General Settings Page, to ensure we have all the caching types that we wish to use enabled before going to fine tune them. The following are our general recommendations, but each configuration will be based on the hosting environment, theme, plugins and the type of content you are serving to your users.
Preview Mode
When configuring W3 Total Cache, it is recommended to use preview mode to test configuration scenarios prior to releasing them (deploy) on the actual site. Preview mode remains active even after deploying settings until the feature is disabled, so be sure to disable it once you have deployed your configuration.
Safely Test Cache Configuration Settings Using Preview Mode

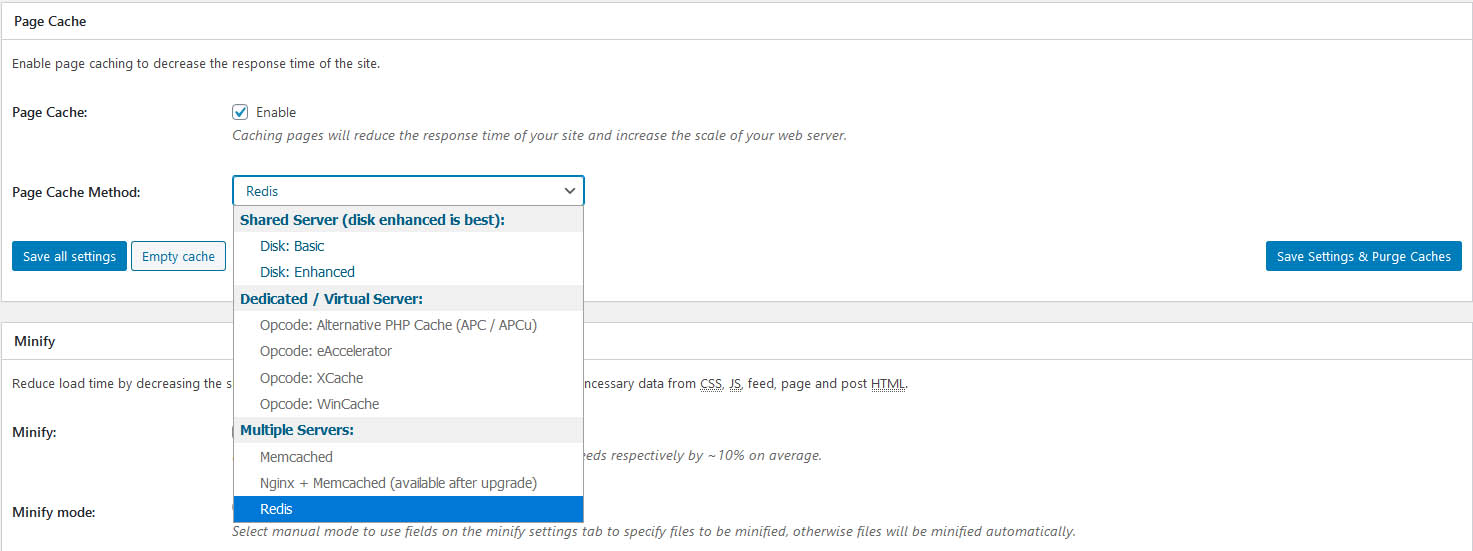
Page Cache
To enable Page Caching in WordPress, you can simply check the box here, and select Redis as the Caching Method. This will allow your cached pages to be served directly from the in memory store.
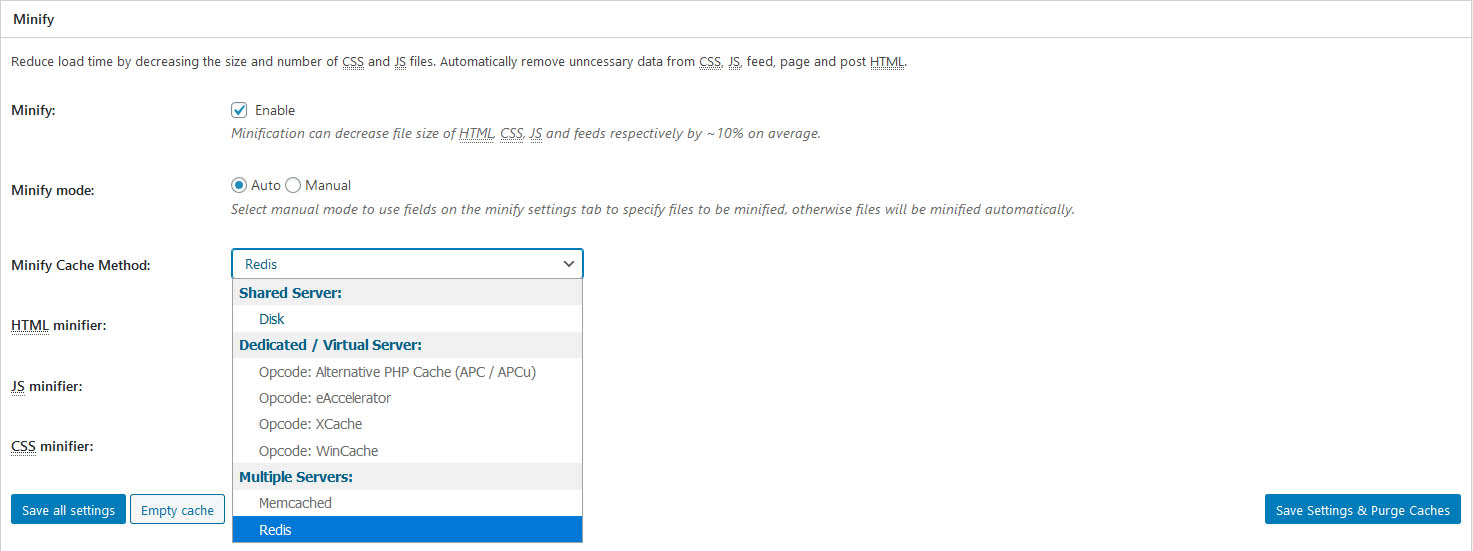
Minify
Minify is one of the more tricky configurations if you are using a theme that is not compatible. We recommend enabling it with auto, and using Redis or Memcached as the caching method. For HTML, you can use either the default minification, or HTML Tidy. For Javascript and CSS, we have several different options you can select from the pull down lists. When selecting different methods, you want to check the front end to be sure that everything is working. We recommend doing so in a private or incognito window, just to make sure you are seeing the site like your visitors will.
Opcode Cache
This will be enabled if you have Opcache configured on your server. If you are running PHP FPM, then W3 Total Cache may not be able to see that it is enabled, but it will still be active.

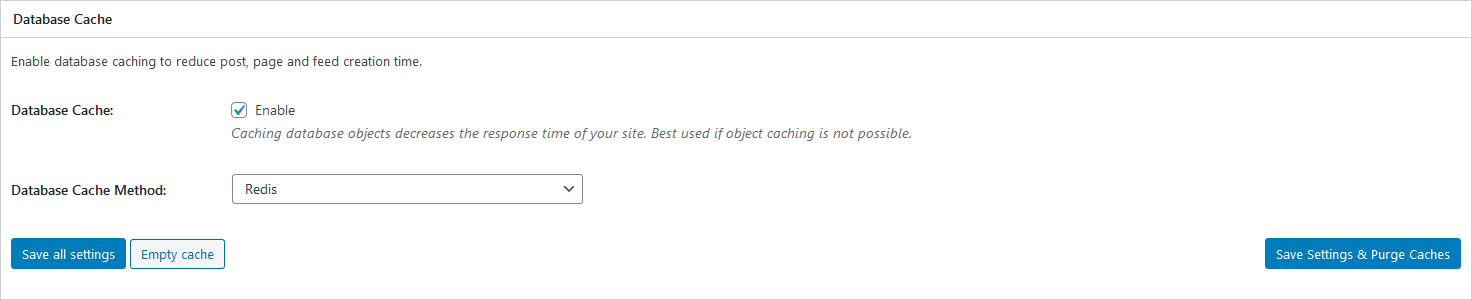
Database Cache
Database caching can decrease the response time of your site, but this is also a setting that you should configure based on the way your site is coded. Our recommendation is to run tests with it both on and off to help determine the best method for your site itself.
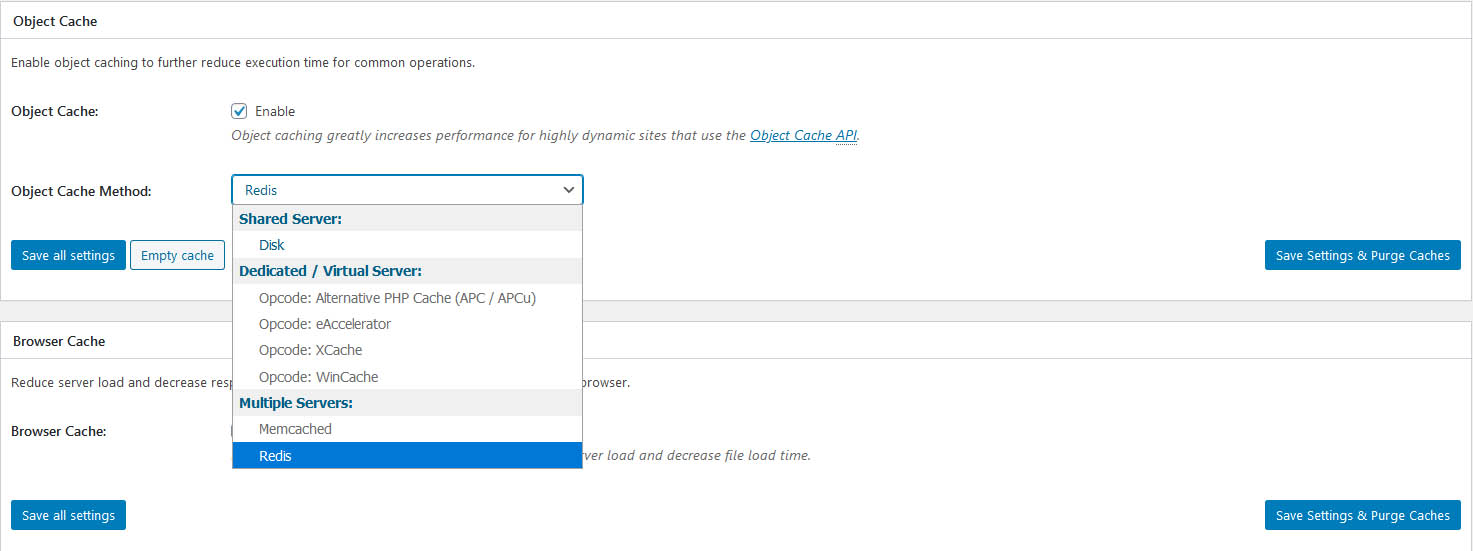
Object Cache
Object Cache can further reduce your sites execution time for many common operations, unless your websites theme is not coded using object orientation methods. In some cases, we have seen better performance with this setting off, so be sure to test it with it enabled and disabled to decide for yourself the best route.
Browser Cache
Browser Cache is unique in that it actually leverages the users browser for storing your website assets locally, so that the next time the user loads your page it loads instantly, because it is served from their computer rather than from your server. This works great for things like text files and images, and you can leverage it by just making sure this button is enabled. It writes the browser cache rules directly to your .htaccess file, and instructs the browser how long to keep local copies of the assets for your site.

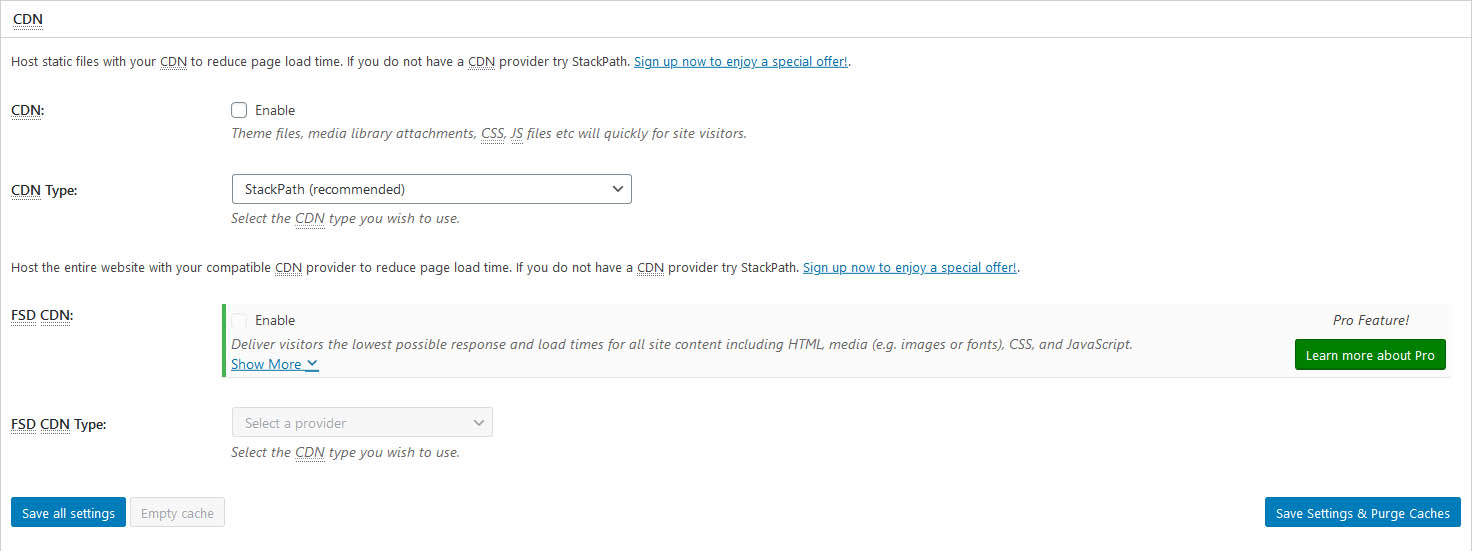
CDN
Setting up a CDN for your static files is one of the best ways for your online business to scale globally. By using a CDN, your assets will be placed geographically closer to your site visitors, allowing your server to concentrate on just serving the data, and all your attachments and text files will reside on the closest location to them, making your site load blazing fast no matter where it is queried from.
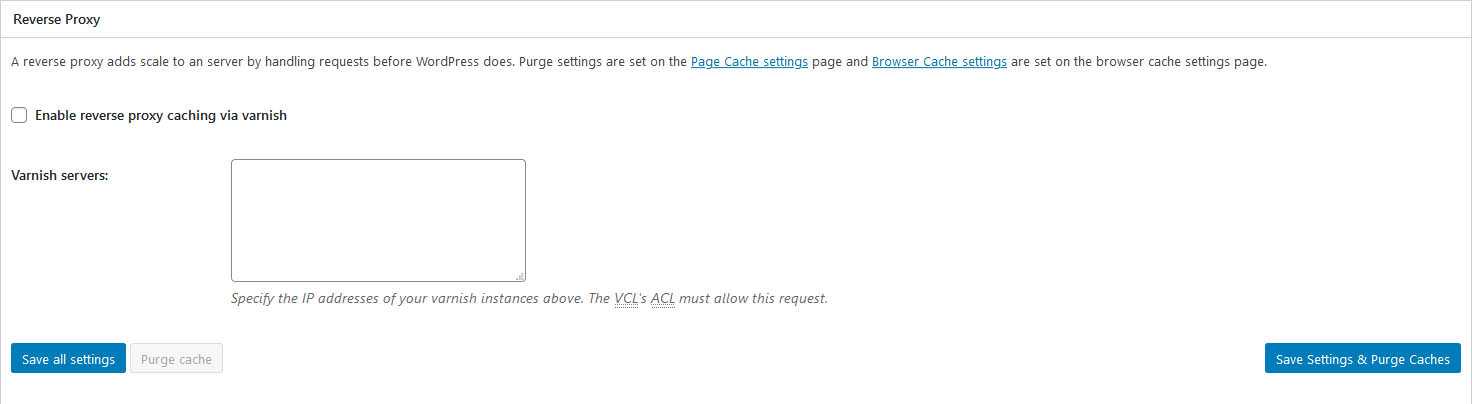
Reverse Proxy
A reverse proxy adds scale to your server by handling the requests before WordPress does. Usually, this can be done with services such as Varnish, but for the purposes of this tutorial we are not configuring a Reverse Proxy.
User Experience
One of the biggest benefits of lazy loading is that it defers any offscreen images from loading that are not part of the website that is viewable in your browser. By stripping these images out of the intitial page load, you are essentially helping it to be much smaller and faster. This conserves bandwidth for users, because it only delivers the content that is requested, and reduces the amount of items that are transferred, only bringing the images and text files that are critical to loading what is in the viewport. This bandwidth savings can help you too, especially if your WordPress hosting has bandwidth restrictions. Enabling this is a no brainer, and can be done relatively easy.

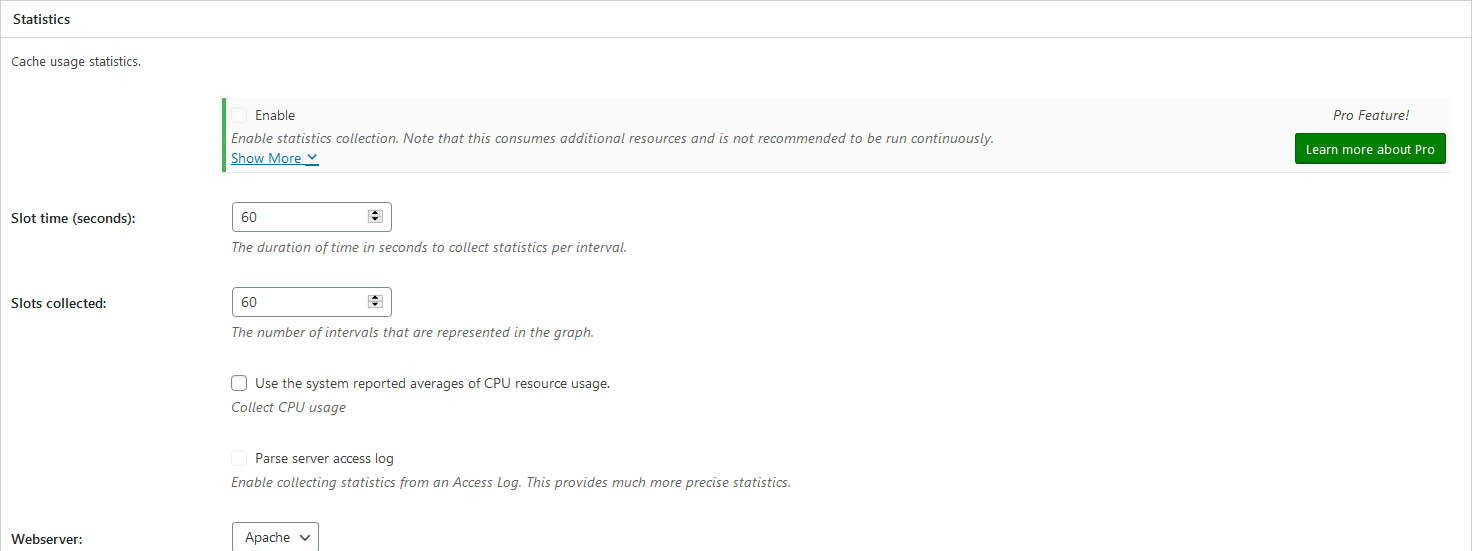
Statistics
Usage Statistics is a Pro feature that helps you track down the performance of your caches in a granular way, letting you see the hit rates and effectiveness of each caching method you have enabled. This feature is great for really fine tuning your WordPress website performance, and tracking down any nuances that you may not see otherwise. You have the option of including your access logs to help identify any requests that are not being cached properly, and see graphs of multiple different items in a quick and easy view.
Fragment Cache
Highly dynamic sites, such as eCommerce or Membership sites can benefit from the Pro Feature for fragment caching to dramatically reduce the execution time to generate a page for visitors. Fragment caching extends the core functionality of WordPress enabling caching policies to be set on groups of objects that are cached. The benefit of this approach is not only that capabilities in themes and plugins can be optimized to use caching to save resources and reduce response times, but caching methods like Memcached or Redis (for example) can also be used to scale. This feature gives you control over the caching policies by the group as well as visibility into the configuration by extending the WordPress Object API with additional functionality. Since this is a Pro only feature, we will not be configuring it with this guide.

Licensing
If you have opted to upgrade to Pro, your license key would be entered here.

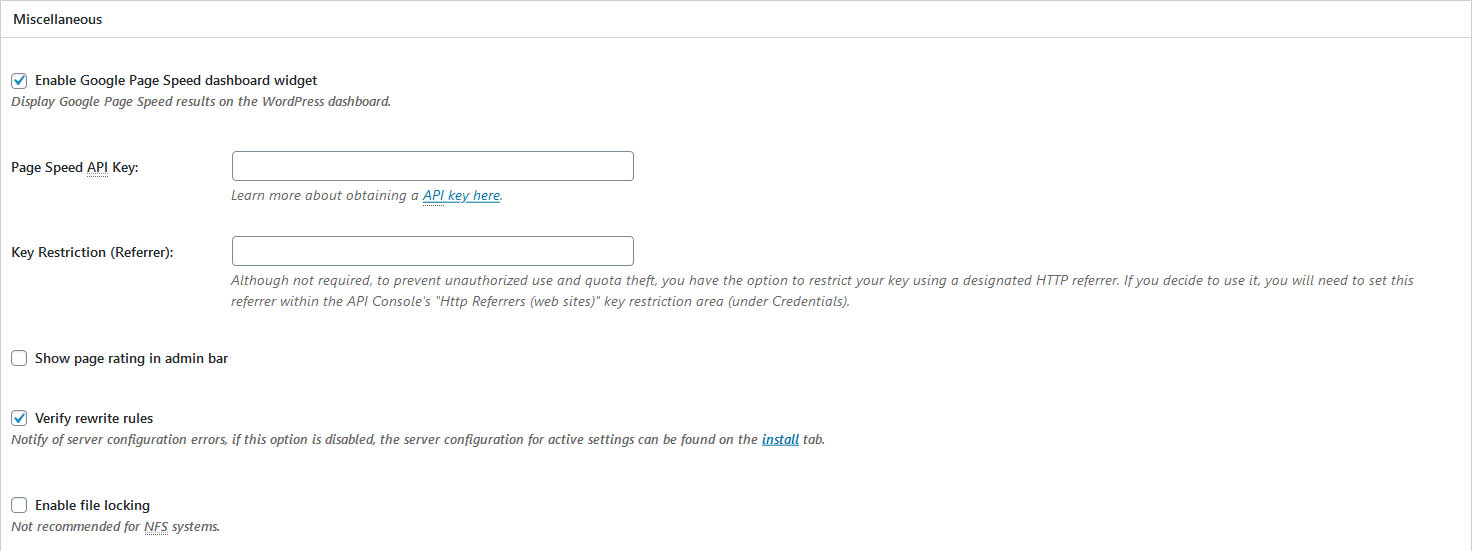
Miscellaneous
Here you can configure a number of miscellaneous items. If you wish to have the Google Page Speed Widget display results on the Dashboard, simply head on over to Google to create an API Key for Google Page Speed Insights, and provide it here. You also have the option of showing the Page Rating in the admin bar when logged in. There are also options to verify your sites rewrite rules, enable file locking for non NFS systems, and optimize disk enhanced page and minify disk caching for NFS systems. The only option we are enabling here is verifying the rewrite rules, since we are using Apache for the webserver. This will ensure we get a notification, should an issue with the rewrite rules happen.
Debug
Detailed information about each cache will be appended in your sites HTML comments in the page’s source code at the very bottom. Performance in this mode will not be optimal, so we recommend that you use this feature sparingly and make sure you disable it when not in use.

Import / Export Settings
This section allows you to save your configuration offline on your local computer. After you have saved a copy of your configuration, it is recommended that you take a performance test to see what your performance looks like as compared. You have the option now of drilling down into the settings even further to fine tune your sites performance.
Congratulations! You now know the basics of configuring W3 Total Cache for your WordPress Website Pagespeed Improvement. For even more information, be sure to review our other tutorials for options such as Page Cache, Minify and more.
W3 Total Cache
You haven't seen fast until you've tried PRO
Full Site CDN + Additional Caching Options
Advanced Caching Statistics, Purge Logs and More
Everything you need to scale your WordPress Website and improve your PageSpeed.