One of the best ways to speed up your WordPress website is to add a CDN for your static assets such as images, Javascript and CSS. This can be accomplished pretty easily with the Free version of W3 Total Cache and a subscription to StackPath. The following tutorial will walk you through the steps to configure this from right within your WordPress Dashboard.
Speed Up Your WordPress Website.
A Difference of Just 100ms in Page Load Speeds Can Cause a Visitor to Prefer Your Competitor’s Website.
Signing up for StackPath
To sign up for StackPath, we recommend doing so right from your WordPress Dashboard. The following steps will walk you through the process to both sign up and authorize your StackPath account to deliver your static assets. W3 Total Cache users are given a risk free, one month trial to have time to decide whether the CDN is right for you!
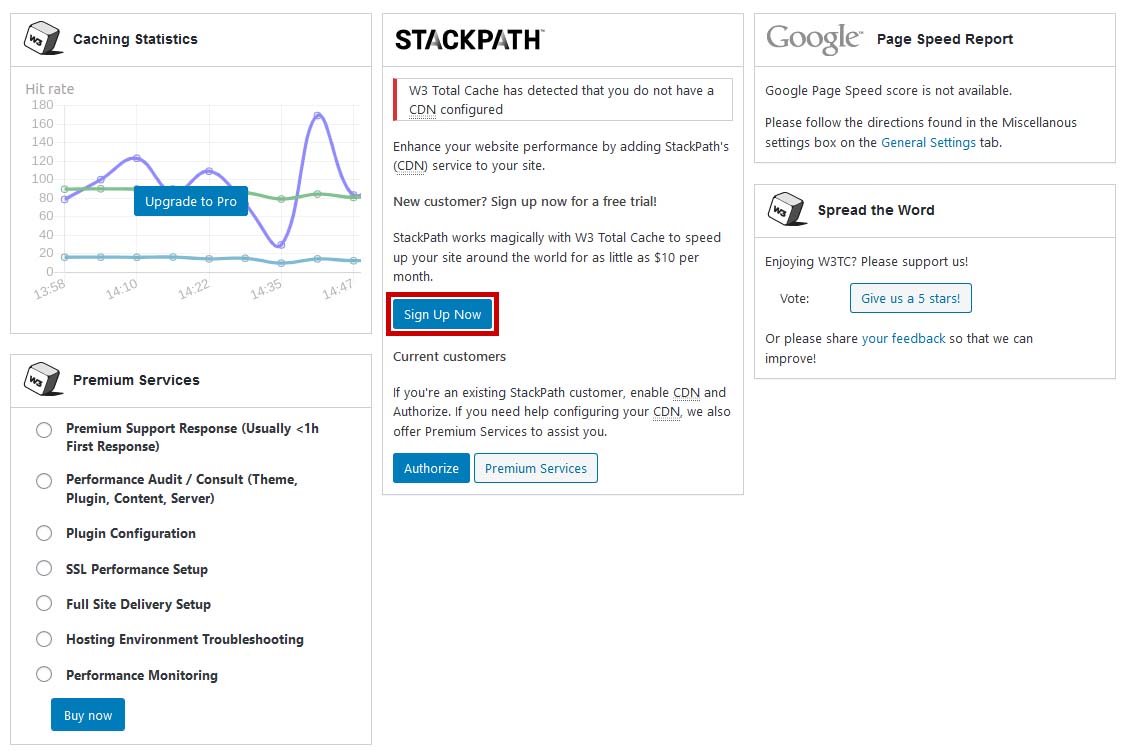
- In your WordPress Dashboard, navigate to Performance > Dashboard
- Click the Sign Up Now Button
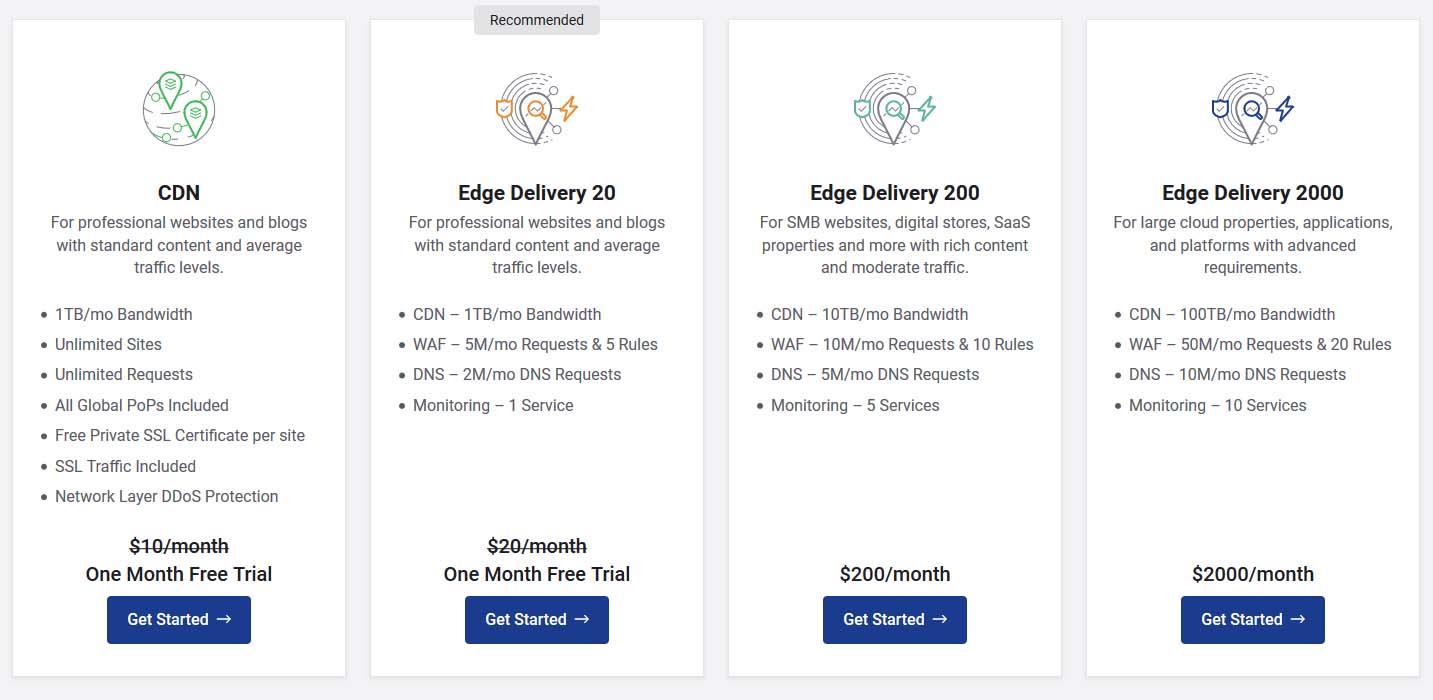
- Select your CDN package (We recommend Edge Delivery 20) and continue with checkout
Congrats! You now have the account needed to set your CDN up. Now let’s move on to the next part and create your API credentials that will allow W3 Total Cache and StackPath to communicate.
Creating Your API Credentials in the StackPath Dashboard
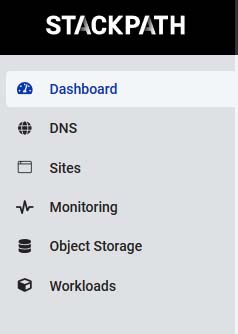
Once checkout is finished, you will be taken to a screen labeled Sites // Create Site. From here, you can just visit the Dashboard to create API Credentials, and the site will be set up once you provide W3 Total Cache with your API key and Secret.
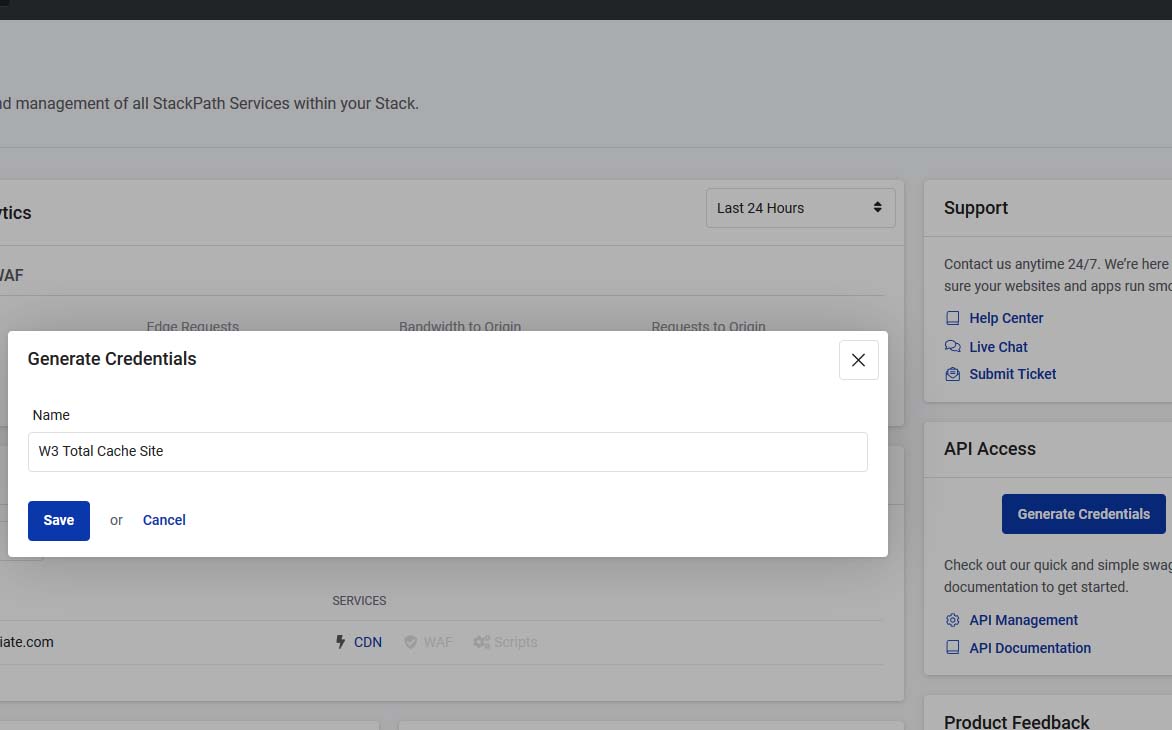
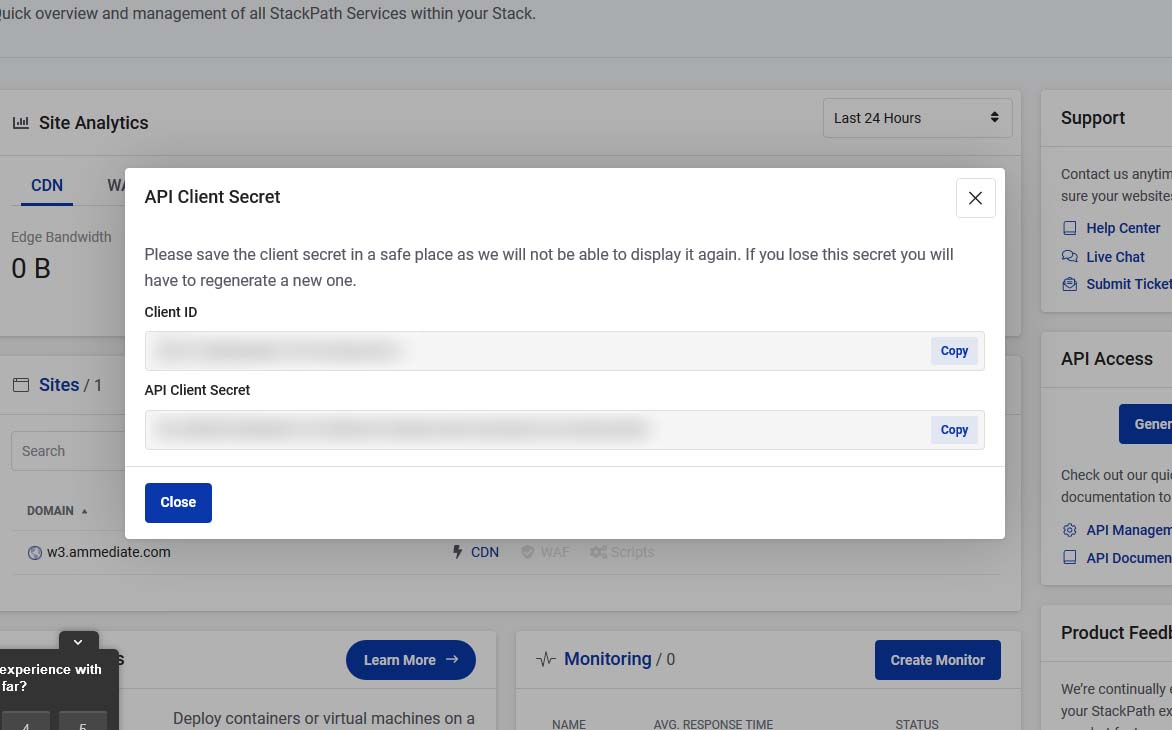
Click Generate Credentials and make a name for them to help you remember it easily. You will be provided with a Client ID and an API Client Secret. Make sure to save these to a text file on your computer, as you will need them in just a moment to configure your Objects CDN in W3 Total Cache.
Configuring your StackPath CDN with W3 Total Cache
- In your WordPress Dashboard, navigate to Performance > CDN
- Under General, make sure all the selections are enabled for attachments, wp-includes, theme files, CSS and JS files
- If you have custom files, you can add any filenames or paths in the file list in the Advanced Section below
- Click Save all settings
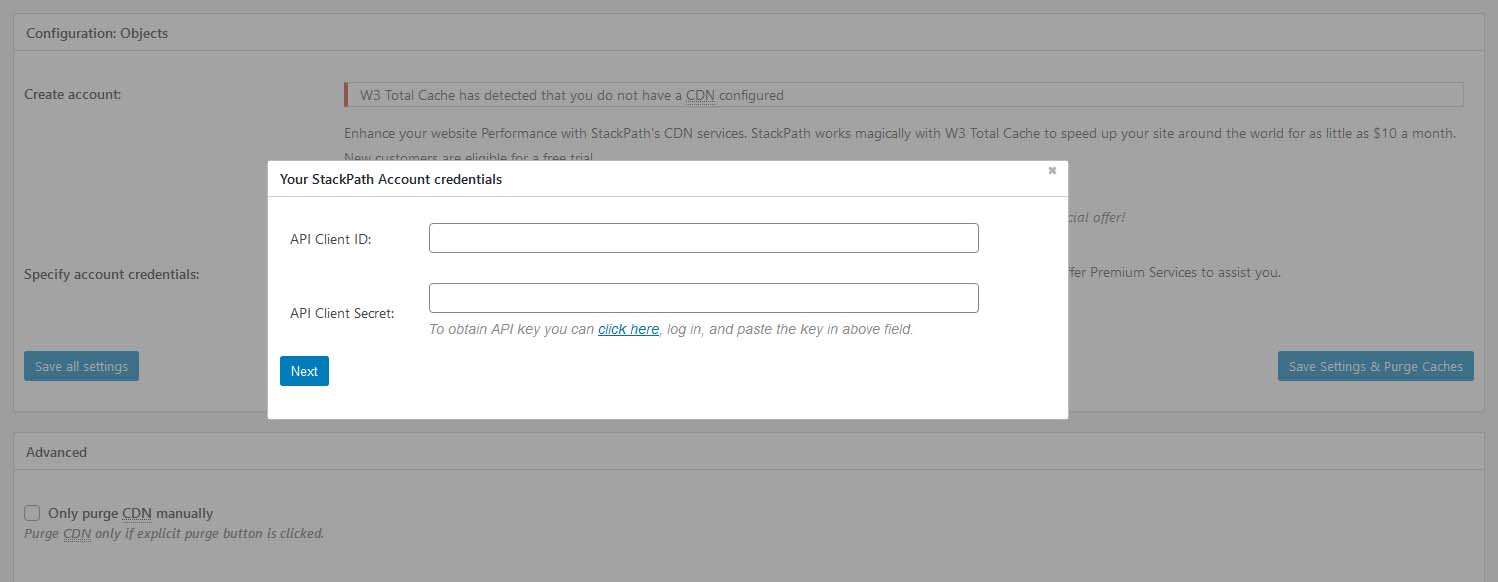
- Scroll down to Configuration: Objects and click Authorize
- Provide your Client ID and API Client Secret
- Click Next
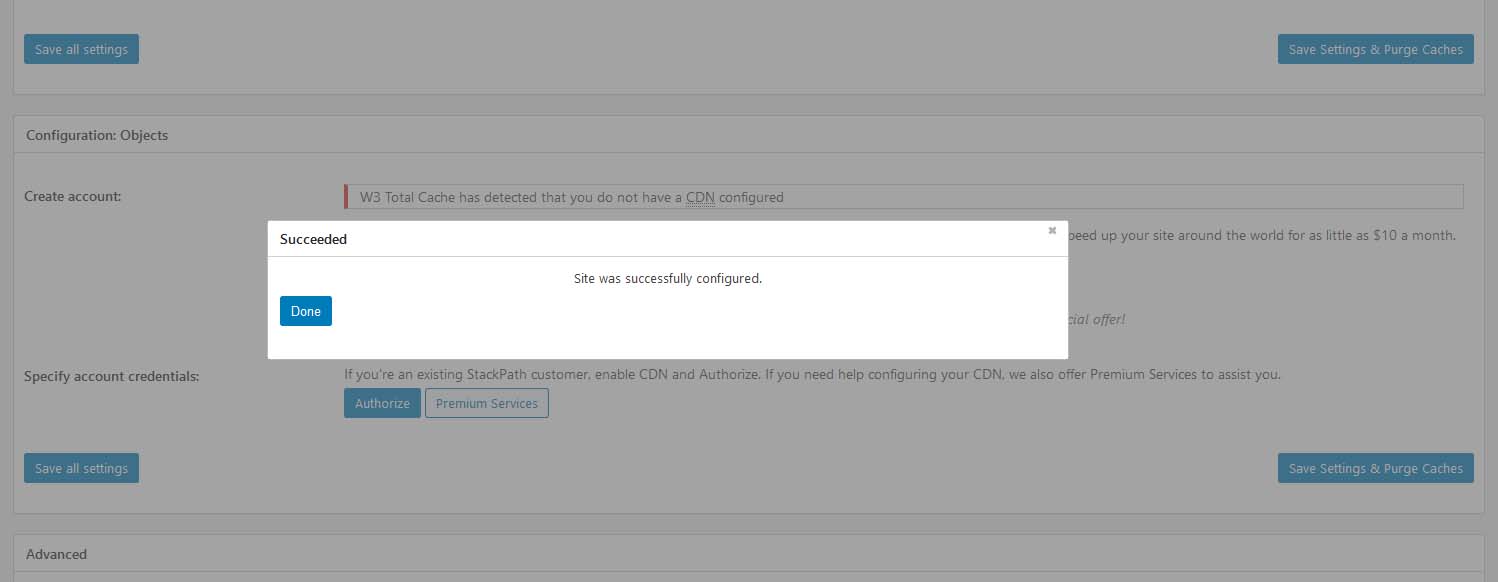
Congratulations, you have now set up your CDN to store all your sites static assets, and should start seeing improvements in load times for your visitors.
Optional: Change your DNS to point to the CDN
With this change, it will require you to change your A record for your site to a CNAME that points to the hostname provided to you by StackPath. It should be formatted somewhat similar to this:
########.stackpathcdn.com
It is recommended that you contact your domain or hosting provider if you are not familiar with making this type of change, as it could cause issues with your site and email if not done properly. Once you point your CNAME to this DNS record, your site should start working from the CDN relatively quickly. You should also generate an SSL at StackPath if pointing your DNS, though this step is not required for the static assets to work with your CDN correctly.
Testing your CDN
Once you have finished configuring the CDN, you can then use our internal testing system to make sure StackPath is working.
- In your WordPress Dashboard, navigate to Performance > CDN
- Scroll down to Configuration: Objects
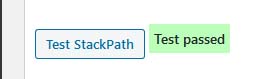
- Click Test StackPath
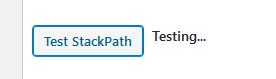
If your test passes, then all is working well. Congratulations, you have now set your site up to use StackPath’s CDN Services and it should be loading fast for all of your visitors.
Full Site CDN
To set your site up as a Full Site CDN, you will need to upgrade to W3 Total Cache Pro. This can be accomplished directly in your WordPress Dashboard. We also offer Premium Services if you require assistance with configuring it.
W3 Total Cache
You haven't seen fast until you've tried PRO
Full Site CDN + Additional Caching Options
Advanced Caching Statistics, Purge Logs and More
Everything you need to scale your WordPress Website and improve your PageSpeed.
Simon says:
If I upgrade to W3 Total Cache PRO do I still need to pay additional fees for a CDN Service? ei. Sucuri or Cloudflare
Marko says:
Hello Simon,
W3 Total Cache only offers the ability to connect your CDN with W3 Total Cache and your website.
You still need to subscribe to the CDN provider. Upgrading to Pro offers a Full site delivery option to use with your CDN provider. And not all CDN providers offer the FSD CDN
Thanks!