Welcome to the W3 Total Cache Pro Delay Scripts feature guide. This feature helps improve your website’s performance by delaying the loading of JavaScript resources, thereby eliminating render-blocking issues and boosting your Google PageSpeed scores. In this guide, we’ll walk you through how to use Delay Scripts effectively for optimizing your website’s performance. Let’s dive into the details and get started
In this test, using the Delay Scripts feature alone added +14 points for a 26% increase on mobile devices to the Google PageSpeed Performance score! Review the testing results to see how.
Upgrade to W3 Total Cache Pro and improve your PageSpeed Scores today!
Enabling Delay Scripts
The first step to using the Delay Scripts feature is to enable the feature by navigating in your WordPress admin to Performance > General Settings and then clicking on the sub-nav User Experience. Once there, click on the Delay Scripts checkbox to enable it and then click on Save Settings.

Configuring Delay Scripts
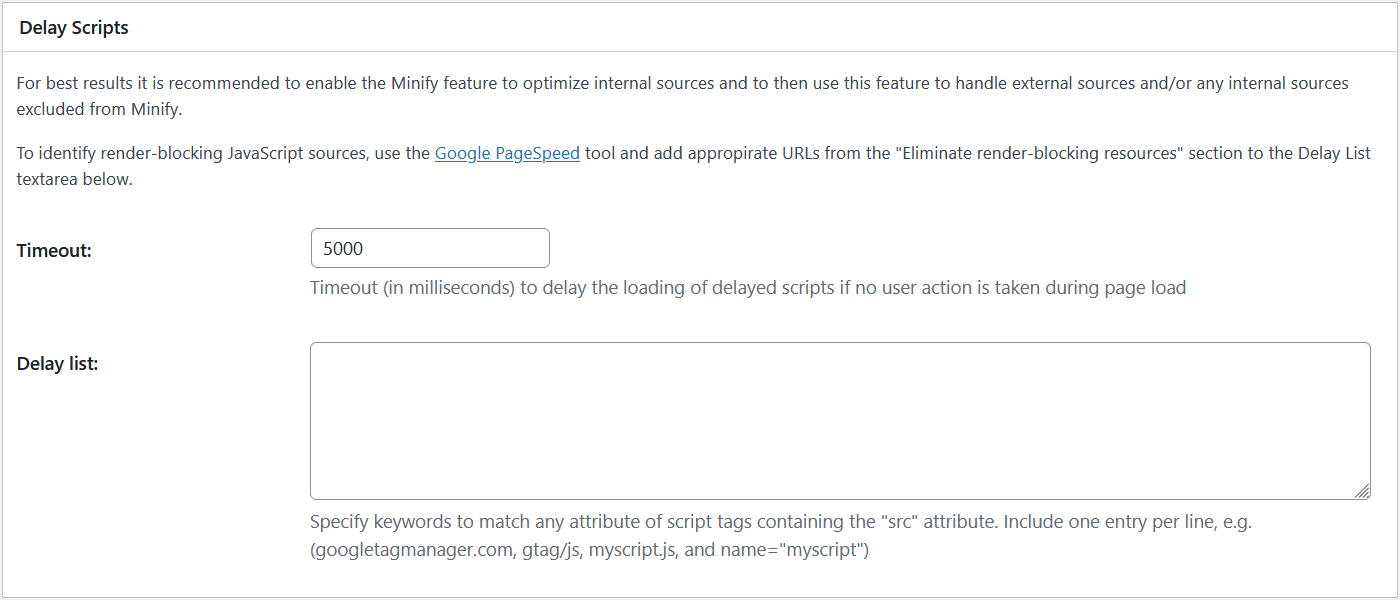
The next step is to configure the feature by navigating to Performance > User Experience. There will be a new setting block called Delay Scripts towards the bottom of the page.
The Timeout field controls the delay the page will wait after fully rendering the content before loading any delayed scripts defined in the Delay List. This delay can be interrupted by any user interaction with the page however which will cause delayed scripts to load immediately. This is done to prevent errors and to ensure the required scripts are available for interactivity.
The Delay List textarea takes one entry per line and is used to define scripts you wish to delay. These values can be any attribute of a <script> tag and are matched exactly so case/format matters. The best attribute to match on would be the url attribute and can be as simple as the file name. For example googletagmanager.com, gtag.js, myscript.js, name=”myscript”, etc.
Does Delay Scripts Work With Minify?
Any script that is matched from the Delay List will automatically be excluded from the minify process. Both the Delay Scripts feature and the Minify feature are independent of each other and as such both features can be used interchangeably without conflict.
What Scripts Should Be Delayed?
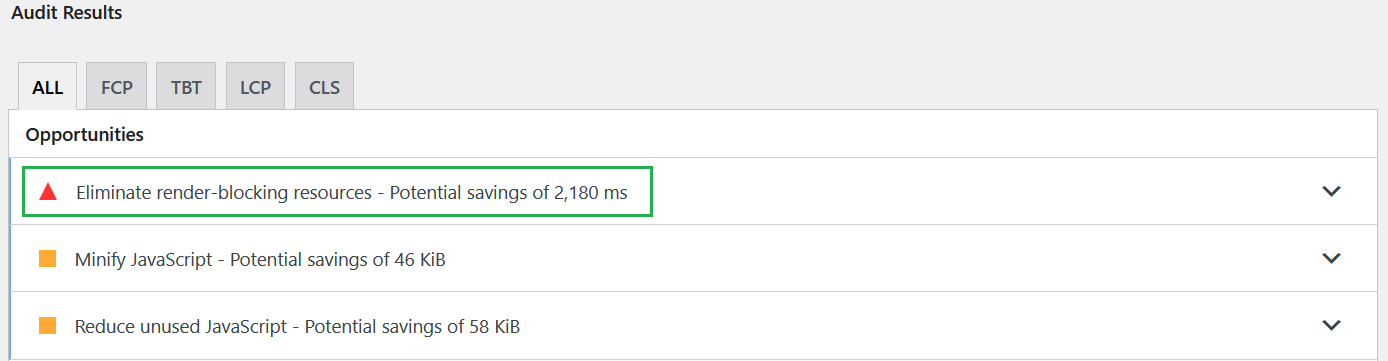
One of the easiest ways to identify scripts that should be delayed is to use the W3 Total Cache Google PageSpeed tool whose documentation can be found here. Once you authorize and analyze your website, review the Eliminate render-blocking resources metric breakdown which will list both CSS and JS files. These JS files can be added to the Delay List setting.
How Can I Confirm that Scripts are being Delayed?
After configuring the Delay Scripts feature, visit your website and observe the loading behavior. Scripts specified in the Delay List should load after the page’s main content. You might notice faster initial load times, as render-blocking scripts are delayed.
Open your browser’s developer tools and monitor the network activity as your page loads. Look for the scripts you’ve added to the Delay List and check their loading timing. These scripts should be loading after the main content of your page and possibly after a user interaction if you’ve set a delay that waits for such interaction.
You can also you a page speed tool like Google PageSpeed Insights before and after enabling Delay Scripts. Compare the scores and look for improvements in metrics related to JavaScript loading times and render-blocking resources.
In this test, the Delay Scripts feature displayed a 62% decrease in Time Third-Party Code Blocked The Main Thread For on mobile screens and 37.5% on larger screens in the Google PageSpeed score results! Check out the testing results to see how.
Upgrade to W3 Total Cache Pro and improve your PageSpeed Scores today!
How Do I Debug Issues?
If JavaScript errors occur after configuring the Delay List the simplest way to identify issues is to use your browser’s debug console. This should show you which files are throwing errors. Unfortunately, this can be tricky to debug as some JavaScript code/files may fail due to dependencies (such as jquery.js) being unavailable or loaded out of sequence so testing removing/adding scripts may be required to identify which script(s) can’t be delayed.
W3 Total Cache
You haven't seen fast until you've tried PRO
Full Site CDN + Additional Caching Options
Advanced Caching Statistics, Purge Logs and More
Everything you need to scale your WordPress Website and improve your PageSpeed.