WordPress allows you to create galleries from the media library with a shortcode, but the Gutenberg editor also provides a WordPress block that you can use directly in the editor. Follow the step by step tutorial below to learn how to create a gallery in the Gutenberg editor.
Note that the Gutenberg editor has been integrated directly into the WordPress Dashboard as of WordPress version 5.0. It is now the default WordPress editor. Try our BoldGrid WordPress Page Builder.
- Login to your WordPress Administrator Dashboard.
- Open an existing draft of a page or post in the editor. You can also create a new page or post.
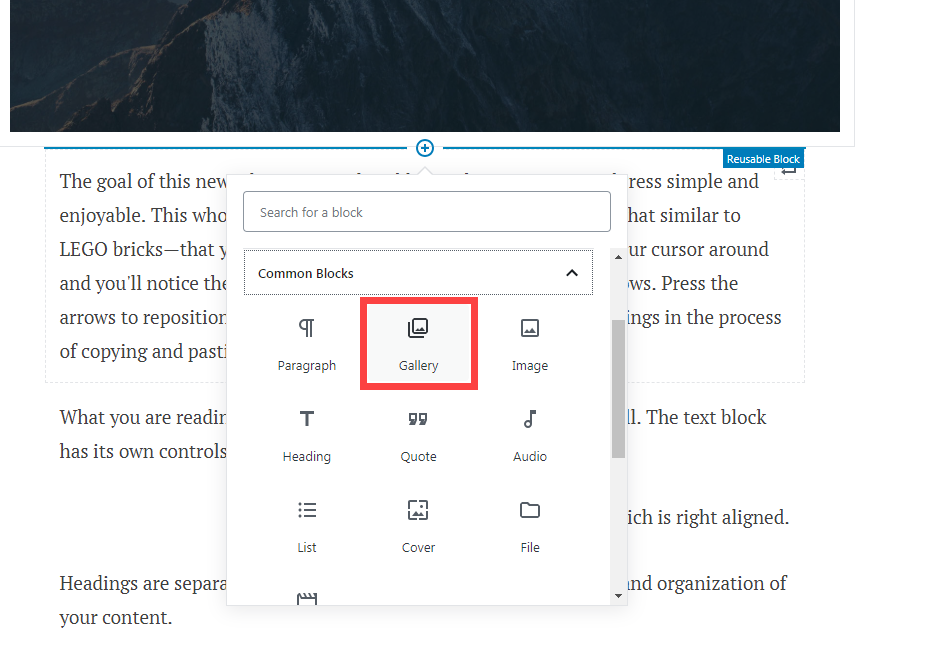
- Click on the + sign in order to add a block in Gutenberg editor.
 In the Blocks menu go to Common Blocks and then look for the one labeled Gallery. Click on the block to start your gallery.
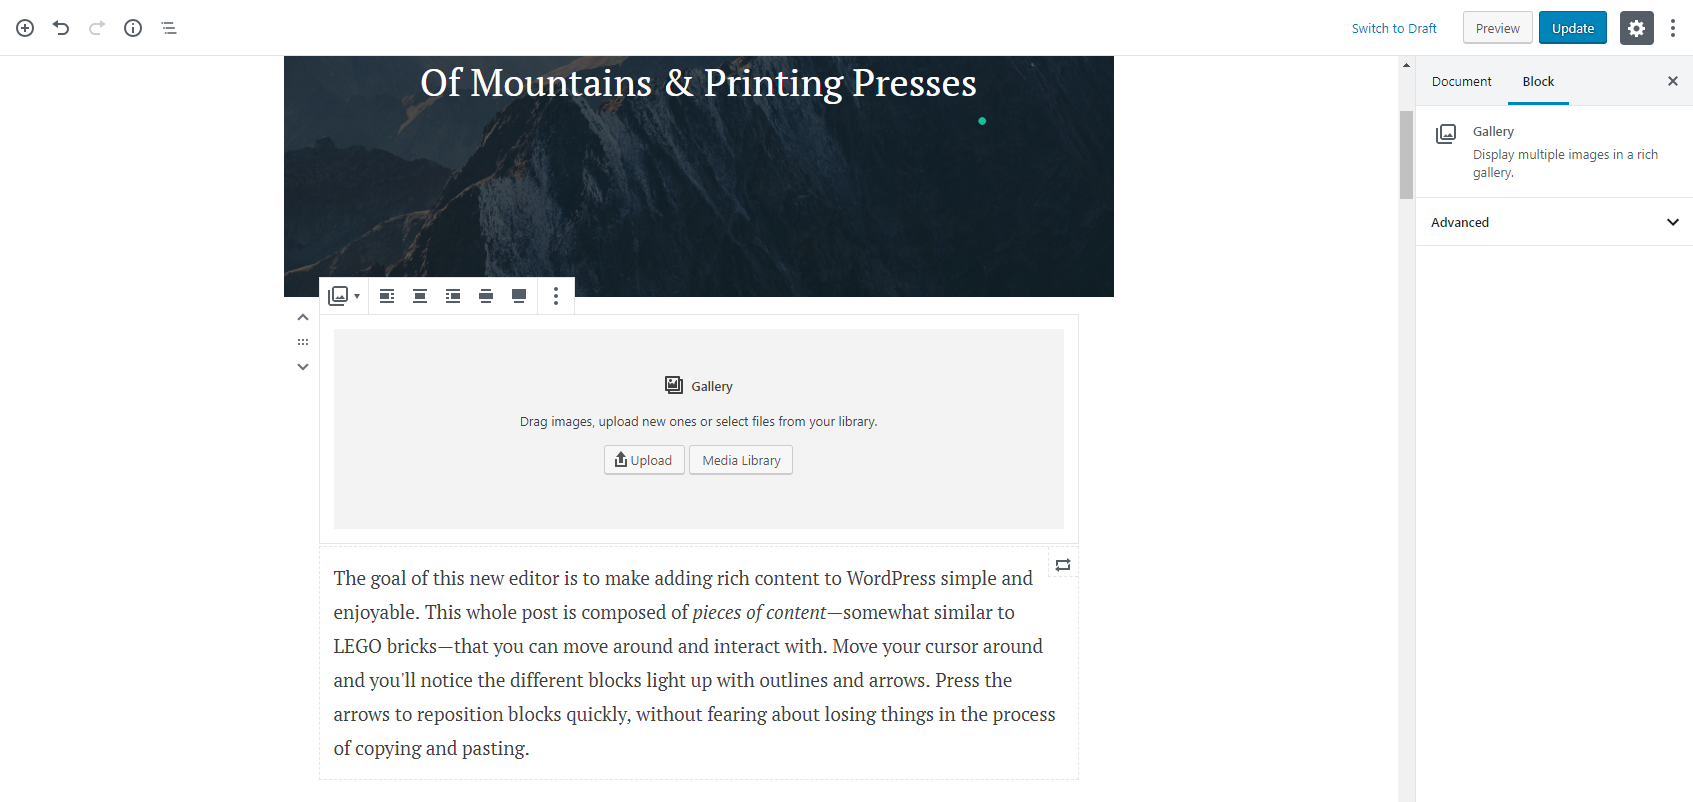
  When the Gallery block opens you will have the option to upload your images or choose the images that are in the media library. Select the option you wish to use to put your images into the gallery. Note that you can select multiple images in the media library.
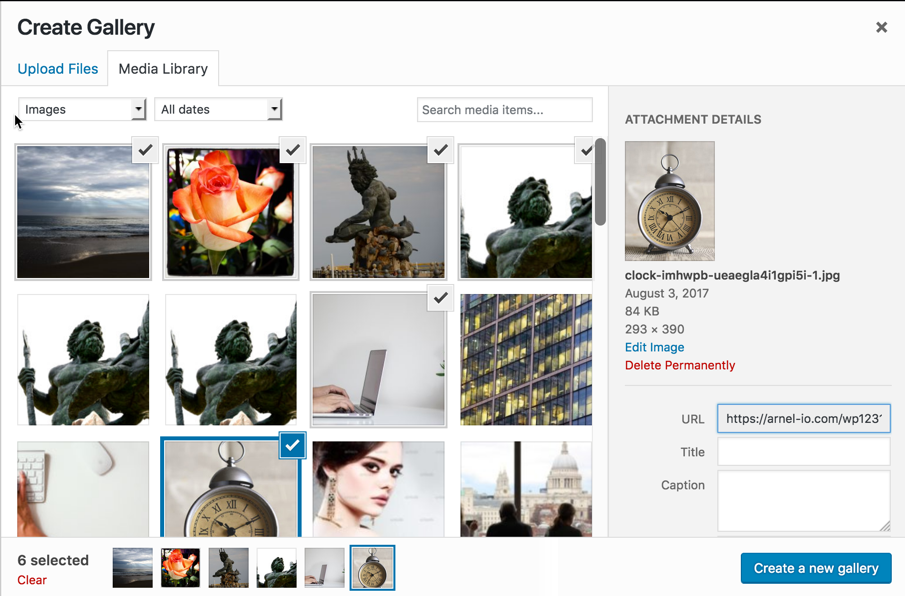
  Once you have completed selecting or uploading your images click on Create New Gallery.
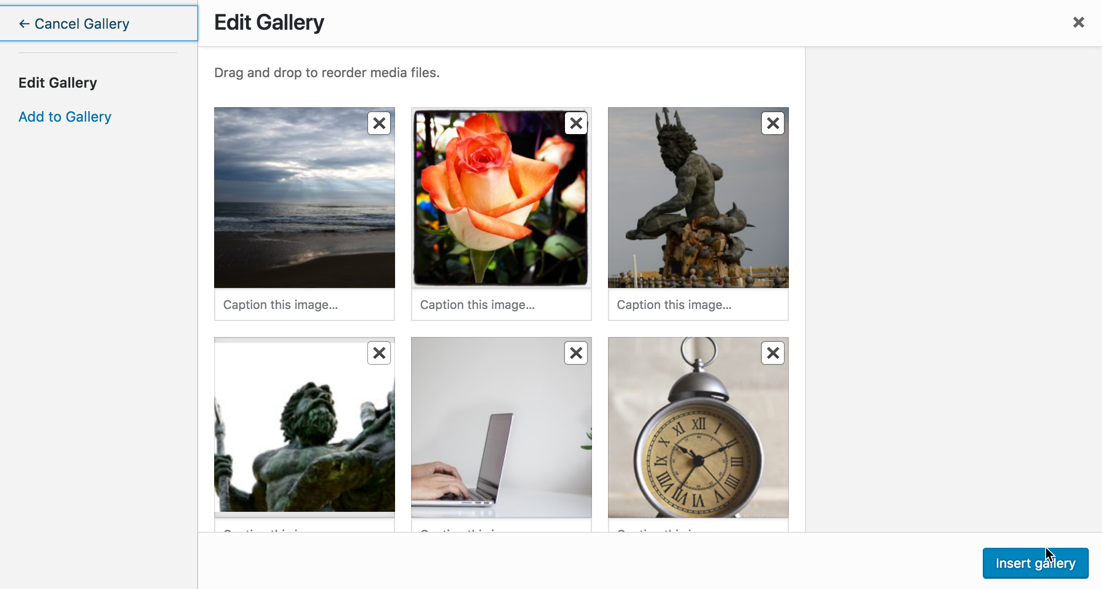
  If you’re satisfied with gallery, then click on Insert Gallery. This will enter the gallery into your page or post. Formatting of the pictures will depend on the theme that you’re using and the number of pictures you have included in the gallery. The size of the gallery on the page or post will depend on the images that you are adding. The gallery changes in size to fit in the space. You have several options to align the gallery as well as change the width of the gallery. You can see these options in the top left corner of the block when you click on the gallery.
 - Click on Update or Publish to save the gallery.
At this point, you will be able to see the completed gallery with all of your images. For more information on using the Gutenberg editor, please see our article on how to add a cover image with the Gutenberg editor. If you are interested in trying a new way to create WordPress galleries, try our WordPress Page Builder to build beautiful landing pages easy in less time. Using WordPress Blocks in a unique and intuitive way, The Post and Page Builder by BoldGrid will allow you to drag and drop your way to WordPress excellence.
SIGNUP FOR
BOLDGRID CENTRAL
200+ Design Templates + 1 Kick-ass SuperTheme
6 WordPress Plugins + 2 Essential Services
Everything you need to build and manage WordPress websites in one Central place.
Justin says:
How do I output my gallery?
Joseph says:
Hi Justin, thank you for contacting us!
What exactly do you mean by outputting your gallery? Has the gallery been added to your page content but isn’t displaying when viewed on the front end? Once a gallery is added to a page it should start showing up after the updates are saved, and if that is not happening there might be some kind of plugin conflict that is interfering with the expected behavior.
We look forward to hearing back from you and please let us know if you have any additional questions for us along the way!
Deborah says:
Help. I have created two galleries using the Hifidel theme. When I click on some of the gallery images the page that pops up has a sidebar and other widgets that I do not want. For other images the resulting page does not have these features. How do I get rid of them?
Jesse says:
Hi Deborah-
It sounds like your gallery is using the setting “Link to: Attachment Page” which will have the sidebar and widgets you described. Edit your gallery settings, and change the Link To setting to Media File. That will make your gallery images show up in a “Lightbox” without navigating to another page:
